Lands of Lore: Guardians of Destiny

| a game by | Westwood |
| Platforms: | PC, PC (1997) |
| Editor Rating: | 6/10, based on 1 review, 7 reviews are shown |
| User Rating: | 8.8/10 - 5 votes |
| Rate this game: | |
| See also: | RPGs |

Walkthrough Part One
The Draracle's halls
The first stage is outlined in the game's manual, so we're picking up the story after Luther has met the Draracle. The Draracle will have told you to visit the Cat-People in the Southern Continent, so you can do one of two things: either go straight there by going ahead at the start, or explore the Draracle's museum and get some useful items. We're going for the latter option.
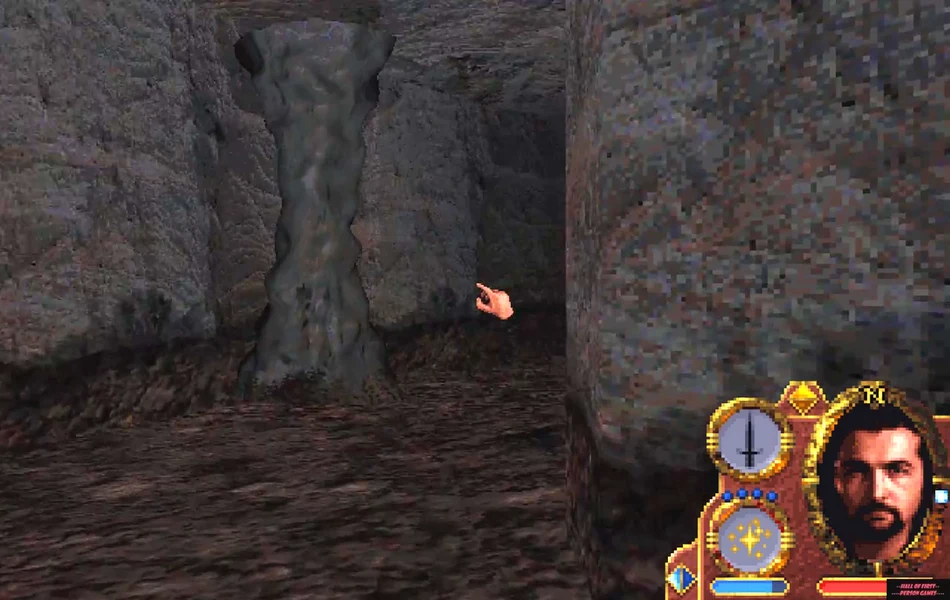
At (1) wait for the skeleton to stop, and the gate will open. On the table at (2) you'll see a sword, some armour and two champion stones; swallowing these will give a temporary boost to your combat abilities. To go straight to the Southern Continent, pull the lever to the north; alternatively, move the tapestry aside at (3) and click the revealed wall to open a hidden passageway.
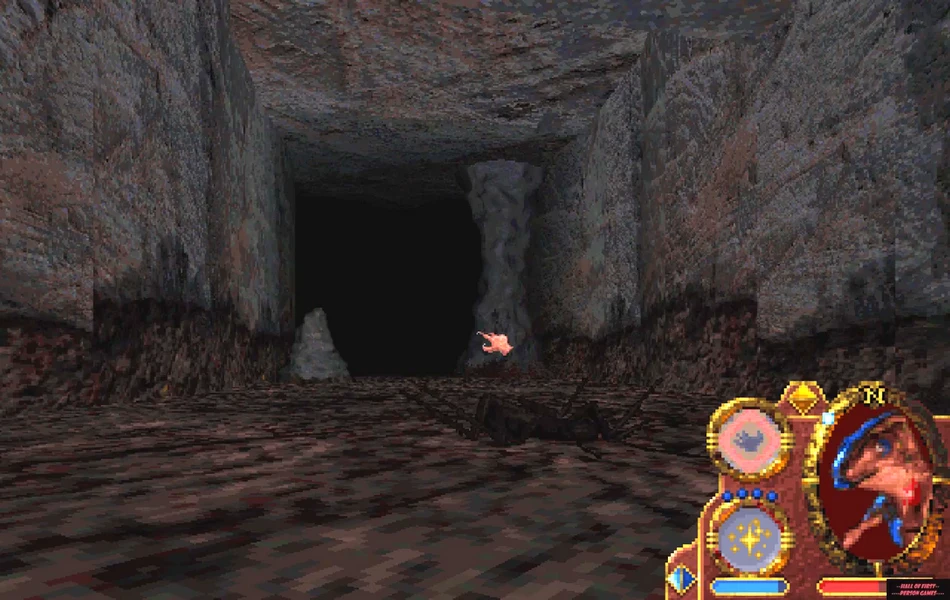
You're now in the Draracle's museum - note the Ridley Scott-type atmosphere (in other words it's pitch dark). By the time you get to (4) the door will have closed behind you and you'll need to find another way out. Cast spark on all the torches on the walls to light them - at least now you can see what you're doing. At (4) pick up the skeleton's key from the brown panel on the south wall. Click the huge throbbing orb thing for a brief introduction to the museum. And watch out for skeletons; if you fight one it may steal the key back. If one does manage to take it off you, kill it and click the corpse to retrieve it, but don't worry if you can't find it.
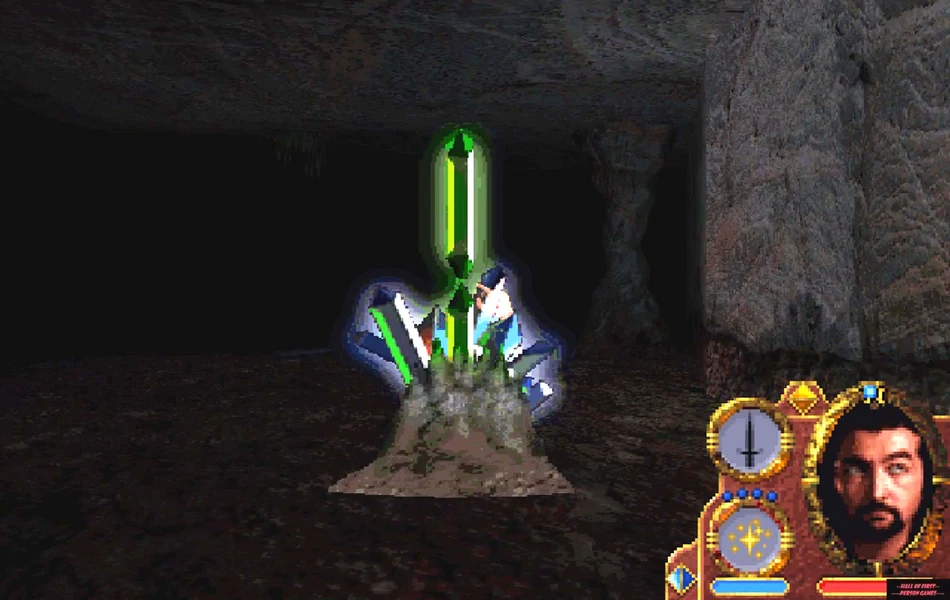
At (5) is a big gem. Use the key in the brown panel in front of it for commentary (use the key in any brown panel in the museum in the same way). Pick up the key when you're done - always remember to do this after viewing a display! There are several pictures in the gallery at (6), each with a slot for the key underneath them. At (7) click on the corpse of the Dracoid leader and something weird will happen; do the same thing with the key. Number (8) is an image of an enormous worm - and a key slot. Get Thohan's great sword at (9) -it's broken but you can fix it later.
Number (10) is a door in the wall. Open it to reveal a passageway which leads to another display at (11) - the City of the Ancients. Long sword 'prism' is also here. At (12) the key can finally do something productive: put it in the panel and a box containing a speaking stone will drop down. Right-click it on your portrait to view the scene. Pick the key up again after you've got the stone.
At (13) open the time travel display with the key; if you don't have it, pull the lever at (20). Beat up the skeleton before he kills you. Ignore the hourglass at (14)- it's important when you want to escape later on. At (15) you'll find Coco's cap on the floor; wearing it causes Luther to fall asleep (though whether or not this is relevant is anyone's guess). When you leave the time travel display take the key with you.
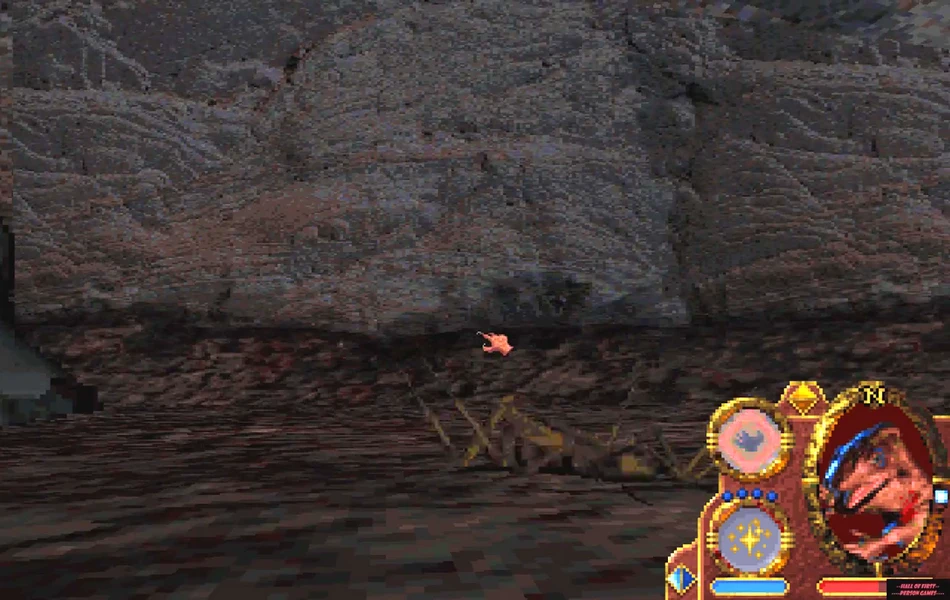
At (16) is a throwing axe that will always return to you. Grab it, and the platform will drop. Luther transforms into his lizard form, so run up the watery passageway at (17). At the end (18) you'll find spell scrolls in wall niches: two for healing, two for spark and one for summon. Using summon will add the spell to your spell book. Pull the lever on the south wall to get out again - you'll find yourself back at (4).
At (19) you'll see two locked gates, behind which is a dragon gem. You can reach it by attacking it with something: 'prism' worked for us. Pick it up when it's revealed. (20) finds you back in the gallery. Open the painting at the end of the corridor and pull the lever; this will open the time travel display if you lose the skeleton's key.
At (21) you'll see a load of blocks lying around. Move them by clicking and dragging and crouch, facing the north wall. A lightning crystal is hidden in a tiny little niche - use it on Luther when you want to cast a manna-free lightning spell. Throw it away when it turns dark - it's no longer any use to you because it's run out. (22) brings you back to the time travel display. Smash the hourglass with your weapon and batter down the south corner of the east wall - but make sure you do it quickly because Luther will age rapidly when the hourglass breaks and could die. Jump into the secret passageway and run through (23). When you get to (24) you're nearly home and dry! Pick up the dragon's blood from the floor (it acts like a grenade) and enter the dragon's lair to get to the Southern Continent.
The Huline jungle, part one
Welcome to the Southern Continent. Don't worry about the creatures in the jungle - they won't attack you unless you provoke them, so don't make any offensive comments about their mothers. Get to point (1) on the map and you'll meet a two-headed cat creature. Run bock as soon as Luther finishes talking. When it's gone, go to (2) to meet a grumpy Huline. He won't let you into the village until Shalla, a missing woman, returns. Carry on to (3) where you'll meet two searchers. Go to a house belonging to a Huline female named Kit'Yara at (4) for some useful weapons, including a bow and a magic sword which is yours if you give her a power orb. You'll get this later.
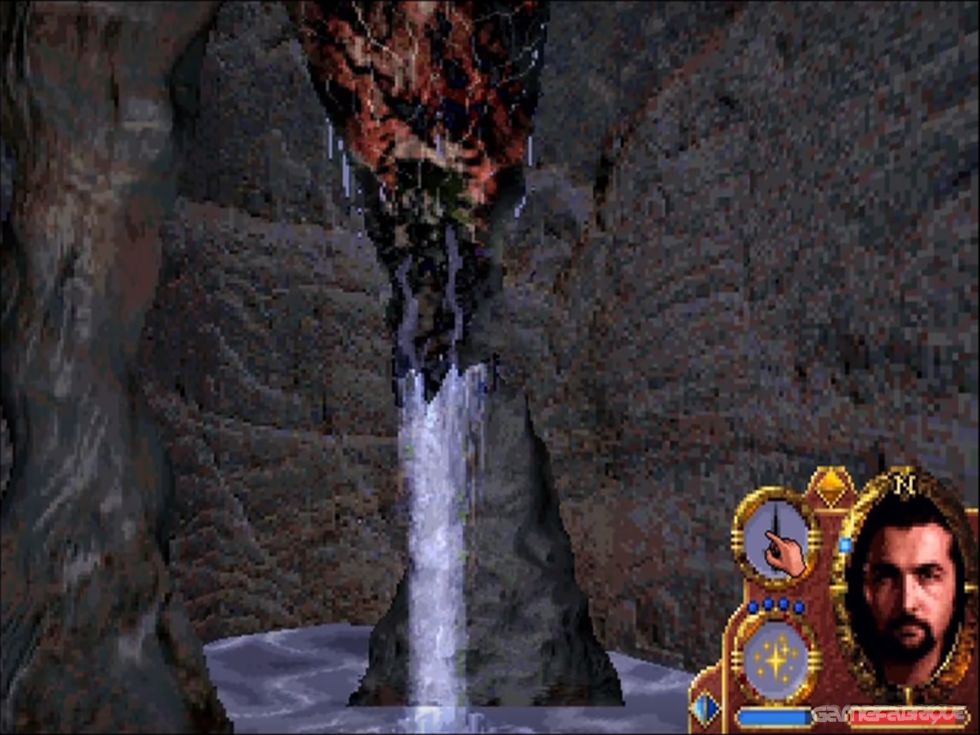
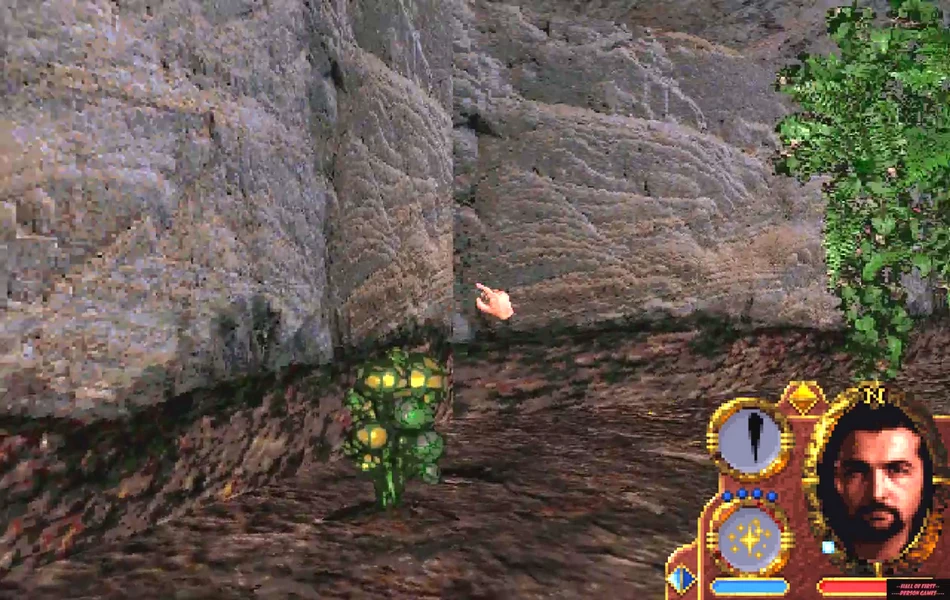
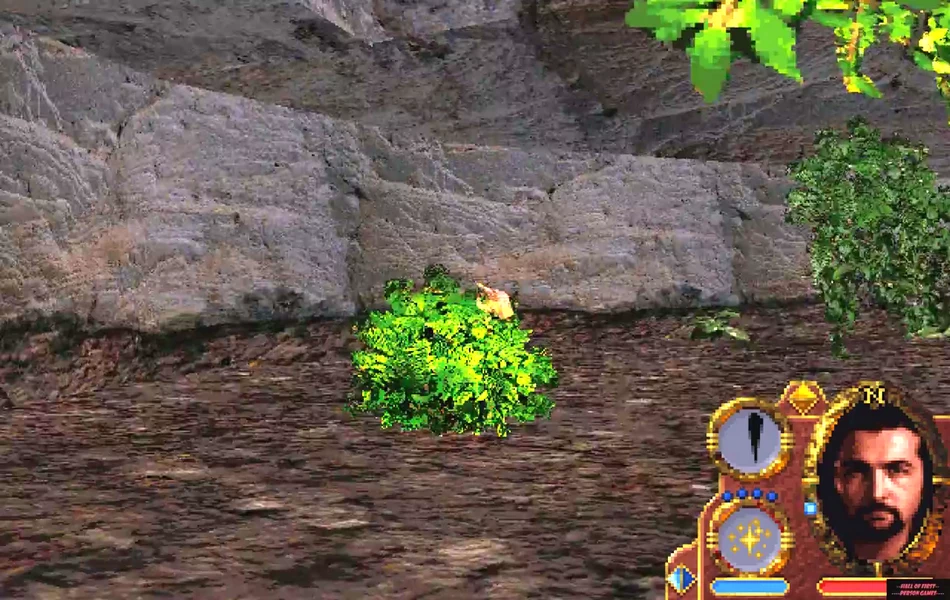
If you come across the huge pit and the waterfall at (5), don't fall over the edge! At (6) you'll encounter two more searchers who will tell you about a big spider in the caves. Go to (7) and either chop down the brown vines or cast spark on them to get rid of them. Repeat at (8), (9), (10) and (11) -you're aiming for (12). (13) is the entrance to the caves.
The Hive caves, part two
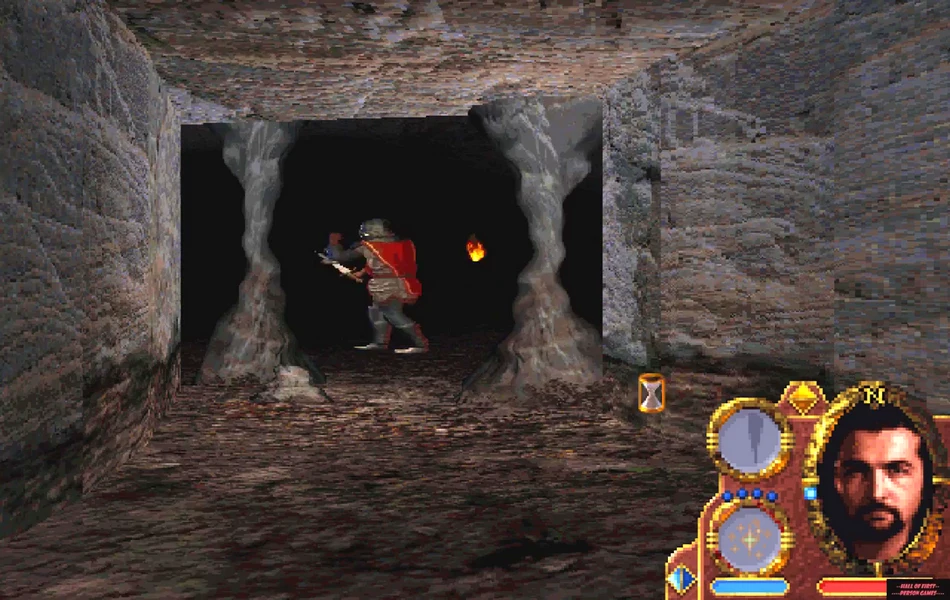
Kill the enormous spider at (2) - twatting it with a good weapon will eventually work. Jump over the pit at (1), but save your game first. At (3) kill the executioner. Go to (4) to find the missing girl's remains, and her mother at (5). Return to the Huline jungle before going any further.
The Huline jungle, part two
Go back to (2). This time round you can open the village gates. You can talk to the village chief at (14), and there's a cellar in an abandoned house which you can enter at (15). Go to the cantina at (16) to meet Baccata, who will arrange to meet you at the Bane River later. There's a useless drunken Huline at (17), and a Huline mystic at (18). He'll pinch your magic (which will regenerate), but you can loot his house; he'll also fix Thohan's sword from the museum for a power orb. Look round because there's a speaking stone and fireball wands. Set off for (19), the monastery. Go into the left room to meet Dawn, then go through the big door of the main hall to meet Julian. They both want copies of the runes from the caves, so go back to (13). Stop at the area marked 'W to find a bees' nest. Click on it twice to get two lumps of wax.
The Hive caves, part two
Retrace your earlier route and head for (6). Note the symbols on the wall. At (7) call the lift by playing the iron flute that Julian gave you. Each button corresponds to a different layer, the top one is layer 1, the bottom is layer 7.
Layer 2
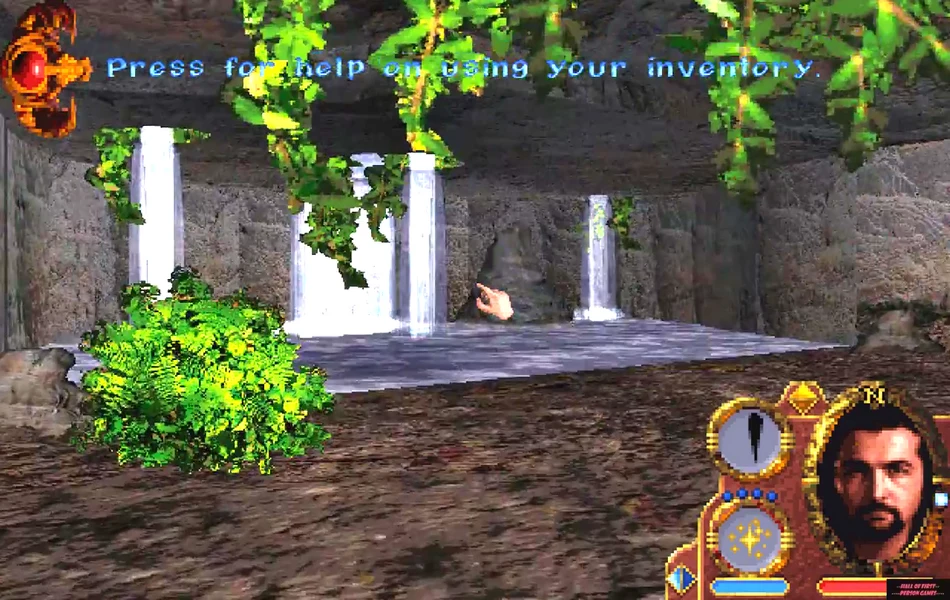
Click each of the cat stones once at (1) to reveal a fountain.
Layer 3
If the spider thing at (1) poisons you, use heal level 3. At (2) crawl into the gap. At (3) you'll find two lightning crystals and a spider's nest. Inside is the net of exile.
Layer 4
At (1) there's another speaking stone. Around (2) morph into lizard form and crawl through the passages at (2) and (3). At (4) you'll find a cat panel, and three buttons around the edge. Click the buttons in the order of the combination from layer 1 to open a passageway which leads you to layer 5.
Layer 4Layer 5
Click each of the cat stones at (1) once. Kill the executioner at (2) and keep going to get to layer 6.
Layer 4Layer 6
At (1) is the Vicious Rolling Boulder Trap From Hell and a heal scroll. Carry on to layer 7.
Layer 4Layer 7
(1) is your entrance from layer 6. Walk down the corridor at (2) and the roof will collapse. Return to (3) and use Julian's flute in the wall niche to open a passage. Follow it to (5), avoiding the spinning blades o' death at (4). When you reach (5) press the buttons on the walls at the end of the corridor, light the torch in the niche by the pit with spark and then click on the ladder to climb down. When you reach the bottom click the moving stone in the background - using it can temporarily boost your magic abilities. Click the brown stuff on the left. Use both bits of wax on the runes: one for Dawn, one for Julian.
Head for the lift to get hack up. If it isn't there, press the green keypad to call it. Go back to the top (layer 1) and haul ass for the exit, watching out for the executioner at (8). Voila! You've done the caves.
The Huline jungle, part three
Leave the caves and you'll meet Dawn at (20); give her a copy of the runes and she'll tell you what to do next. But first things first, you need to return to the monastery at (19). Take a detour via (21) and climb the waterfall. Put all scruples aside and take a speaking stone from the dead geezer's bag (well, he won't be needing it). Go back to (19), give the other runes copy to Julian and talk with him and Dawn. Having done that, leave and go to (22). Kit'Yara will meet you and give you your 'ticket' into the Wild Ones' lair. Baccata will be waiting for you at (23), but he's asleep (lazy bastard). Talk with him and he'll stop the Gladstone guards at (24) attacking you. Watch the cut-scene, dash through (25) to (26) and watch the next one.
That's it! You're halfway through, albeit with a little assistance - but you'll have to wait until next issue to find out how to cheat at discs three and four.
Download Lands of Lore: Guardians of Destiny
System requirements:
- PC compatible
- Operating systems: Windows 10/Windows 8/Windows 7/2000/Vista/WinXP
System requirements:
- PC compatible
- Operating systems: Windows 10/Windows 8/Windows 7/2000/Vista/WinXP
Game Reviews
Four Bloomin' Years We've Waited for this, and at last, Lands Of Lore 2 (or Lands Of Lore: Guardians Of Destiny, to give it its official title) has arrived in playable form. Having teased us with countless pre-release pre-rendered images, Westwood seem to have finally gotten themselves sufficiently together to pull together Guardians Of Destiny's numerous constituent parts into something resembling a playable game. And it has to be said that it's looking pretty good.
It's rumoured that the design of Guardians Of Destiny changed direction on a number of occasions during its lengthy development, which some people seem to think may have ballsed up the whole game. These people (whoever the hell they are) have yet to get their hands on a working version of the game, so they're in no position to judge. We, however, have a version here - that we're playing NOW - and are in a position to judge. Well, sort of. Guardians Of Destiny is almost finished. There are a few more bits to bolt on, after which we'll be able to review it in its entirety. Bummer. Until then though, we'll have to make do with these first impressions.
Praise the Lore
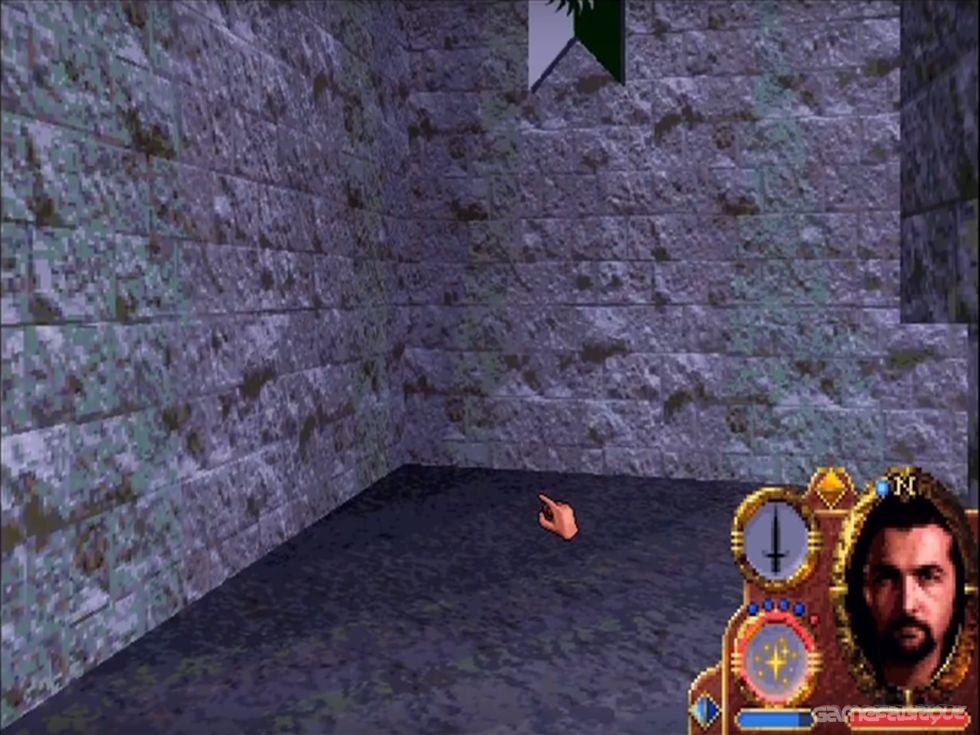
On the surface, Lands Of Lore: Guardians Of Destiny looks like any other ultra-chic role-playing game, if there could ever be such a thing. It's got a first-person perspective view, it's got inventories, it's got spellcasting - it's got the lot. Underneath this familiar veneer though, rides an intriguing mixture of fantastical storytelling, hippy-trippy imagery (brightly coloured - the type Westwood do best) and devious puzzling. We can tell that already, as we've taken Luther (that's you, in the game) through the best part of three levels in the pre-release version we were boasting about earlier. It's already clear how much effort the LOL2 team have put into this game. For starters, the control system is already fully implemented and is working like a dream. There's no mucking around with endless menus and convoluted spellcasting systems, as all this has been trimmed to the bare essentials and tucked away in a handy pop-up window at the side of the screen. So Westwood have nothing to worry about on that front.
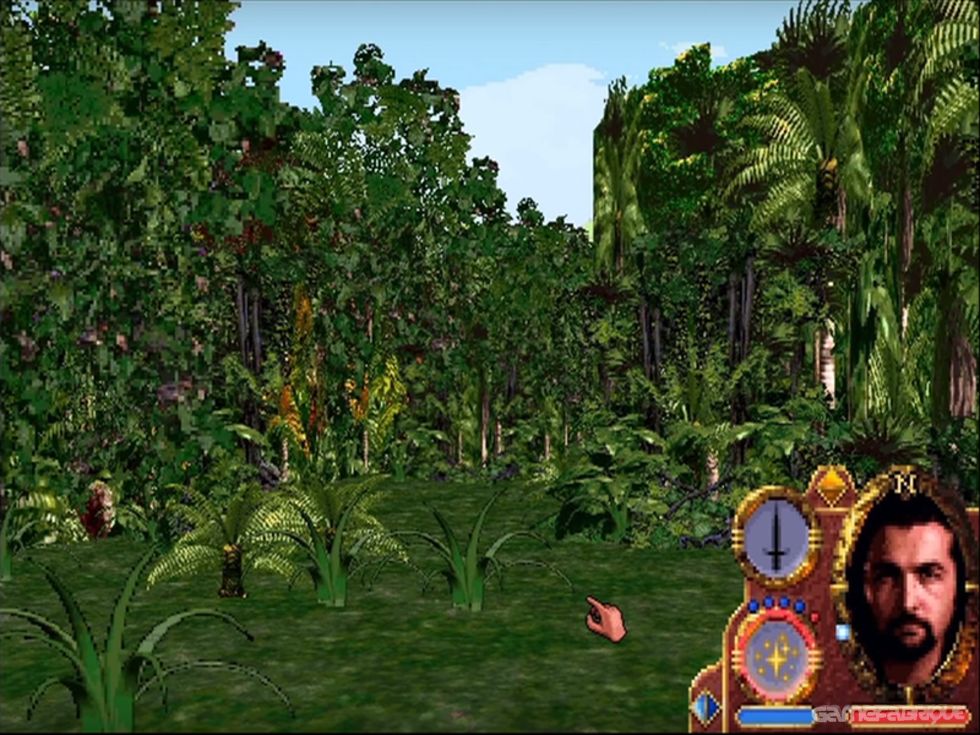
And there's the 3D engine. It could have been shit (after all, there's a lot of 'em around), but it stands up well against the opposition. It's not Quake... but it's not Isle Of The Dead either. And if you've ever played Isle Of The Dead and then rushed out to buy Guardians Of Destiny, you wouldn't regret it. Where Westwood have been particularly clever though, is in mixing live action actors into the 'live' 3D world, which brings forth an air of 'next generation-ness'. It's a good one to show to your mates if you want to impress them.
On occasion the action does nip away to one of the many marvellously animated cut-scenes, but on the whole we found the gameplay to be pretty much seamless.
Hurrah!
So far then, LOL2 plays like a dream and has bloody good graphics. But what about that all-important storyline? Well, we gotta admit that it's not bad at all - some guff about the gods falling out, an evil sorceress bearing a son afflicted with a terrible shape-changing disability (you being that son) - and other unusual stuff which all combines to make quite a nice little intro to the game.
When most of you (at least the intelligent ones) do get the opportunity to step into Luther's shoes, the first thing you'll notice about this 'terrible' shape-changing ability is that it will more often than not help you out during crucial moments in the game. When there's something big blocking the way, be it a boulder or a scary, prolapsed monster, you 'll turn into a big, hulking beast with a back like a baboons arse and claws that are handy for killing things. If in human form you're too big to make further progress, your character will miraculously metamorphose into a small, fast, vulnerable lizard, which helps keep the whole thing moving along at an easy-to-play, addictive pace. At first, the player will have no control over this attribute, but as the game progresses and the story of Luther's being is accounted for, the restrictions are eased and the player can shape-shift about to their heart's content, opening the whole game right up.
Patience, patience
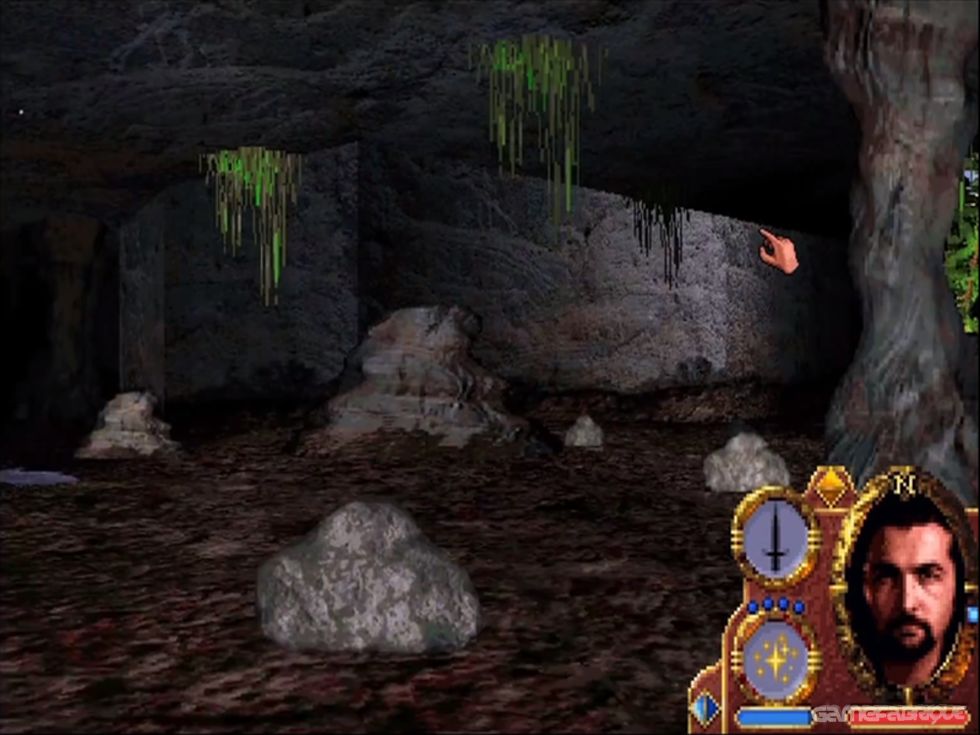
Considering this is a preview and not a review, we're doing little to hide our enthusiasm for Guardians Of Destiny, but the best thing of all about this game (heh heh) - something that is attributable to everyone working on the project -is the atmosphere they've created. Westwood's sound guys really know what they're doing and it shows, from the sweeping orchestral soundtrack to the eerie 3D sound effects, which will fill you with terror whenever you're exploring. And this is not the luridly bright adventure its predecessor was - the real-time lighting effects see to that - which also scores bonus points on the PC atmosphere-o-meter.
So, as you can no doubt tell, we're pretty happy with Westwood's progress on Guardians Of Destiny. The final game is currently being crammed onto four CDs, so it promises to be something of an epic. Now we can see why it's taken so long to put together.
Come on everyone, relax, wait for them to finish LOL2 and enjoy the anticipation while it lasts. After all, Westwood can t mess things up now... can they?
The four CDs (count 'em) that comprise Lands Of Lore: Guardians Of Destiny accommodate a colossal world replete with different settings, quests, challenges, adventures and interactive characters.
The first-person perspective .game engine feels comfortably familiar and allows you to run, jump, crouch, look up and down, attack with an innumerable list of weapons, or cast one of 80 different spells. Added to this are the graphics, while not up to the high standard of Quake, are clearly distinct from one area to the next, and show a rewarding and lavish attention to detail.
Lying Sorcers
You play Luther, human son of Scotia, the evil Sorceress who snuffed it at the end of the last game. Damned with a disposition to transform into an ogre and a lizard, your quest is to rid yourself of the shape-changing curse - trouble is, not only is it initially beyond your control, but this magic is coveted by Belial, an ancient demon dude who will stop at nothing to get his hands on it. Everything has been crafted in typically trippy Westwood fashion. Giant half-human spider beasts with the hulking hind legs of a cockroach. Repulsive crawly things with barbs and claws. Things that give you a turn when they leap out of dark corners. Things that snap your arms from their sockets and laugh. If you've been yearning for a game that'll shit you up like the first time you played Doom, look no further.
Fear by the barrel
Quite clearly, the production team took a ride over to their local giggle house and smuggled out a psychotic madman to head up their graphics department. When not talking to his invisible friend with the cloven hooves and brimstone aftershave, he sits at a Silicon Graphics workstation and creates diabolical armies of unspeakableness. Backwards.
The end result is that your adversaries scare the crap out of you when they lurch from the shadows. They then give chase and scare the Aj crap out of you some more when you stop and turn round. They dodge your fire. They flinch when hit. They get angry. They go for backup. They cry out when they're dying. Shoot a skeleton in the kneecap and he'll bend forward, clutch it in pain and hobble after you. Brilliant.
More than one way to skin a cat But take a step back from the frantic deathfest and you can use your brain as well as your brawn. For example, if you confront one of the subordinate bad guys with an big axe, there's every chance he'll cack himself and scarper. Some enemies are terrified of your ogre-like incarnation. Or if they're standing in a pool of oil and you have a torch, you can set the pool alight and turn them into charcoal briquettes. You'll even find that certain creatures will go about their business when left unprovoked, so killing everything that gets in your way isn't the only option open to you.
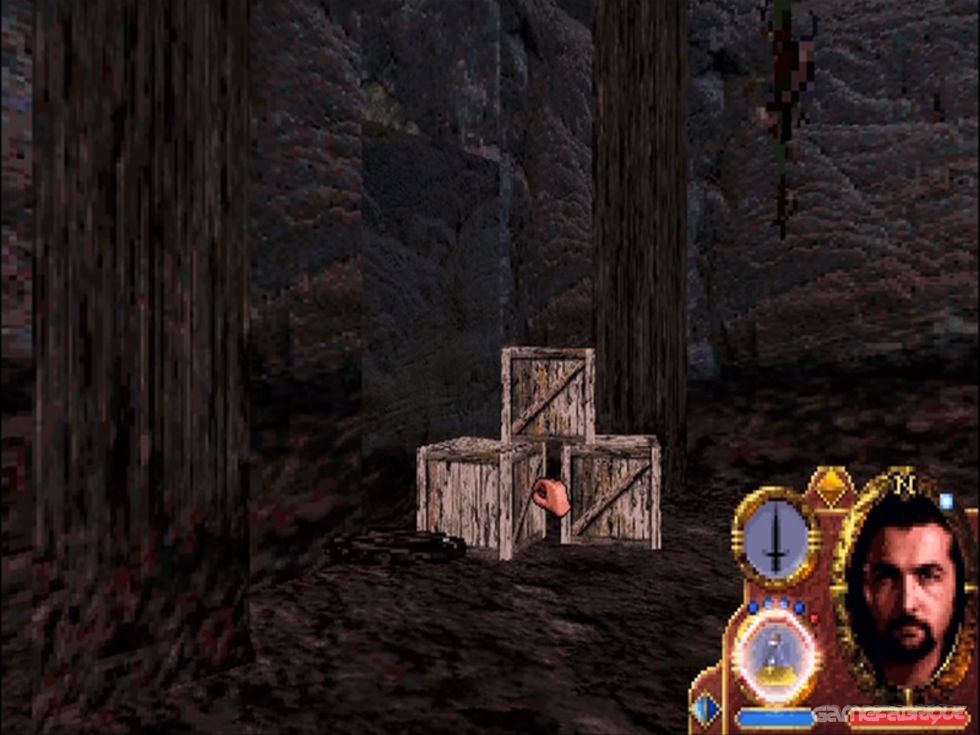
There are also other neat features, such as the automap and the ability to stick pins in it - medieval Post-It notes to remind you where you've been and where you should be going. The scenery can also work to your advantage in battle: for example, chop at one of the supports on a bridge and it'll collapse, plunging into the water and drowning anything that happened to be on it in the process.
So it's smart, right?
The point-and-click interface is a joy, with your inventory and spellbook both instantly accessible and easy to use. The game is clever enough to help you when you're walking around, and will automatically guide you around simple obstacles so you don't end up stuck on something you can't see. But there are so many little trinkets waiting to be unearthed as you go along, there simply isn't the space to describe them all. So I won't - you'll just have to trust me on that one.
Walkthrough Part One
The Draracle's halls
The first stage is outlined in the game's manual, so we're picking up the story after Luther has met the Draracle. The Draracle will have told you to visit the Cat-People in the Southern Continent, so you can do one of two things: either go straight there by going ahead at the start, or explore the Draracle's museum and get some useful items. We're going for the latter option.
At (1) wait for the skeleton to stop, and the gate will open. On the table at (2) you'll see a sword, some armour and two champion stones; swallowing these will give a temporary boost to your combat abilities. To go straight to the Southern Continent, pull the lever to the north; alternatively, move the tapestry aside at (3) and click the revealed wall to open a hidden passageway.
You're now in the Draracle's museum - note the Ridley Scott-type atmosphere (in other words it's pitch dark). By the time you get to (4) the door will have closed behind you and you'll need to find another way out. Cast spark on all the torches on the walls to light them - at least now you can see what you're doing. At (4) pick up the skeleton's key from the brown panel on the south wall. Click the huge throbbing orb thing for a brief introduction to the museum. And watch out for skeletons; if you fight one it may steal the key back. If one does manage to take it off you, kill it and click the corpse to retrieve it, but don't worry if you can't find it.
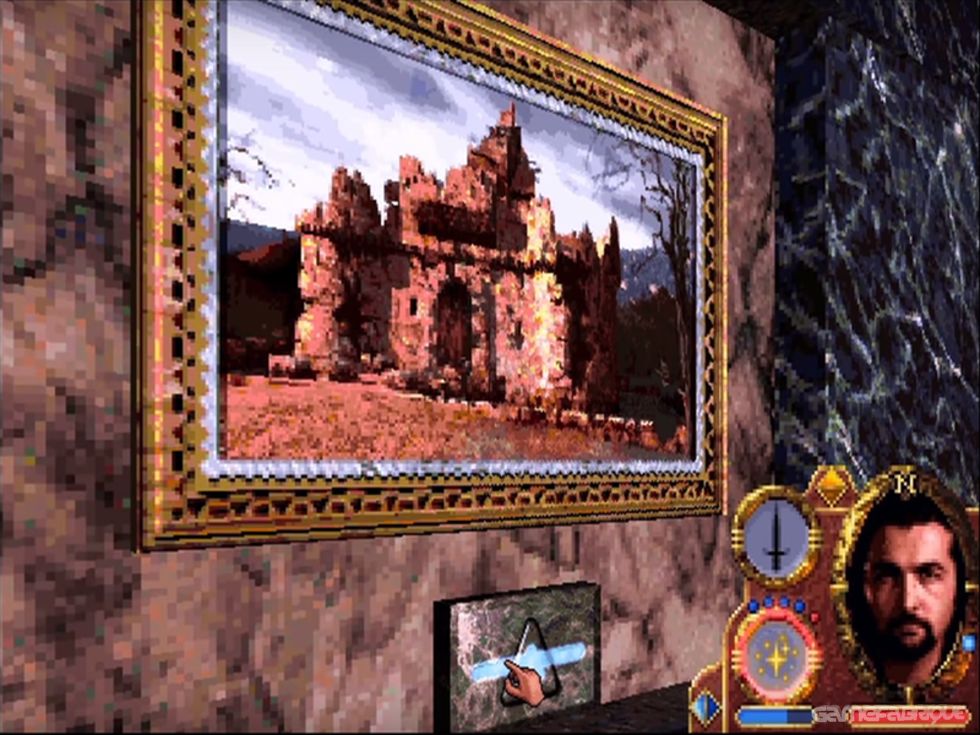
At (5) is a big gem. Use the key in the brown panel in front of it for commentary (use the key in any brown panel in the museum in the same way). Pick up the key when you're done - always remember to do this after viewing a display! There are several pictures in the gallery at (6), each with a slot for the key underneath them. At (7) click on the corpse of the Dracoid leader and something weird will happen; do the same thing with the key. Number (8) is an image of an enormous worm - and a key slot. Get Thohan's great sword at (9) -it's broken but you can fix it later.
Number (10) is a door in the wall. Open it to reveal a passageway which leads to another display at (11) - the City of the Ancients. Long sword 'prism' is also here. At (12) the key can finally do something productive: put it in the panel and a box containing a speaking stone will drop down. Right-click it on your portrait to view the scene. Pick the key up again after you've got the stone.
At (13) open the time travel display with the key; if you don't have it, pull the lever at (20). Beat up the skeleton before he kills you. Ignore the hourglass at (14)- it's important when you want to escape later on. At (15) you'll find Coco's cap on the floor; wearing it causes Luther to fall asleep (though whether or not this is relevant is anyone's guess). When you leave the time travel display take the key with you.
At (16) is a throwing axe that will always return to you. Grab it, and the platform will drop. Luther transforms into his lizard form, so run up the watery passageway at (17). At the end (18) you'll find spell scrolls in wall niches: two for healing, two for spark and one for summon. Using summon will add the spell to your spell book. Pull the lever on the south wall to get out again - you'll find yourself back at (4).
At (19) you'll see two locked gates, behind which is a dragon gem. You can reach it by attacking it with something: 'prism' worked for us. Pick it up when it's revealed. (20) finds you back in the gallery. Open the painting at the end of the corridor and pull the lever; this will open the time travel display if you lose the skeleton's key.
At (21) you'll see a load of blocks lying around. Move them by clicking and dragging and crouch, facing the north wall. A lightning crystal is hidden in a tiny little niche - use it on Luther when you want to cast a manna-free lightning spell. Throw it away when it turns dark - it's no longer any use to you because it's run out. (22) brings you back to the time travel display. Smash the hourglass with your weapon and batter down the south corner of the east wall - but make sure you do it quickly because Luther will age rapidly when the hourglass breaks and could die. Jump into the secret passageway and run through (23). When you get to (24) you're nearly home and dry! Pick up the dragon's blood from the floor (it acts like a grenade) and enter the dragon's lair to get to the Southern Continent.
The Huline jungle, part one
Welcome to the Southern Continent. Don't worry about the creatures in the jungle - they won't attack you unless you provoke them, so don't make any offensive comments about their mothers. Get to point (1) on the map and you'll meet a two-headed cat creature. Run bock as soon as Luther finishes talking. When it's gone, go to (2) to meet a grumpy Huline. He won't let you into the village until Shalla, a missing woman, returns. Carry on to (3) where you'll meet two searchers. Go to a house belonging to a Huline female named Kit'Yara at (4) for some useful weapons, including a bow and a magic sword which is yours if you give her a power orb. You'll get this later.
If you come across the huge pit and the waterfall at (5), don't fall over the edge! At (6) you'll encounter two more searchers who will tell you about a big spider in the caves. Go to (7) and either chop down the brown vines or cast spark on them to get rid of them. Repeat at (8), (9), (10) and (11) -you're aiming for (12). (13) is the entrance to the caves.
The Hive caves, part two
Kill the enormous spider at (2) - twatting it with a good weapon will eventually work. Jump over the pit at (1), but save your game first. At (3) kill the executioner. Go to (4) to find the missing girl's remains, and her mother at (5). Return to the Huline jungle before going any further.
The Huline jungle, part two
Go back to (2). This time round you can open the village gates. You can talk to the village chief at (14), and there's a cellar in an abandoned house which you can enter at (15). Go to the cantina at (16) to meet Baccata, who will arrange to meet you at the Bane River later. There's a useless drunken Huline at (17), and a Huline mystic at (18). He'll pinch your magic (which will regenerate), but you can loot his house; he'll also fix Thohan's sword from the museum for a power orb. Look round because there's a speaking stone and fireball wands. Set off for (19), the monastery. Go into the left room to meet Dawn, then go through the big door of the main hall to meet Julian. They both want copies of the runes from the caves, so go back to (13). Stop at the area marked 'W to find a bees' nest. Click on it twice to get two lumps of wax.
The Hive caves, part two
Retrace your earlier route and head for (6). Note the symbols on the wall. At (7) call the lift by playing the iron flute that Julian gave you. Each button corresponds to a different layer, the top one is layer 1, the bottom is layer 7.
Layer 2
Click each of the cat stones once at (1) to reveal a fountain.
Layer 3
If the spider thing at (1) poisons you, use heal level 3. At (2) crawl into the gap. At (3) you'll find two lightning crystals and a spider's nest. Inside is the net of exile.
Layer 4
At (1) there's another speaking stone. Around (2) morph into lizard form and crawl through the passages at (2) and (3). At (4) you'll find a cat panel, and three buttons around the edge. Click the buttons in the order of the combination from layer 1 to open a passageway which leads you to layer 5.
Layer 4Layer 5
Click each of the cat stones at (1) once. Kill the executioner at (2) and keep going to get to layer 6.
Layer 4Layer 6
At (1) is the Vicious Rolling Boulder Trap From Hell and a heal scroll. Carry on to layer 7.
Layer 4Layer 7
(1) is your entrance from layer 6. Walk down the corridor at (2) and the roof will collapse. Return to (3) and use Julian's flute in the wall niche to open a passage. Follow it to (5), avoiding the spinning blades o' death at (4). When you reach (5) press the buttons on the walls at the end of the corridor, light the torch in the niche by the pit with spark and then click on the ladder to climb down. When you reach the bottom click the moving stone in the background - using it can temporarily boost your magic abilities. Click the brown stuff on the left. Use both bits of wax on the runes: one for Dawn, one for Julian.
Head for the lift to get hack up. If it isn't there, press the green keypad to call it. Go back to the top (layer 1) and haul ass for the exit, watching out for the executioner at (8). Voila! You've done the caves.
The Huline jungle, part three
Leave the caves and you'll meet Dawn at (20); give her a copy of the runes and she'll tell you what to do next. But first things first, you need to return to the monastery at (19). Take a detour via (21) and climb the waterfall. Put all scruples aside and take a speaking stone from the dead geezer's bag (well, he won't be needing it). Go back to (19), give the other runes copy to Julian and talk with him and Dawn. Having done that, leave and go to (22). Kit'Yara will meet you and give you your 'ticket' into the Wild Ones' lair. Baccata will be waiting for you at (23), but he's asleep (lazy bastard). Talk with him and he'll stop the Gladstone guards at (24) attacking you. Watch the cut-scene, dash through (25) to (26) and watch the next one.
That's it! You're halfway through, albeit with a little assistance - but you'll have to wait until next issue to find out how to cheat at discs three and four.
The four CDs (count 'em) that comprise Lands Of Lore: Guardians Of Destiny accommodate a colossal world replete with different settings, quests, challenges, adventures and interactive characters.
The first-person perspective .game engine feels comfortably familiar and allows you to run, jump, crouch, look up and down, attack with an innumerable list of weapons, or cast one of 80 different spells. Added to this are the graphics, while not up to the high standard of Quake, are clearly distinct from one area to the next, and show a rewarding and lavish attention to detail.
Lying Sorcers
You play Luther, human son of Scotia, the evil Sorceress who snuffed it at the end of the last game. Damned with a disposition to transform into an ogre and a lizard, your quest is to rid yourself of the shape-changing curse - trouble is, not only is it initially beyond your control, but this magic is coveted by Belial, an ancient demon dude who will stop at nothing to get his hands on it. Everything has been crafted in typically trippy Westwood fashion. Giant half-human spider beasts with the hulking hind legs of a cockroach. Repulsive crawly things with barbs and claws. Things that give you a turn when they leap out of dark corners. Things that snap your arms from their sockets and laugh. If you've been yearning for a game that'll shit you up like the first time you played Doom, look no further.
Fear by the barrel
Quite clearly, the production team took a ride over to their local giggle house and smuggled out a psychotic madman to head up their graphics department. When not talking to his invisible friend with the cloven hooves and brimstone aftershave, he sits at a Silicon Graphics workstation and creates diabolical armies of unspeakableness. Backwards.
The end result is that your adversaries scare the crap out of you when they lurch from the shadows. They then give chase and scare the Aj crap out of you some more when you stop and turn round. They dodge your fire. They flinch when hit. They get angry. They go for backup. They cry out when they're dying. Shoot a skeleton in the kneecap and he'll bend forward, clutch it in pain and hobble after you. Brilliant.
More than one way to skin a cat But take a step back from the frantic deathfest and you can use your brain as well as your brawn. For example, if you confront one of the subordinate bad guys with an big axe, there's every chance he'll cack himself and scarper. Some enemies are terrified of your ogre-like incarnation. Or if they're standing in a pool of oil and you have a torch, you can set the pool alight and turn them into charcoal briquettes. You'll even find that certain creatures will go about their business when left unprovoked, so killing everything that gets in your way isn't the only option open to you.
There are also other neat features, such as the automap and the ability to stick pins in it - medieval Post-It notes to remind you where you've been and where you should be going. The scenery can also work to your advantage in battle: for example, chop at one of the supports on a bridge and it'll collapse, plunging into the water and drowning anything that happened to be on it in the process.
So it's smart, right?
The point-and-click interface is a joy, with your inventory and spellbook both instantly accessible and easy to use. The game is clever enough to help you when you're walking around, and will automatically guide you around simple obstacles so you don't end up stuck on something you can't see. But there are so many little trinkets waiting to be unearthed as you go along, there simply isn't the space to describe them all. So I won't - you'll just have to trust me on that one.
Four Bloomin' Years We've Waited for this, and at last, Lands Of Lore 2 (or Lands Of Lore: Guardians Of Destiny, to give it its official title) has arrived in playable form. Having teased us with countless pre-release pre-rendered images, Westwood seem to have finally gotten themselves sufficiently together to pull together Guardians Of Destiny's numerous constituent parts into something resembling a playable game. And it has to be said that it's looking pretty good.


It's rumoured that the design of Guardians Of Destiny changed direction on a number of occasions during its lengthy development, which some people seem to think may have ballsed up the whole game. These people (whoever the hell they are) have yet to get their hands on a working version of the game, so they're in no position to judge. We, however, have a version here - that we're playing NOW - and are in a position to judge. Well, sort of. Guardians Of Destiny is almost finished. There are a few more bits to bolt on, after which we'll be able to review it in its entirety. Bummer. Until then though, we'll have to make do with these first impressions.
Praise the Lore
On the surface, Lands Of Lore: Guardians Of Destiny looks like any other ultra-chic role-playing game, if there could ever be such a thing. It's got a first-person perspective view, it's got inventories, it's got spellcasting - it's got the lot. Underneath this familiar veneer though, rides an intriguing mixture of fantastical storytelling, hippy-trippy imagery (brightly coloured - the type Westwood do best) and devious puzzling. We can tell that already, as we've taken Luther (that's you, in the game) through the best part of three levels in the pre-release version we were boasting about earlier.

It's already clear how much effort the LOL2 team have put into this game. For starters, the control system is already fully implemented and is working like a dream. There's no mucking around with endless menus and convoluted spellcasting systems, as all this has been trimmed to the bare essentials and tucked away in a handy pop-up window at the side of the screen. So Westwood have nothing to worry about on that front.
And there's the 3D engine. It could have been shit (after all, there's a lot of 'em around), but it stands up well against the opposition. It's not Quake... but it's not Isle Of The Dead either. And if you've ever played Isle Of The Dead and then rushed out to buy Guardians Of Destiny, you wouldn't regret it. Where Westwood have been particularly clever though, is in mixing live action actors into the 'live' 3D world, which brings forth an air of 'next generation-ness'. It's a good one to show to your mates if you want to impress them.
On occasion the action does nip away to one of the many marvellously animated cut-scenes, but on the whole we found the gameplay to be pretty much seamless.
Hurrah!
So far then, LOL2 plays like a dream and has bloody good graphics. But what about that all-important storyline? Well, we gotta admit that it's not bad at all - some guff about the gods falling out, an evil sorceress bearing a son afflicted with a terrible shape-changing disability (you being that son) - and other unusual stuff which all combines to make quite a nice little intro to the game.
When most of you (at least the intelligent ones) do get the opportunity to step into Luther's shoes, the first thing you'll notice about this 'terrible' shape-changing ability is that it will more often than not help you out during crucial moments in the game. When there's something big blocking the way, be it a boulder or a scary, prolapsed monster, you 'll turn into a big, hulking beast with a back like a baboons arse and claws that are handy for killing things. If in human form you're too big to make further progress, your character will miraculously metamorphose into a small, fast, vulnerable lizard, which helps keep the whole thing moving along at an easy-to-play, addictive pace. At first, the player will have no control over this attribute, but as the game progresses and the story of Luther's being is accounted for, the restrictions are eased and the player can shape-shift about to their heart's content, opening the whole game right up.
Patience, patience
Considering this is a preview and not a review, we're doing little to hide our enthusiasm for Guardians Of Destiny, but the best thing of all about this game (heh heh) - something that is attributable to everyone working on the project -is the atmosphere they've created. Westwood's sound guys really know what they're doing and it shows, from the sweeping orchestral soundtrack to the eerie 3D sound effects, which will fill you with terror whenever you're exploring. And this is not the luridly bright adventure its predecessor was - the real-time lighting effects see to that - which also scores bonus points on the PC atmosphere-o-meter.

So, as you can no doubt tell, we're pretty happy with Westwood's progress on Guardians Of Destiny. The final game is currently being crammed onto four CDs, so it promises to be something of an epic. Now we can see why it's taken so long to put together.
Come on everyone, relax, wait for them to finish LOL2 and enjoy the anticipation while it lasts. After all, Westwood can t mess things up now... can they?
Overview
Every now and then I come across a game that figuratively and literally makes my jaw drop. Rarely do I come across a game that makes my jaw drop more than once. Never have I come across a game that has made my jaw drop nearly every single time I played it -- until now. Lands of Lore: Guardians of Destiny is a game that has gone further than any RPG/adventure game I have played in the past. This game is full of so many intricacies, so many cool features, that it would be impossible for me to cover all of them in this review. I will, however try to do justice to this game.
In LOLII you play Luther, son of the late sorceress of the Dark Army, Scotia. She has been slain and you have been imprisoned for her crimes. Along with imprisonment, you have become subject to an ancient curse that sporadically and uncontrollably transforms you into a lizard or beast. You start off the game breaking out of prison in search of a cure. Although Luther's primary concern is to rid himself of his socially restricting transformations, you discover that there is a problem of greater concern to which you are closely tied. Although this greater concern is covered in the end of the manual, I warn those who do not want to know any of the plot to skip to the next section.

For those of you that do want to know, here it goes. In LOLII, the world was created by the "Ancients" as a sort of aquarium. The Ancients wanted to see what existence would be like without their powers. Their two main rules for this new world were 1) no interference, and 2) no introduction to magic. In time the evil Belial, bored of this world void of magic, decided to break the rule. He picked a group known as the Dracoid and simply went for a stroll in their city. The Dracoid were awed by the horned beast and were eager to learn his magic. The Dracoid used the magic against their enemies, the Huline. When the Huline had been reduced to but a few, another god, the Draracle, stepped in to save them. The Ancients, of course, were not pleased. The punishment was death. Because the Ancients themselves ruled that no god would kill another, and since the Draracle had already broken a rule with less than evil motivations, the Draracle was ordered to put Belial to death. Belial, knowing there was no way out, created a Mother Beast underneath the City of the Ancients that would slowly absorb magic emanating from the Ancients and bring him back to life. The only problem was that after Belial's death, the Ancients left the land and, void of magic, the Mother Beast became dormant. The Draracle remained to keep peace in the land and because Belial promised to return.
This is where you, Luther, get tied in. All would have been fine if it weren't for your mother. You see, your mother Scotia became gifted in the black arts and managed to unearth a magic artifact, the Nether Mask. She planned to use the magic of the mask to shape-shift and kill King Richard, whom she blamed for her husband's death. Before she could do so, she was slain. Upon her death, she transferred what she could to you. You end up in prison for her crimes, along with an uncontrollable shape-shifting curse. The magic released from all this has reawakened the Mother Beast and in time, it will also awaken Belial.

Gameplay
For those of you hardcore RPG fans out there, blowing me off and thinking, "Come on, this game doesn't even have stats!" I tell you, you're 100% right. But this isn't a pure RPG, and it isn't advertised or promoted as a pure RPG. LOLII has been developed as a RPG/adventure game. What does that mean? It means this game focuses more on adventure and exploration than character building. Don't get the wrong idea, though; this is not the type of adventure game where you click from one screen to the next like Myst or Obsidian. You explore the world from a first-person shooter perspective. While exploring you will run into artifacts, NPCs and various cutscenes that will aid your quest. As far as character advancement, you only get strength and magic. It might have been nice to have more, but all the other strengths of the game make up for it, believe me.
Graphics and Audio
The graphics for LOLII are astounding, to say the least. The engine may be more along the lines of Duke Nukem than Quake, but you have to understand that a game like this takes a lot longer to develop than your standard shooter. The texture maps are beautiful and varied, excellent light sourcing is prevalent throughout, fog effects are used, there are realistic earthquakes, there are cave-ins, certain objects can be moved about and stacked, all monster graphics and movements are well done, and the list goes on. The cutscenes for LOLII are the best I have ever seen in any game. The transitions between the first-person engine and cutscenes and the like are also the best I have ever seen. When video-based characters are integrated into the environment, they are done so seamlessly. I've been playing games for years and LOLII is the only game I've encountered in which the lowest resolution looks nearly as good as the highest. One last thing: along with the graphics, the level design is also mind-blowing. There are rivers to traverse and wade through, caverns to explore, crevices to creep through, ledges to hug, and again, the list goes on.
The audio for LOLII is the best I've heard in any game so far. The music is captivating and never annoying. Ambient sounds fill the environments and are always appropriate. The sounds of monsters, weapons, and environment actions like cave-ins and flowing rivers and streams are also far above average. Sounds change depending on position and location, just as they would in real-world environments. Voice acting and audio during cutscenes are also well above average for the most part.


Documentation
The documentation for LOLII is excellent as well. You get a full-color glossy 110-page book that covers everything you need to know to get started and more. Controls are clearly laid out, and colored screenshots of the game are included. There is also a "Lore of the Lands" section at the end of the book that covers the premise to your adventures. At first I thought it should have been in the beginning of the manual, but considering players such as myself might want to find this information while playing, I'm glad they put it at the end. The only thing missing that I could have wanted is a list of recipes. On your adventures, you will pick up initially useless items that can be mixed with others to create useful items. If you mix the wrong items you can make useless garbage, destroying the original ingredients.
System Requirements
Required:Win95 or DOS, P75 (P90 recommended), 16 MB RAM, VGA/MCGA graphics, 130 MB free for DOS, 105 MB for Win95, 4X CD-ROM drive, MS compatible mouse, Win95 sound card for Win95, SoundBlaster or 100% compatible for sound in DOS, and Yamaha XG or 100% compatible for music in DOS.
Bottom Line
As you can tell, Lands of Lore: Guardians of Destiny blew me away. It surpassed all my expectations. The graphics, level design and audio make this a truly engrossing game. The cutscenes are the best I have ever seen, and the integration with the first-person engine is seamless. The game is dedicated to the late Robert Richter Parks. In the documentation, the Lands of Lore team states he "put the bar up higher than most of us can reach, but it was an amazing privilege to watch him go over it so easily and so frequently." To the Lands of Lore team, I say the same. You have taken RPG/adventures to a new level.
Snapshots and Media
PC Screenshots


 Myst 5: End of Ages
 Overboard!
 Queen: The eYe
 Gothic 2: Gold Edition
 Knights of the Temple II
 City Of Villains
 Albion
 Hexen 2 Mission Pack: Portal of Praevus
 Safecracker