Ringworld: Revenge of the Patriarch

| a game by | Tsunami Media, Inc. |
| Platform: | PC (1992) |
| User Rating: | 7.0/10 - 2 votes |
| Rate this game: | |
| Updated: | Mar 13, 2026 |
| See also: | Old School Games, Cult Classic Games, Adventure Games |
Starting from last time...
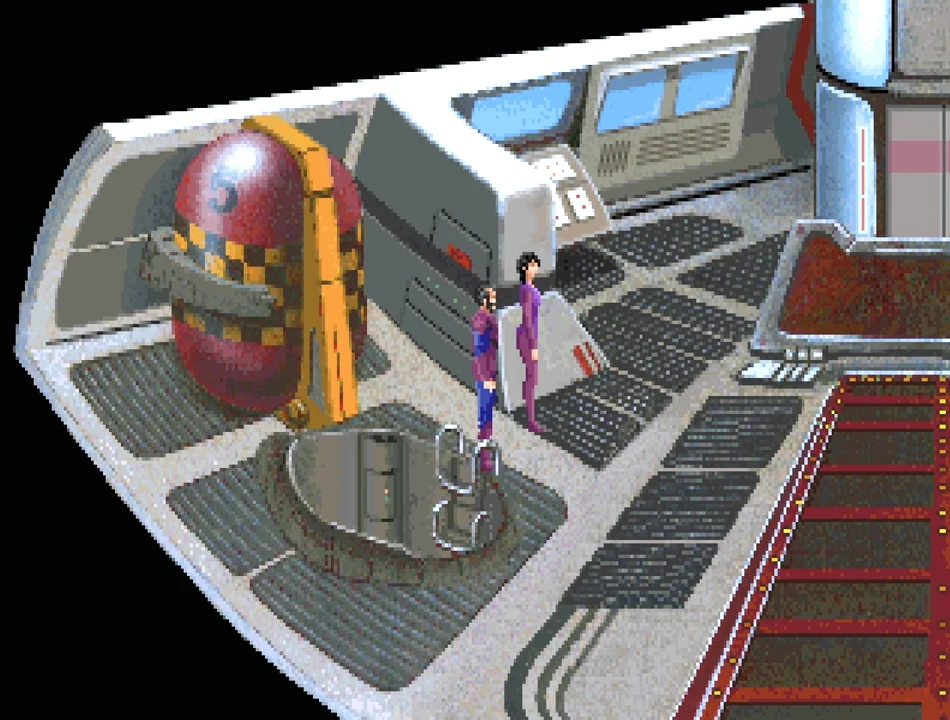
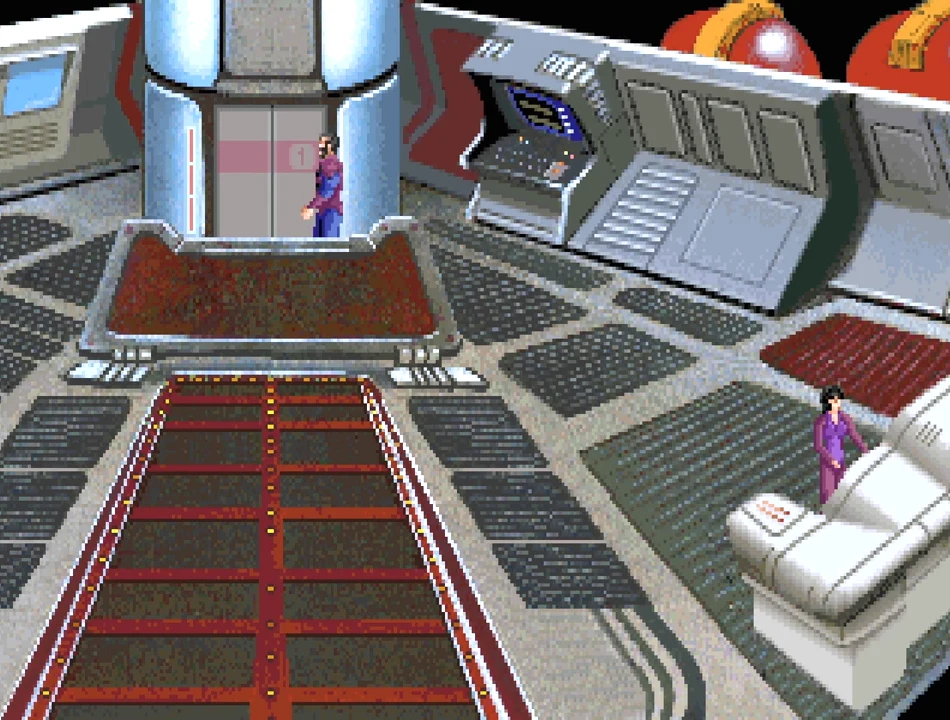
Once you've rescued Seeker, the ship chugs towards the next deep radar contact. The whole team has a chin-wag about what to do next. Say you'll 'check the computer'. Touch the flashing console on the left wall of the bridge. Flick through the computer pages and then click on 'Stasis field' to receive some interesting info. Press exit twice to return to the bridge. Go to level t and walk to the west of the landing bay to find Miranda and Quinn. With the info you've gleaned Miranda will extract a gadget from the field.
Slaver sunflowers
The second box is to be found in the rather large Shiver Sunflower field. The consensus is that you should wait until nightfall and then use the probe. Save the game here and play the arcade sequences, skimming over the field. If you take too many hits the probe will be damaged and have to be returned for repair. Eventually you'll manage to reach the box. Meanwhile. Miranda will have discovered a use for the 'gadget' - it jams neural patterns. Hmm, very interesting.
The great ocean
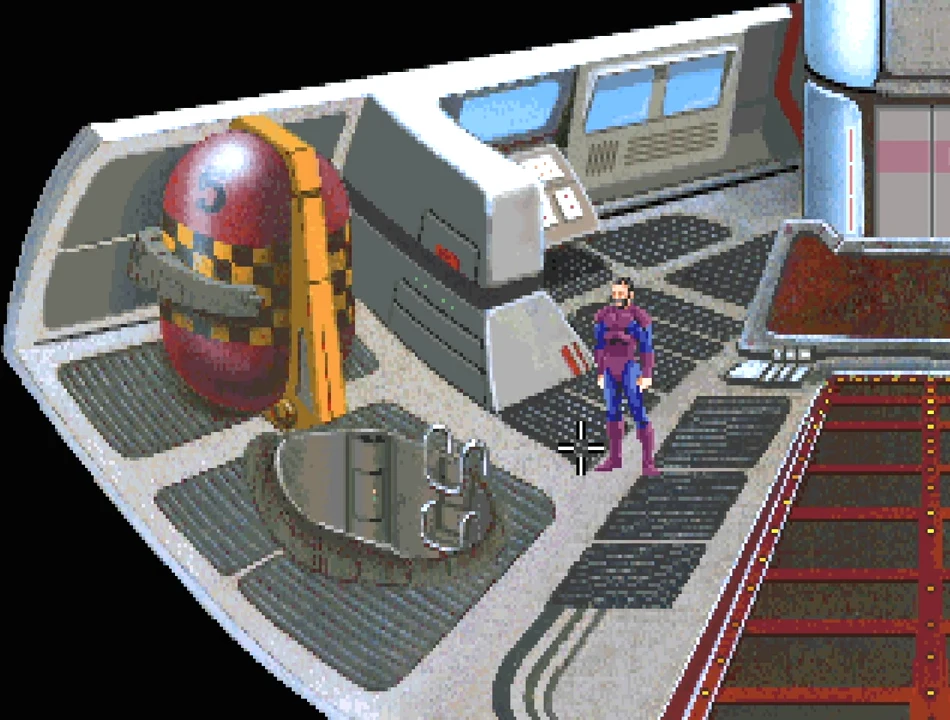
The third box is deep under the ocean surface. On the beach is Skeenar, a friend of Louis Wu's. who will take you to the leader underwater. Go back to the lander, and go up to level 2. Enter the airlock chamber and nab the red suit in the middle of the racks. Exit the lander, talk to Skeenar and walk into the water. The cut scene will show you in conference with Lord Poria. A translator box has been taken by the Explorer who lived in a 'sky house'. This box allows communication between sea people and dolphins who, in turn, can rescue the box (this is such a load of codswallop).
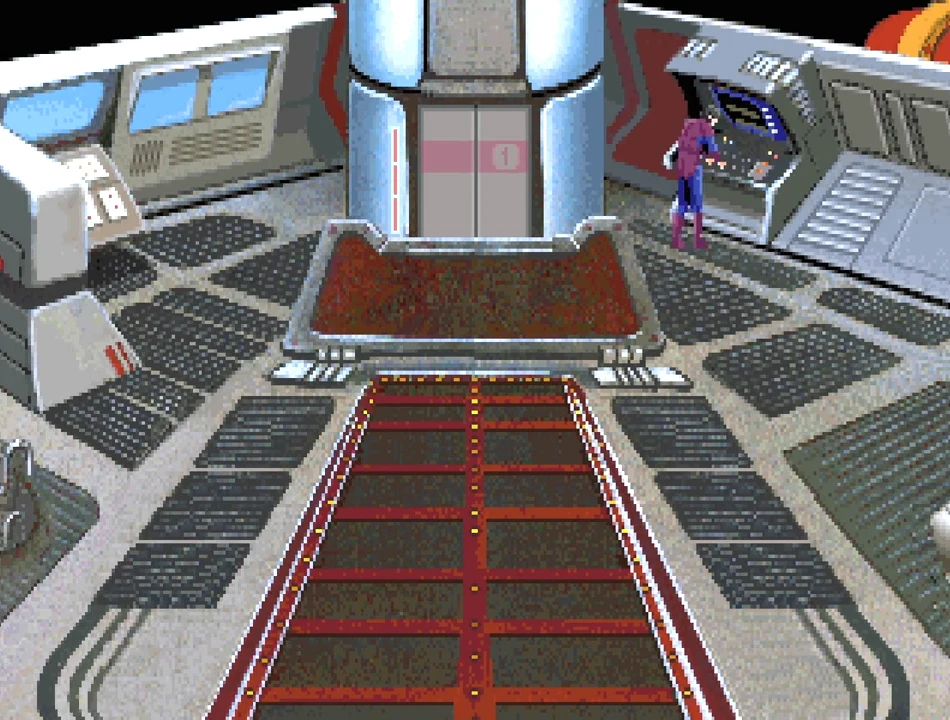
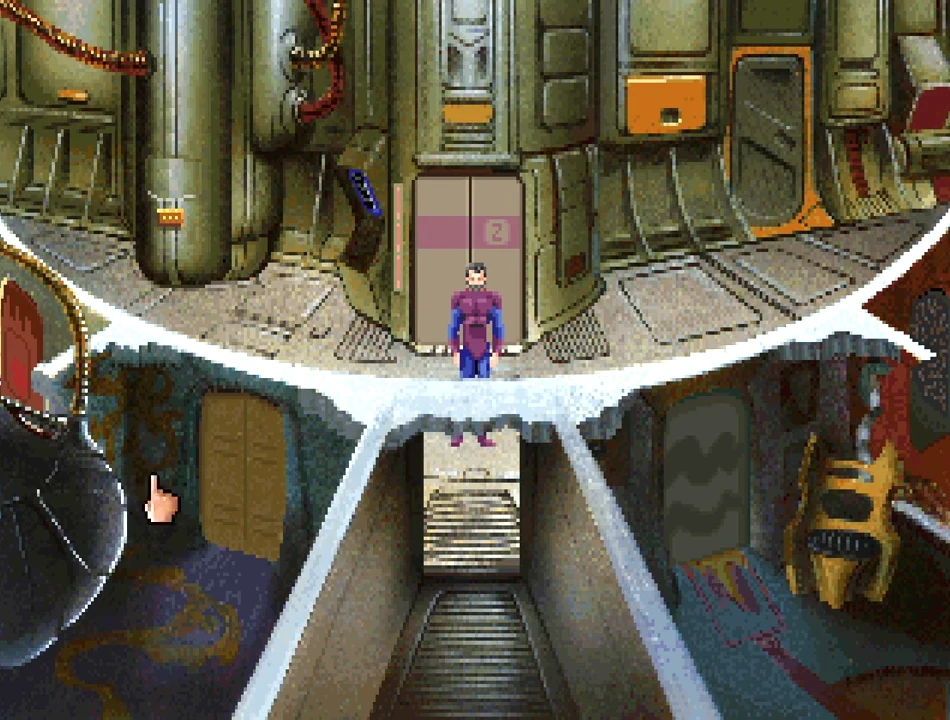
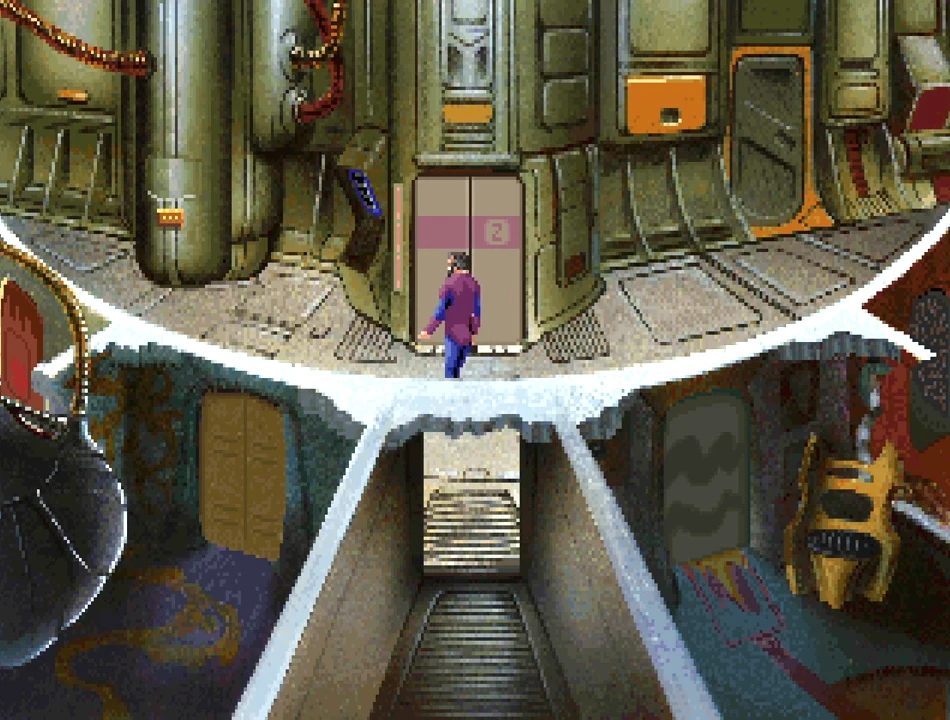
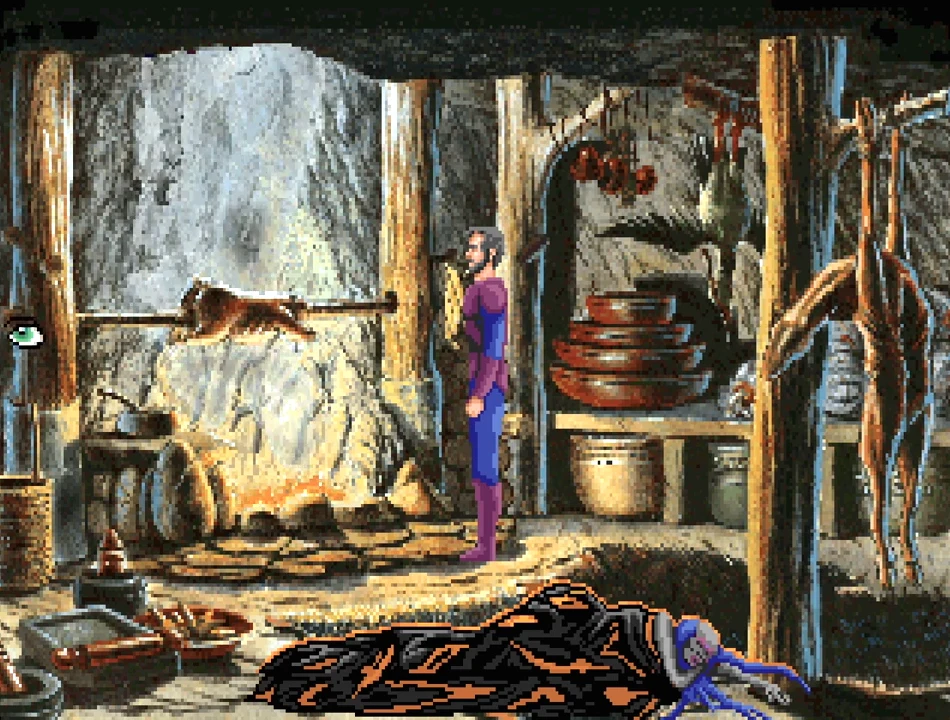
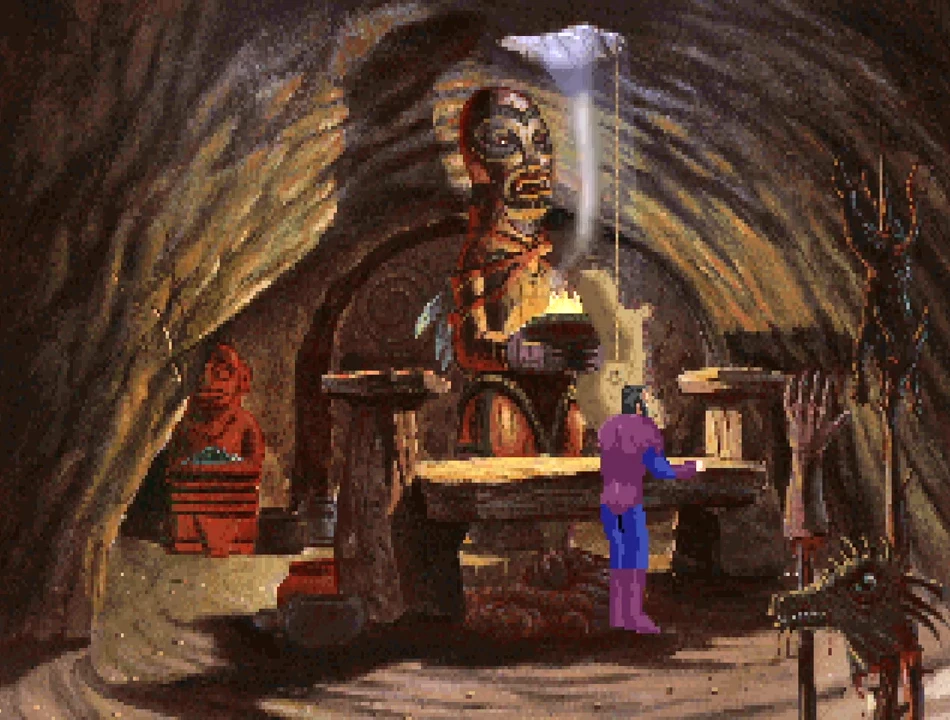
Store the suit and then go to level 3. Talk to Seeker to be directed to the nearest floating building. Go to level 1 and touch the buttons behind the bulkhead to the left. A fly-cycle will appear to fly you to the 'sky house'. The man sitting on the bench when you arrive is the Explorer, a crotchety old git if there ever was one. Chat to him. get bored of him, and then stun him. This should give you a ffee-reign around the room.
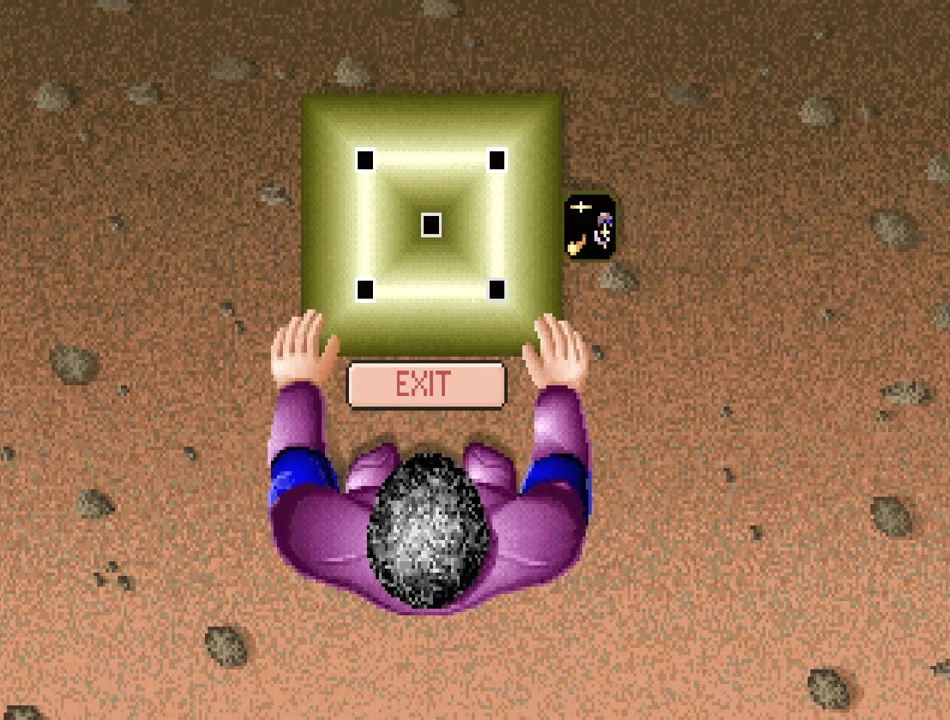
Find the key in the tube on the left wall, then grab ajar from the left of the workbench. At the back of the room is a barrel stopped with a cork. Pull the cork out and drain the liquid out onto the floor. Use the jar on the puddle to collect the lubricant. Search around the books on the shelf until you find one which resembles a novel. Examine it to find it is hollow and contains a note with 2.4 and 3 inscribed on it. Look at the seat to gain a close-up. You will find a mark on the floor and a mark on the chair. Click the hand icon on the right hand closeup twice. Click on the left four times to turn it the other way. Click on the right three more times and the tile will flip open to reveal a floor safe. Use the key on the lock to open to the safe and find the translator.
Dolphins ahoy!
Fly back to the ship and go back to the beach. Give the translator box to Skeenar. She will send the dolphins to grab the box but they can't. The stinging anemones of death are stopping the poor dolphins. So give the jar full of lubricant to the Skeenar to allow them to penetrate the deadly aquatic fauna. But - oh no - the dolphins have no hands so cannot pick up the box. Go back to the lander, tap into the computer, and access the info on dolphins. Basically the snub-nosed mammals need mechanical hands. Touch the damaged probe to extricate its hands. Grab them and return to the beach. Give the handy tarsals to Skeenar who will pass them onto the dolphins who in turn will grab the box.
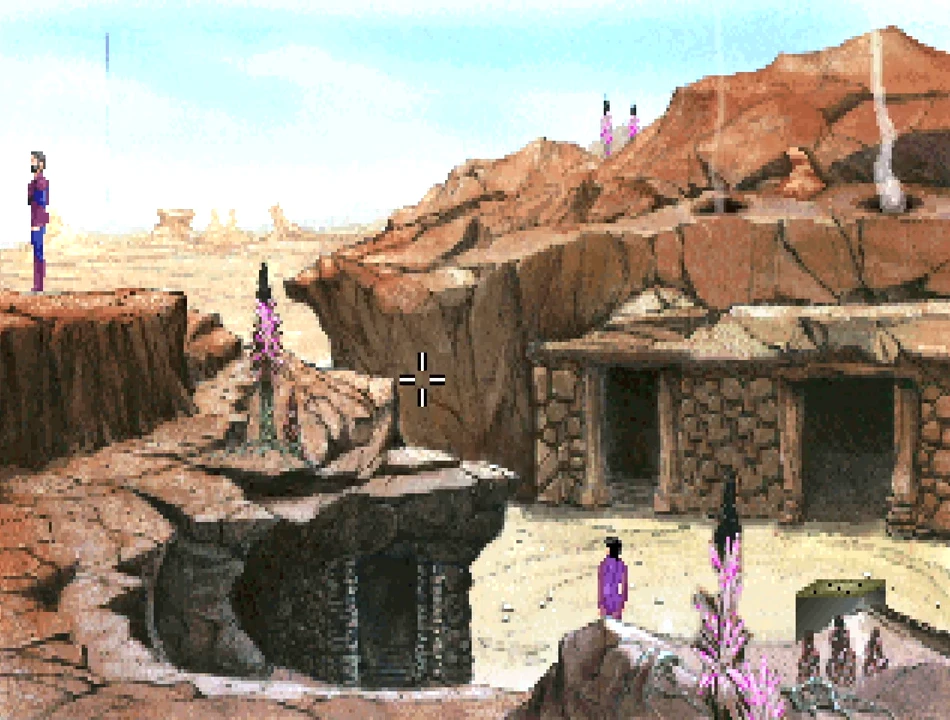
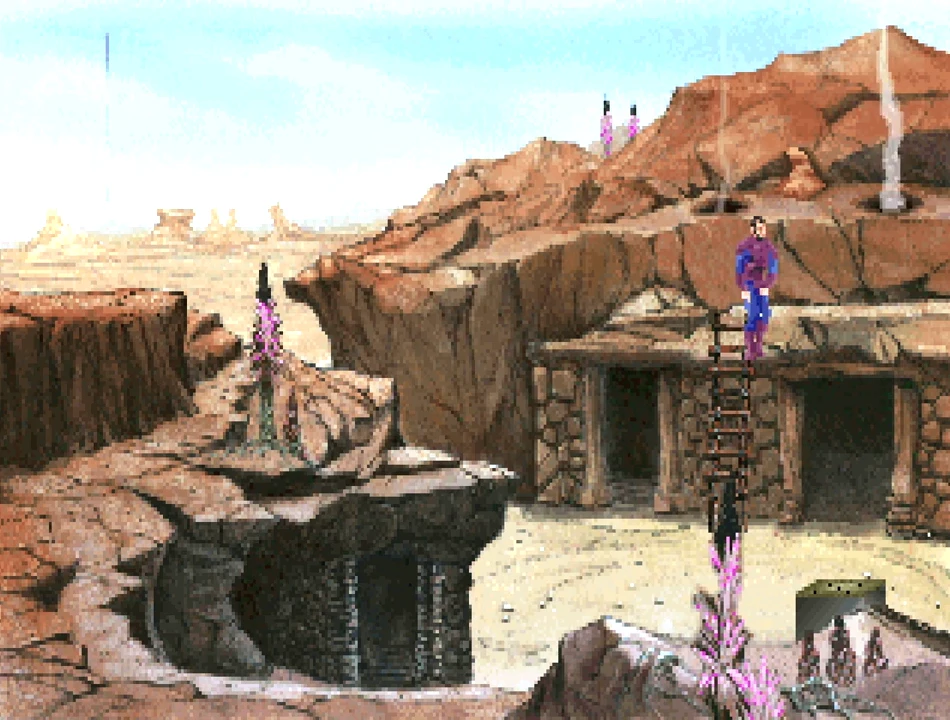
The map of earth
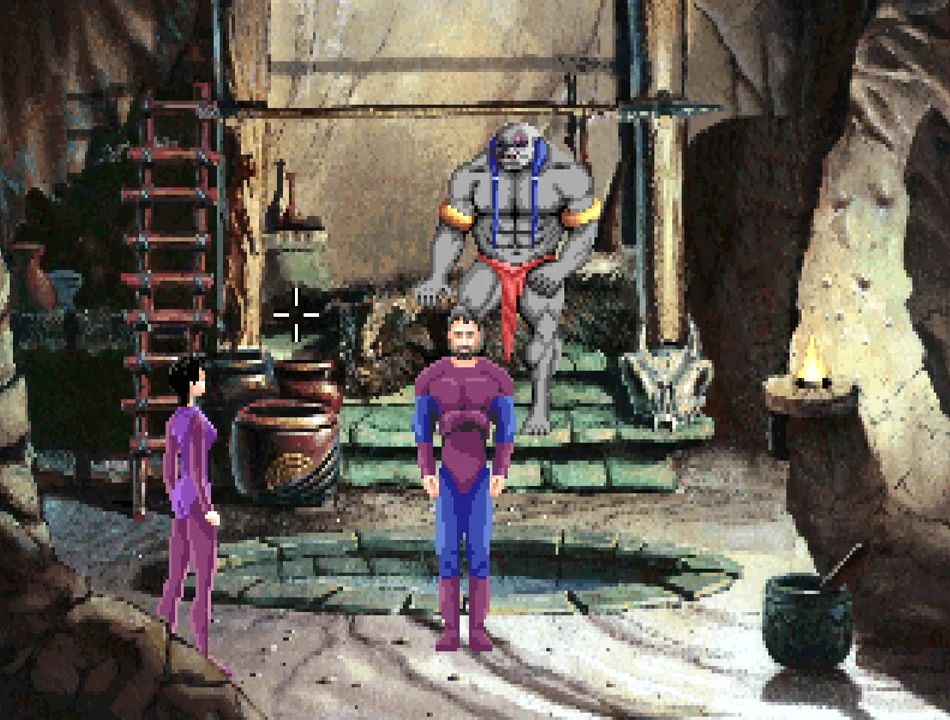
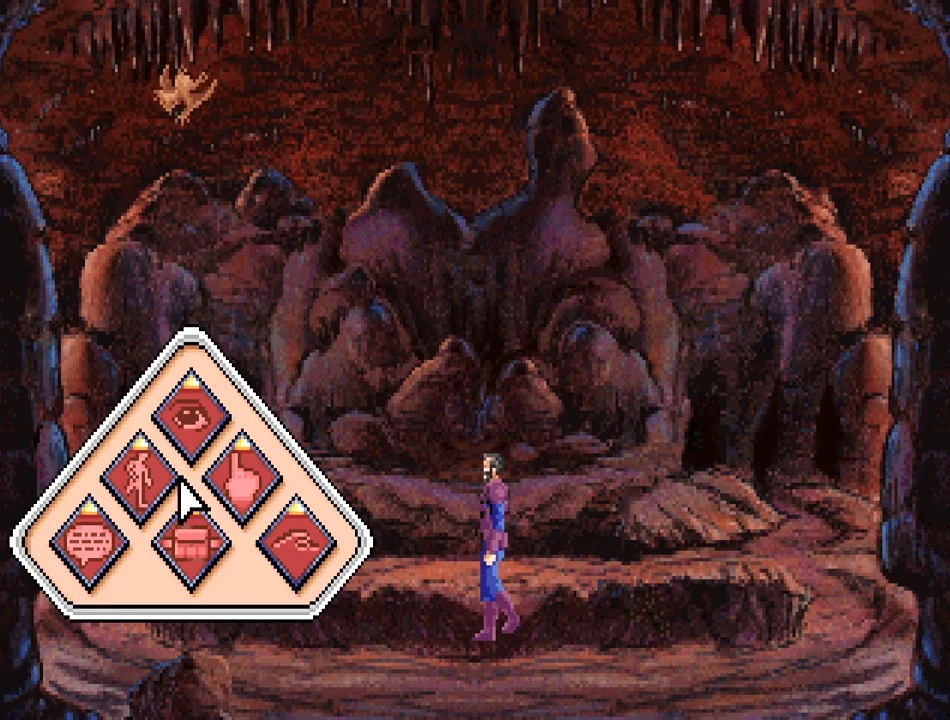
The next location is the above place - an alterior Earth reality. Before you zip down there with Seeker, Miranda reveals that the sunflower box contained a stasis field control unit. Wow. Your first encounter on 'Earth' is a non-human slave, washing clothes. He won't talk to you (because he's scared of Seeker). Heading towards the city you discover a Kzinti nobleman and his human slave. The Kzniti have invaded Earth and now the map is ruled by a telepathic Patriarch, donated power by his 'silver crown'. Talk to the slave to find out that the 'silver crown' is hidden in the Patriarch's chambers. Wear the washed clothes and then go left, and keep going left until you reach the castle gates. Slipping in by virtue of your disguise, you will be presented to the slave overseer. You will be assigned to the dining hall. Grab some straw before you depart.
More, more, more
Leave via the door, walk right and then down into the dining room. Watch as the rather deadly Patriarch kills a clumsy slave and gets blood on his tunic. Talk to the ruler and volunteer to get him a new tunic. Leave via the door and go right into the entry hall of the Patriarch's chambers. Show the tunic to the guard and enter the chambers.
Walk into the closet, but ignore the tunics. Touch the cabinets without handles and you'll find that the centre one is hollow. Examine the statue on the column between the tunics and, more importantly, the arrows in the quiver. Touch the arrow which sticks up at a 'strange angle' to open the cabinet. Inside there are two swords - a scimitar and a short sword. Take them both and then exit the cabinet.
Notice the similarity between the short sword and the swords carved into the columns against the walls. Similar or what? Use the sword on the column next to the door of the closet. The sword will fit like a glove and a panel will open to reveal a psychic amplifier (or something) enclosed in a stasis field. Take the helmet (obviously). Put the straw on the bed and use one of the candles to light it. The bed will flare up allowing you to exit safely without the guard getting in the way. Quinn will automatically exit outside. Walk to the balcony at the back of the screen, select your scanner and make your escape.
The end (ish)
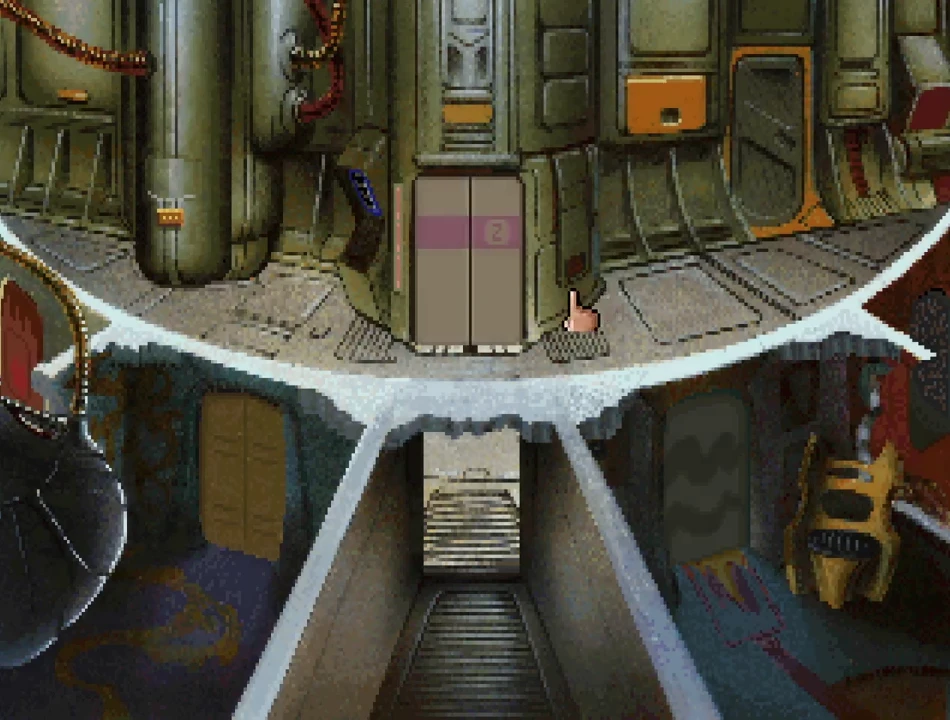
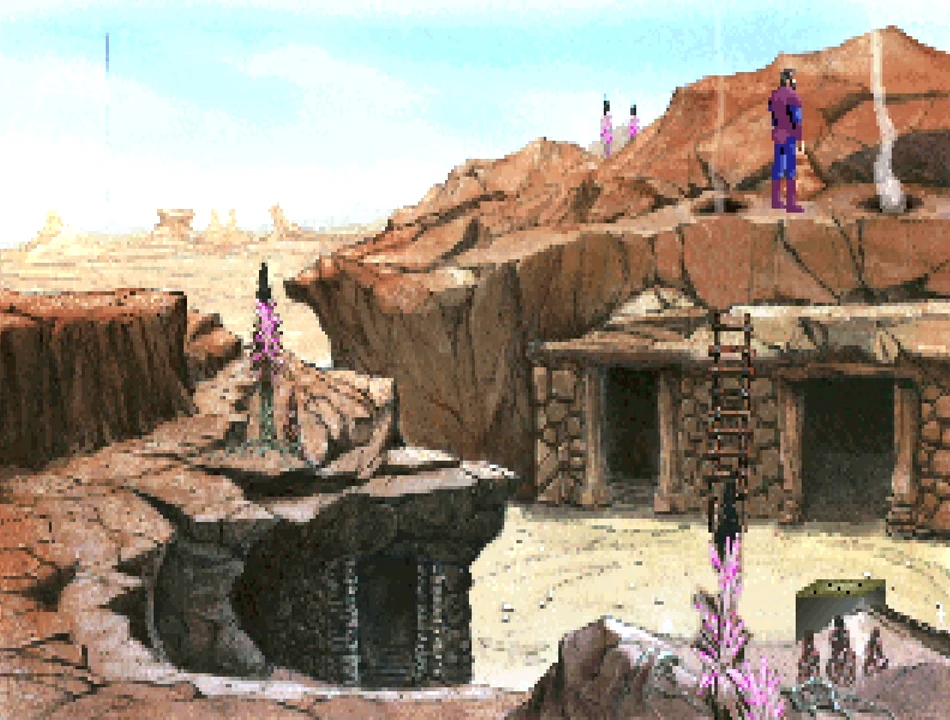
Once back at the lander, a conversation will ensue and you'll end up back at the canyon. The priest will allow you to examine the 'sky silver'. The stasis field negator will lower the shield and you will have access to the ships' sealed hatch. Touch the access panel to reveal a keyboard. Press this sequence: 3-4-1-1-5-2-6. The hatch will open. Inside is a badly injured alien and a dangerous antimatter situation. There are also two modules in storage slots and a maintenance panel, but you can't reach either yet. Pull the alien out of the ship and report back to Miranda. The key to solving the danger seems to be in communicating with the alien. Put the telepathic helmet on the alien. He'll give you the key to the magnetic panel. Go back into the ship and use the key to reveal a glowing globule of anti-matter. Use the empty stasis box on the sphere to contain it. Grab the modules and exit.
The end proper
Oh no. the alien has used the telepathic helmet to control Seeker and Miranda. Quick, use the sunflower neural control doobrie to zap the alien. Hooray - he'll be nicely sealed up back in his ship before long. Now let the lengthy end game sequence play itself to death...
Download Ringworld: Revenge of the Patriarch
System requirements:
- PC compatible
- Operating systems: Windows 10/Windows 8/Windows 7/2000/Vista/WinXP
Snapshots and Media
PC Screenshots


 Action Man: Robot Atak
 Blair Witch Volume I: Rustin Parr
 Cosmic Spacehead
 Cyberia
 Heart Of The Alien
 Mansion Of Hidden Souls
 Snatcher
 Space Ace
 Wild Wild West: The Steel Assassin