Return to Zork

| a game by | Activision, and Infocom |
| Genre: | Adventure/RPG |
| Platforms: | PC (1993), Playstation |
| Editor Rating: | 7/10, based on 1 review, 3 reviews are shown |
| User Rating: | 6.0/10 - 2 votes |
| Rate this game: | |
| Updated: | Sep 14, 2020 |
| See also: | Mystery Games, Best Detective Games, Quest Games, Zork |


Infocoms Zork and its various sequels sold over two million copies world-wide and so must be amongst the most famous adventure games in the universe, if not the most famous. Unfortunately, all the games suffered from a disease - a disease which appears (thankfully as far as Im concerned) to have become unacceptable in the 90s - they were text driven. It was like playing a game of dos 5. Okay, so some of the later Zorks contained the odd crude cga or ega picture but, nevertheless, to travel around the imaginary landscapes you had to crouch over your keyboard and type north, south, put wool on twig, open clam with fishbone and such like. So what changes could Infocom make when approaching the design to Return to Zork?
Let there be no words...
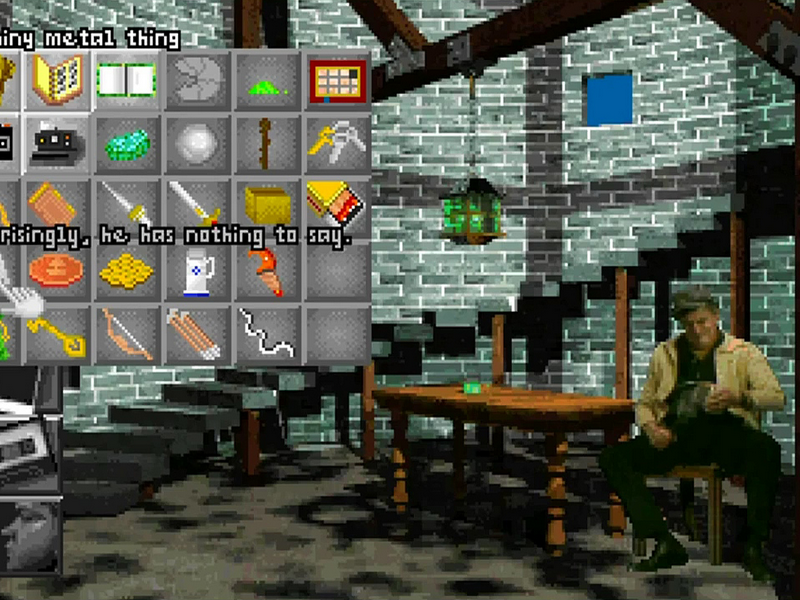
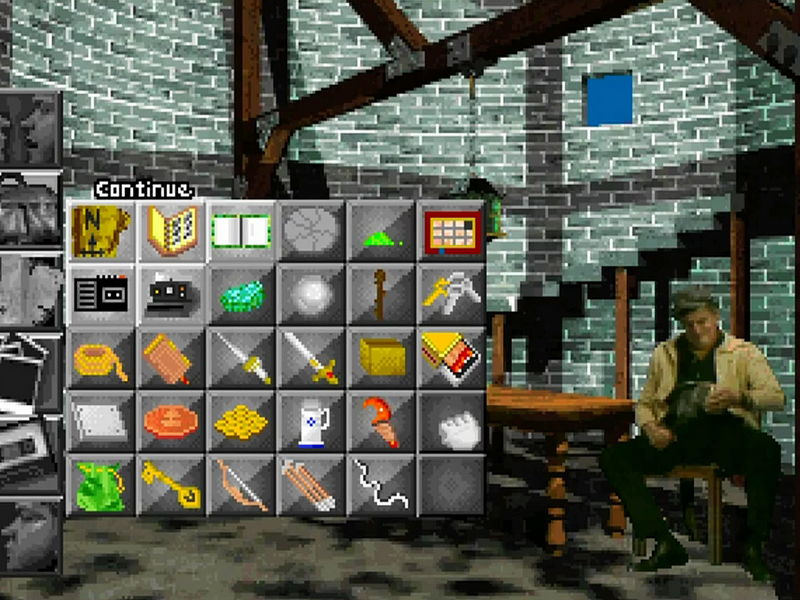
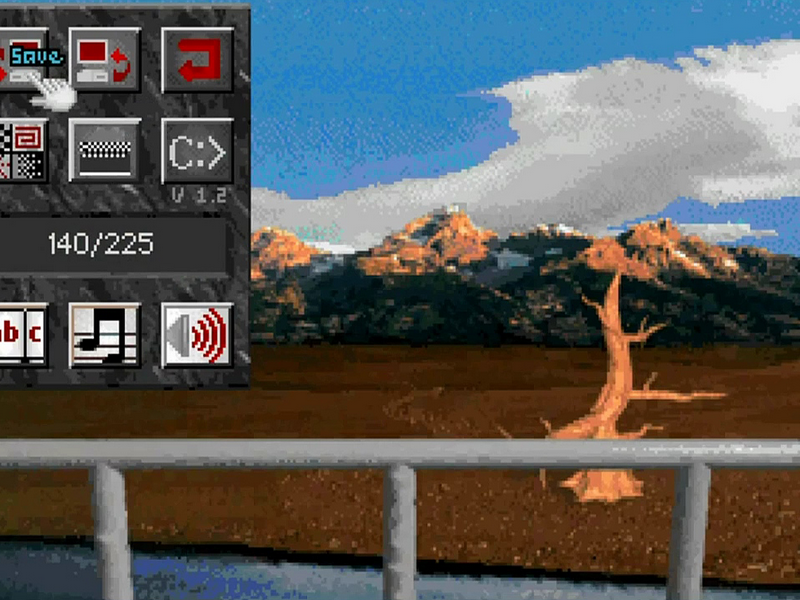
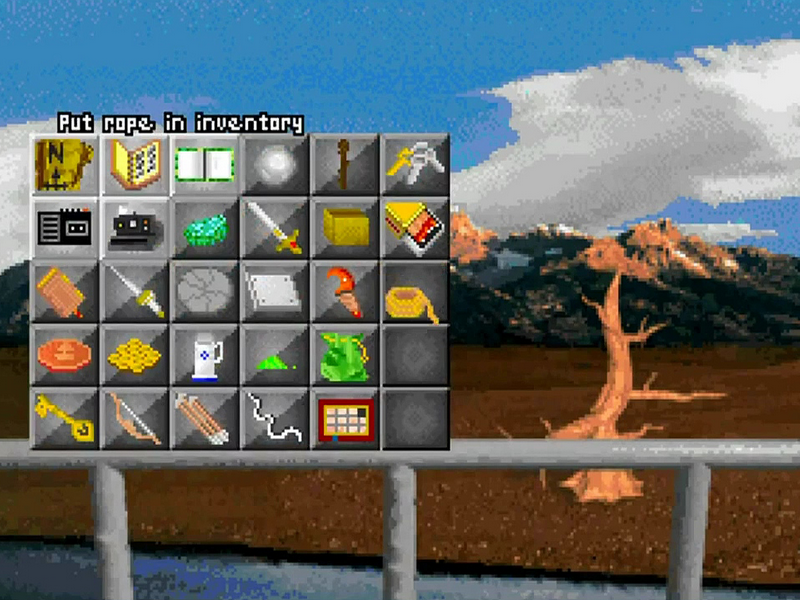
And lo, there were no words. Or, to be more precise, no typing. All commands in Return to Zork are entered via an extremely comprehensive but amazingly simple to use interface. Fans of the old games will still be able to do all the texty things they used to do, but without the need to touch the keyboard. Heres how the interface works (in a nutshell): a right click on the mouse button gives birth to a graphic inventory box. Click on the item you require and it replaces your cursor arrow. Move the item onto an object or person, click again, and another box appears, full ofaction icons (which differ in type and quantity, depending upon the nature of the object or person you intend to interact with). You then click on the relevant icon and the required command is carried out. The beauty of the system is that, because these action icons are stashed away in the computers memory until conditions are right to bring them out of hiding, you never know exactly what to expect (in true text adventure fashion). Its not like a LucasArts game where you know which verbs youll be using from the word go.
Let there be light...
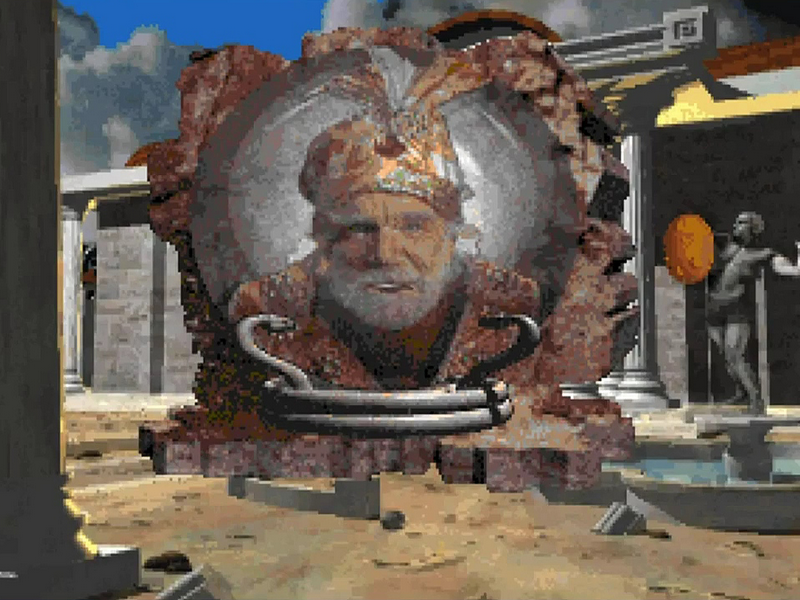
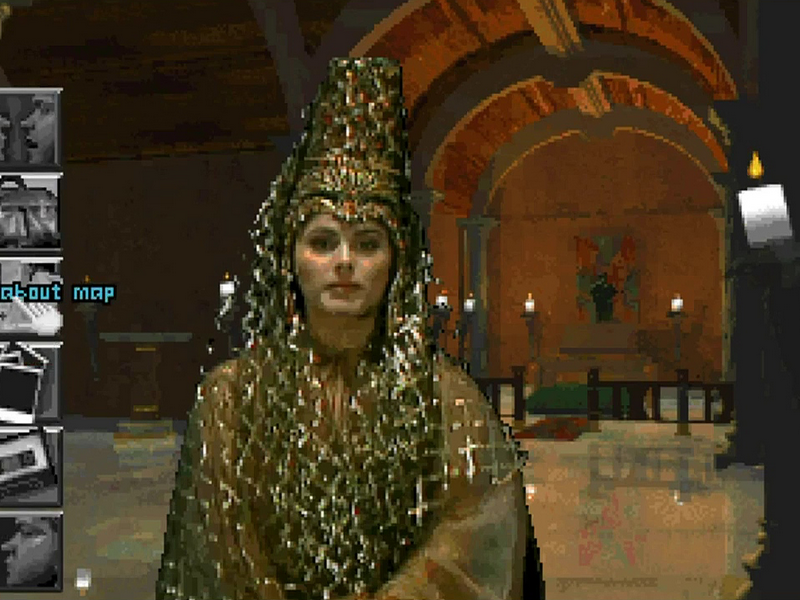
And there was light. Yes, pictures. But not just your tired old adventure game static pictures of blocky hobbits and things. Oh no. Technologically speaking. Return to Zork leapfrogs far beyond the shoulders of its ancestors and lands smack bang in the land of complete up-to-dateness. The semi animated computer generated location pics, although very nice on their own, arent particularly modern, but what is special is that theyve been enhanced by the inclusion of overlayed digitised animation: any characters you happen upon are real. Theyve been filmed. They are actors. If somebody in the game talks to you, their mouth will move, and they will gesture. If someone attacks you then they will, er, attack you. If you attack someone else they will cower. Or fall over dead. Or whatever. And there are cut-scenes too - you sit back and enjoy as full motion video clips play before your eyes.
Let there be sound...
And lo, there was sound. And it was digitised. Suddenly the reason for our beta version of Return to Zork coming on 12 disks becomes apparent, because every single thing said to you throughout the entire game can be heard by your very own ears. Yes, you read correctly. Every single thing. Every sentence. Every word. Every grunt. Theres no conversation text whatsoever. The only text youll see is text demanded by the storyline, such as the writing on different pieces of paper when rifling through the drawers of a filing cabinet, or the writing on a sign, or on a door. Its like life really, the rule being that speaking things speak while inanimate things dont. Suddenly all those people who had Zork filed under Ny the same heading as The Oxford English Dictionary, Old hizzards Guide To Medieval Footwear and the informative if weighty The Definitive Vexiologist are going to be in for one heck of a surprise.
Let there be a tape recorder...
And lo, there was a tape recorder - its in your inventory when you begin the game. Every time you have a conversation, with any character, the speech is automatically recorded. Why? Ill illuminate. Imagine youve spoken several times with character D, and now you happen upon character What you can do (using the aforementioned interface) is to ask character Q. about bits of the conversation with character D. Simply whip out your recorder, fast forward to the part youre interested in, and click on the play button. When character Q has heard what was said, he or she may have some comments to add. (Or not, as the case may be).
Let there be a camera...
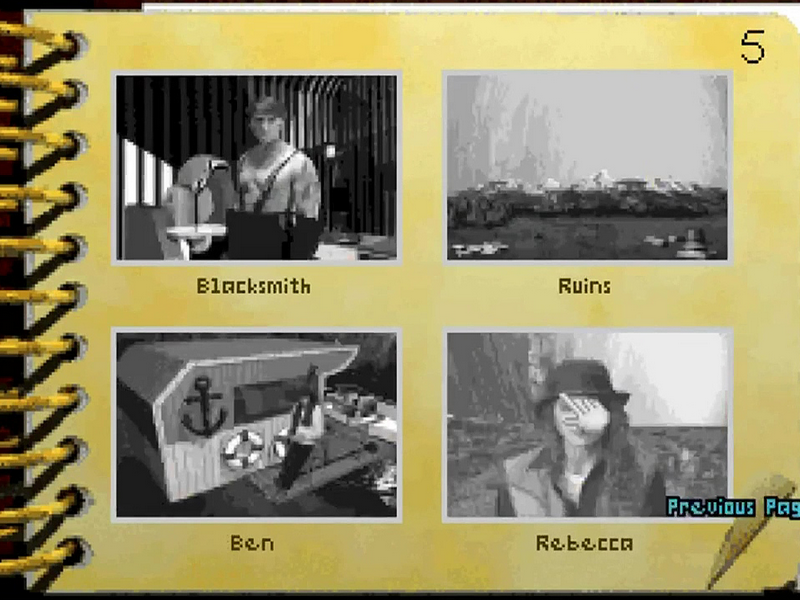
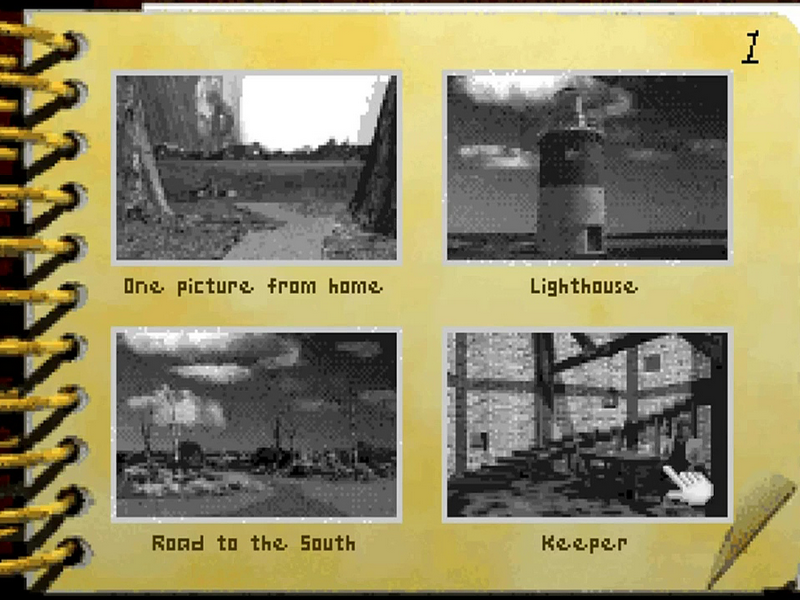
Along similar lines to the tape recorder is the camera -which is also with you from the word go. Open your inventory box, click on it, and fzzzzt, a flash goes off. Youve taken a snapshot of your current location. The picture is automatically assigned to your photo album, along with any others youve taken along the way. When talking to a character later on, you might like to ask him or her about a location you visited previously, so out with the photo album and flick through the pages until you find the one you want. Easy as pie. (Unless you forgot to take the photo you need, of course, in which case it isnt as easy as pie and instead becomes impossible.)
Let there be a plot...
And of course, there is a plot. The thing is, however, is that it unfolds as you play the game and so if I were to tell you anything about it here itd only spoil things for you. Suffice to say that youre in this place and you dont really know whats going on, but eventually you probably will. Hey, how about that? The definitive description of all adventure games, coined by me. Yippee!
Let there be a cast...
And, as youd expect from a game with digitised people and digitised voices abungo, theres a cast list as long as your arm. And the brilliant thing is that none of them are as bad at acting as Lord British (anyone whos heard his Through The Pillars speech from Ultima VII part II will know what Im on about). As I mentioned earlier, the characters in Return to Zork have been played by real actors, ones who do it for a living. Some of them have actually been in films and tv. You want proof? Okay then. Its a bit of a D list Im afraid:
Jason Hervey (The Wonder Years), Robin Lively (Doogie Howser, Twin Peaks), Ernie Lively (Passenger 57), A. J. Langer (Hangin' With Mr Cooper), Edan Gross (Northern Exposure), Julie St Claire Capone (Sid & Nancy), Nino Surdo (Major Dad), Sam Jones (Flash Gordon in the film Flash Gordon).
And there are many more too, but most of them have only been in tv progs we dont get over here in Blighty. Still, the main point is that the acting in Return to Zork wont make you cringe and, all in all, it looks like its shaping up to become something of a corker - even if it is a text adventure in disguise.
Download Return to Zork
System requirements:
- PC compatible
- Operating systems: Windows 10/Windows 8/Windows 7/2000/Vista/WinXP
System requirements:
- PC compatible
- Operating systems: Windows 10/Windows 8/Windows 7/2000/Vista/WinXP
Game Reviews
It's tricky, it's fab, it's graphically wow - it's Return To Zork. An excuse for the Ttueplayers to go into notepad-override if ever we played one. Aidan Reever has supplied us with a blow-by-blow complete spoil for this adventure. It's a continuous flow-of-consciousness so be careful if you're searching for a specific hint. You may read something you shouldn't.
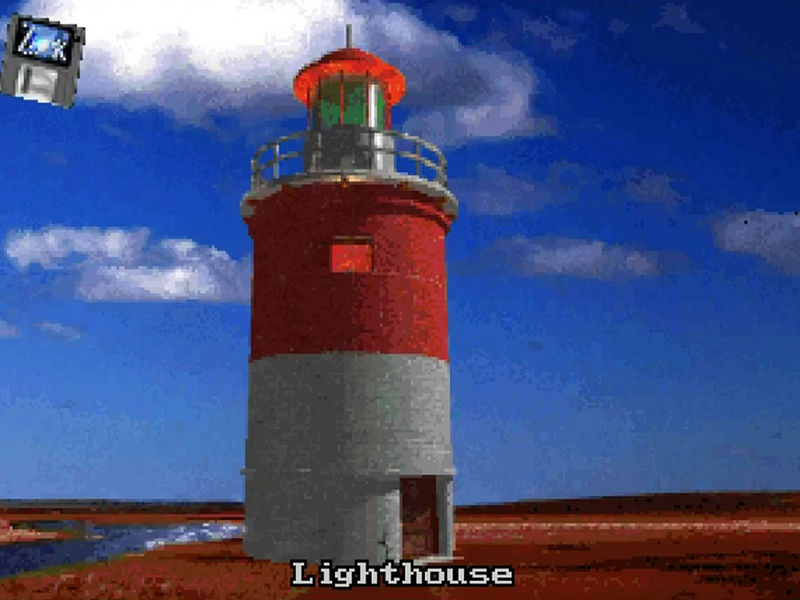
Lighthouse, raft, Ms Peepers
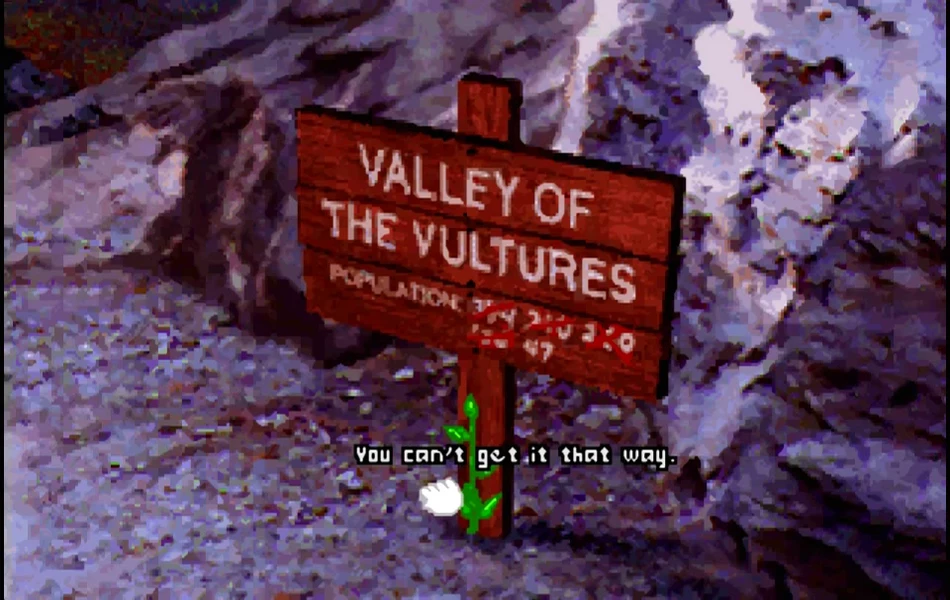
You've probably already done this, but some people, you know, they get stuck right at the beginning. So pick up the rock and throw it at the vulture. Examine the sign, select the knife from your inventory and click on the bonding plant. Dig it up and go forward twice to the Lighthouse. Go inside just for curiosity and realise you can't do anything here yet, so leave. Head around the left-hand side of the lighthouse and cut the vines with the knife. Tie the vines to the wooden plank and , click on the raft. Go forward once and click on the bridge. Head for the schoolhouse (the first building on the right). Hit the bell with the knife and talk to Ms Peepers. Pass the copy protection and she'll give you a notebook. Don't forget to take a picture of her (you'll need it later). Now go to the Mayor's office and rootle around to find some helpful hints in his filing cabinet.
Mice, mill, giftshop
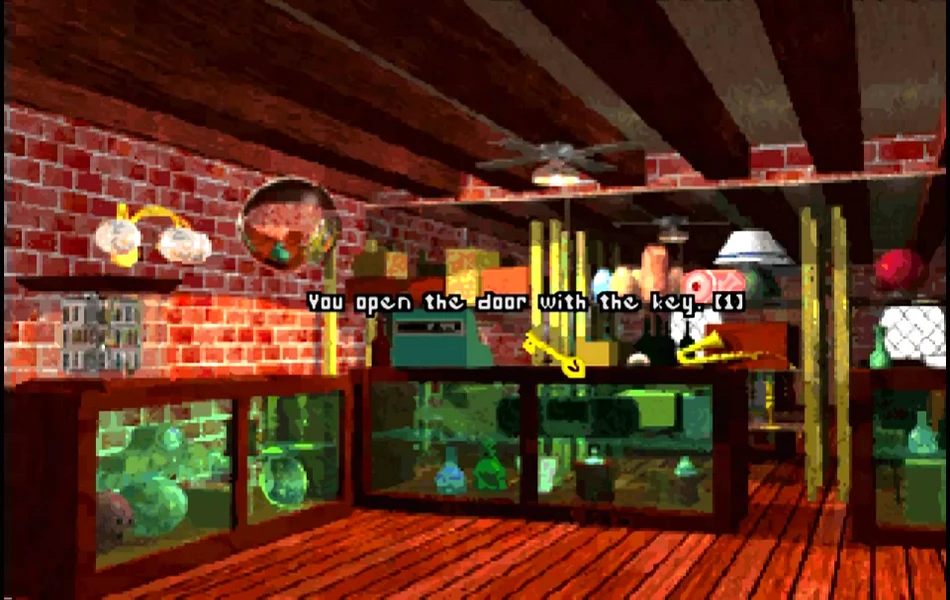
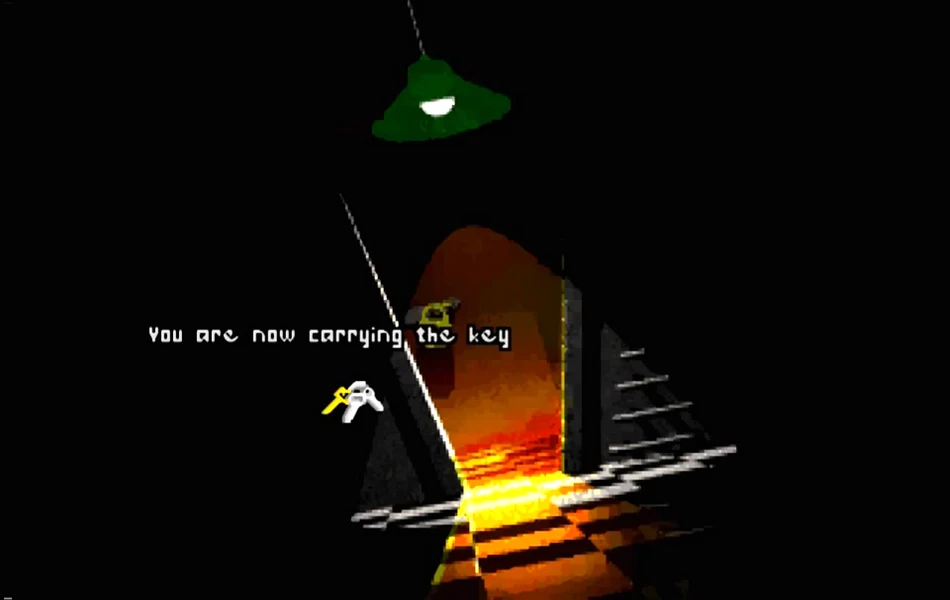
Right, now go to the hardware store (the next building on the right) and enter. Get the box and the crank but ignore the mice (they're useless). Exit and go back to the bridge, take a left, and go into the old mill. When Boos gives you the whisky, pour it into the plant. Make a toast and drink the empty glass. Repeat this procedure three times until Boos is pretty soused. Ask him for his keys and toast him again. Get the flask and go out the left door. Pick up the key, move the chock on the water wheel, go back into the mill and then head straight to town. Go to the gift shop and use the single key on the door. Grab the battery and steal the zorkmids and tickets from the cash register. Put the battery in your tele-orb.
New mill, moodock
Go back to the bridge and go right. Give the boy the tickets and fill the flask with river water. Return to the old mill and slip down the trap door. Use Boos' keys on the door and exit the new mill through the door on the right. Explore this new area and then from East Shanbar go to Moodock's building (the red one). Click on the Survivor game board and beat him. You'll receive a sword and a coin as a prize. Go to the blacksmiths (the stripey building). Give him the sword and leave. Cross the bridge into New West Shanbar to reach a fork marked by a memorial. Bear left until you reach The Fool's Memorial. Take the hook and head right until you reach Pugney's ranch.
Incinerator, whistle
Go to the red house and knock on the window. When he starts moaning, be apologetic and he'll let you take the box of bras. Go back to the shops of East Shanbar and go straight to the incinerator. Push lever one and throw the box of bras into the incinerator. Close the incinerator with the first lever and pull lever two. Examine the incinerator drawer to find the hot wire. Pour the flask of water over the wire and then pick it up. Go to the green building and use the wire as a picklock. Pick up the rats and place them in the box. Shake the cereal box twice and take the whistle. Go back to the blacksmiths and give him money for the repair work. Notice that the jewel is missing from the hilt. Show him the sword and then threaten him. He'll give you the true dwarven sword back. Show him the book you took from The Fool's Memorial. For two more zorkmids he'll read the book. He smudges the page and then gives you one zorkmid back. Pick up the book and leave.
Trailer, rebecca, silo
Now go back to The Fool's Memorial and go left at the fork. You should find yourself near a trailer and a silo. Go through the window and into the trailer. Slip through the first door on the left and click on the poodle. Now go into the door to the left of the open arch. Unfortunately, you'll get knocked out. Talk to Rebecca and pass the copy protection. Go into the kitchen, pick up the soap and drop it in the sink. Turn on the sink and wash the waifs gift in the sink. You now have one disc piece (of six). Open the fridge and take the frozen meat. Take the Thermos from the table. Go into the room on the right of the arch, examine the nightstand and take the mirror. Go outside, face the trailer and go right to the silo. Use the crank on the silo hatch and turn it clockwise. Pick up the carrots.
Witch, bog, tile puzzles
Give Ben some zorkmids to rent a boat. Take the rats out of the box and put them inside the motor. Go down the river to the Witch's hut and go inside. Drop the rotting meat on the ground and talk to her. Show her the book and then give her the love letter in exchange for the Witch's Stick. Do not touch the bat cage or the game will end. Pick up the stick and the meat, and leave via the opening in the hut. The map of the bog is random so you will have to map it out yourself. Use the stick on the patch of swamp you are about to step onto. If it sinks, don't go there. Make your way to the fork in the road (where the incinerator is on the left). Bear left until you reach the ancient ruins. Pick up the tiles and the frame. Select the tiles and use them with the frame. Drop the tiles into the frame. Examine the puzzle. Spell out the following (small letters): 'Water unseen at falls mix with bat droppings yields potion for (invisibility)' and (big letters): 'Search for three more pieces on the ground where this (was found)'.
Forest of spirits
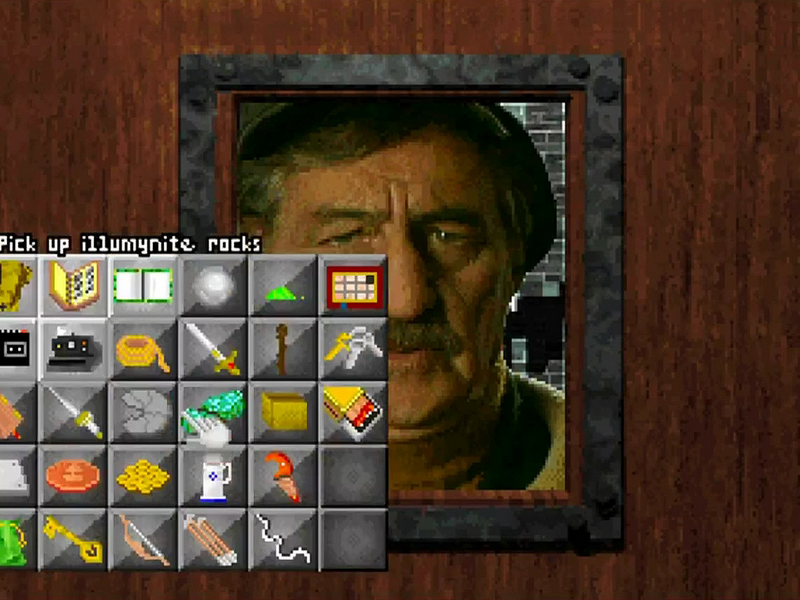
After solving said puzzle, you'll find two illuminite rocks and another piece of the disk (2 of 6) right where you're standing or behind you. Now you can see trees on the left. This is the Forest of Spirits. Go there. Go north, east, east and south to reach a tree with metal leaves. Hit the tree with the witch's stick to get more zorkmids (you'll need to do this several times to get tons of mullah). Turn around and go west, west, north, west, south and west. Give the Thermos to the Archer. Pick up the Thermos, the bow and the arrows. Go north, north and west. Quickly light a match. Click on the fairy, be friendly and you'll receive some fairy dust. Go east, south, south, east, north, east, south, south and south to return to the ruins. If you run into Rebecca at any point just show her the book (you can usually find her right of the Hero's Memorial fork). After she's translated the book (and only after) make your way to Snoot's Farm.
Comedy club, vulture pits
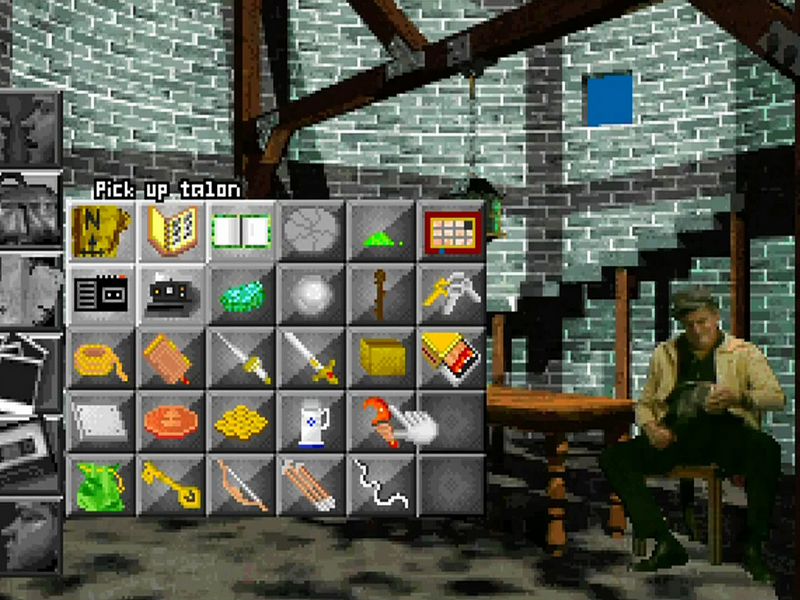
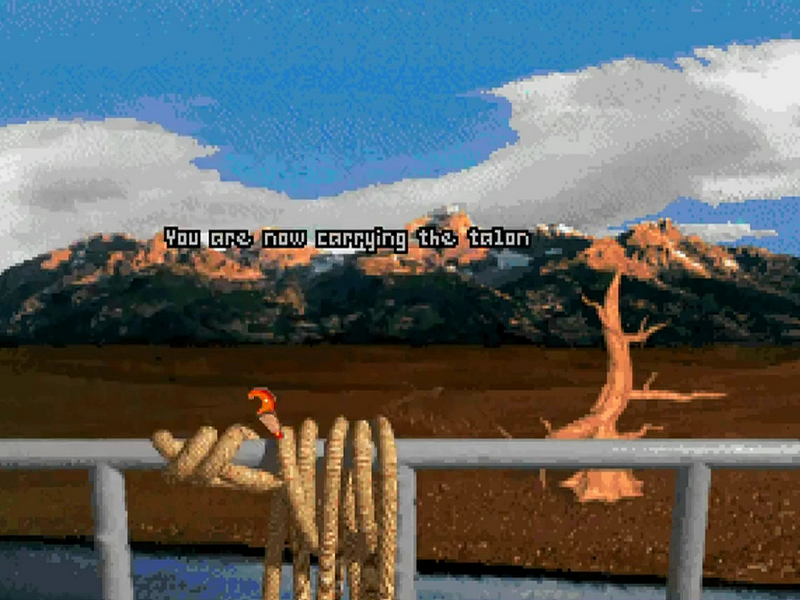
Go left at the farm to find yourself on a path with trees and water in the distance. Head towards the tree. Take the rope from the railings and tie it on the tree. Go down the rope twice. Important: before you go down you must have the living bonding plant in your inventory and have had the book translated by the blacksmith, Witch Itah, the Mayor and Rebecca. Enter Chuckle's Comedy Club. Once Cliff asks you to make him laugh, use the tape recorder to play back the jokes each of the four characters told you. On playing these, you win the contest and another piece of the disc (3 of 6). Exit quickly and go back up the rope. Stash the rope in your inventory, go back to Pugney's ranch and take a left to the vulture pits. Take the fairy dust and use it on the rotting meat. Select the meat from your inventory and then throw it. Quickly go forward into the pits, grab the talon and leave. Go back to the barn, milk the cow again and put the milk in the Thermos. Go back into town and head for Ben's boat (you must make sure you have a picture of the cow). Pay for another ride and return to the witch's hut. Ask her about photos and show her the snap of the cow. Take the bat cage and exit through the bog.
Whispering woods, reaper
Now, from the incinerator, go right to the Whispering Woods. Make sure, at this stage, you have the Thermos with the milk, the bat cage, the sword and the coin Moodock gave you. Select the cage and release the bats. As soon as they fly off, pick up some bat 'guano' from the ground. Follow the bats when your vision starts to go wonky. If the message 'Can you see the Ga-lactic Milky Way?' sounds, take a drink of the milk. If you lose the bats, then the following moves will take you to the exit: south, east, east, south, east, south, east, south, east, north, north, north, east, east, south, south, south, west, south, south and you should be out. Go onto the Ferryman's dock and ring the bell three times. Show the coin to the Reaper - don't give it to him. He'll take you across the lake. Go up the hill to Canuk's shack. Go to the door and prise the door knocker off with your sword.
Bottle, vulture, lighthouse
Enter the shack and pick up the bottle and the scroll. Read the scroll to the duck to make Canuk appear. Ask Canuk about the bottle and he'll teleport you inside. Do the following quickly: go forward three times; get the rag; examine the safe next to the bed (combination = 9427); open the safe; get the disc piece (4 of 6) and the rusty metal thing. Put the mirror in your hand and get out of the bottle. When Canuk starts to kill you, click the mirror on him and change him into a duck. Go back to the Ferryman's Isle and hit the bell twice. Give the reaper the coin. Go back through the woods, following the bat trail. Drink the milk if you have to. Clean the rusty metal thing with the rag. Head towards the vulture pits. Use the magnet (Canuk's door knocker) with the whistle and then blow the whistle. A vulture will pick you up. You can now go anywhere on the map just by clicking on it. Get some more hay from the barn and carrots from the silo, then head for the lighthouse. Go in and give the keeper one of your illuminite rocks. Show the keeper your disc pieces and he'll give you number five. Go upstairs, take the rope and tie a cow-hitch knot on the railing. Take the talon from your inventory and tie it to the rope. Then throw the rope.
Temple, troll cavern, pile
Go forward to the tree and forward again to the temple. Get the shield from the statue and enter the temple. End your conversation with the woman and give her your sword. She'll bless it. Exit the temple, turn 180 degrees and exit via the right-hand door. The dwarven leader will give you a helmet. Take it and skidaddle. Go back to the lighthouse and pick up the rope and talon. Use your map and go directly to the troll caverns (right of the hero fork). Pick up the illuminite rock from the inventory and use it on the helmet. Wear the helmet, pick up your now blue sword and enter the caverns. At the first guard, swing left and go forward. At the second guard, swing up and go forward. At the third guard, swing down and go forward. And at the head troll, keep threatening him. He'll give you the fear necklace. Go directly to the Forest of Spirits via the map. First, go to the leaves pit. From the entrance go north, north, west, south, west, north, north, west, west, north, north, north, east, east, east east, east, south and east. At the leaves, use the talon and throw it at the pile. Take the knife and hit the trap with it. Then grab the talon.
Disc piece 6, dam, statues
Go through the new opening and north, north, north and north to reach a statue of a boar. Hit the statue three times with your sword to retrieve the final piece of the disc. Go back and west, north, west, west, west, west, south, west, west, north, west and west. You should now be at a spider. Show the fear necklace to the spider and it'll run away. Use the sword from your inventory and cut the web away. Go forward to the dam. Go forward once and fill the flask with the dam water. Take the bat guano from the inventory and drop it in the flask. Viola! An invisibility potion. Use the map to go directly to the Dwarven Mines (where you got the helmet) and enter the mine cart. In the mine, go left, right, forward, right, left, right, forward, right, left, left, right and forward. You should now be at the ancient ruins. From left to right, give the statues the following:
- witch stick
- talon
- Thermos
- box + helmet
- shield 6 tele-orb
Put the disc pieces in the trencher and push the red button.
Wall of illusion
You now have the flying disc of Frobozz. Pick up every single thing you see here and then use the map to go to the Cliffs of Depression. From there, do an about-face, and go left. You should be at the Wall of Illusion. Throw the disc at the wall and go forward into the Citadel of Zork. Take the bow from the inventory and click on the arrows. Shoot an arrow at the hand to open the gates. When you reach the Ore leader, drink the invisibility potion. When it says the ore guard can sense your presence, play the recording of Alexis the poodle. He'll run away. Go forward to the bridge.
Bridge, survivor, end...
At this point you must have all the following objects: shield, fear necklace, zorkmids, flask, helmet, knife, matches, bow, arrows, tele-orb, box, rope, fairy dust, Thermos, talon, witch stick, sword, illuminite, puzzle, carrots, hay, mirror, metal thing, rag, book, wire, Boos' key, gold key and the bonding plant. Throw all the objects at the bridge and into the fire. When you've thrown enough objects the bridge will be safe to cross (a message says so). Cross the bridge and play Survivor With Morphius. To win, play the following moves and make sure you pass if Canuk is occupying the next space you need to go to:
- B3, D4, C2, B4, D3, Cl, A2, C3, Dl, B2, C4, D2, Bl, A3.
That's it!
Return to Zork is an adventure game of epic proportions. The computer original will be appearing on the PS and the Saturn in the later half of the year. It will contain all of the great features that made the computer release a huge hit with the adventuring audience.
- MANUFACTURER - Activision
- THEME - Adventure
- NUMBER OF PLAYERS - 1
Snapshots and Media
PC Screenshots


Playstation Screenshots


 The Journeyman Project 3: Legacy of Time
 Discworld
 Temüjin
 The Longest Journey
 Dracula: The Resurrection
 Return of the Phantom
 Scarface: The World Is Yours
 Dracula 2: The Last Sanctuary