Time Gate: Knight's Chase

| a game by | Infogrames |
| Platform: | PC (1995) |
| Editor Rating: | 7/10, based on 1 review |
| User Rating: | 9.0/10 - 2 votes |
| Rate this game: | |
| Updated: | May 12, 2026 |
| See also: | Action Games, Puzzle Games, Old School Games, Cult Classic Games |

Museum entrance
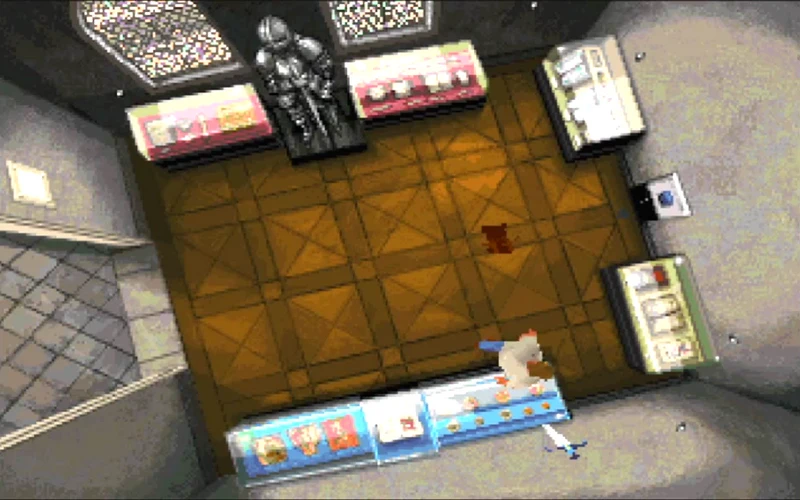
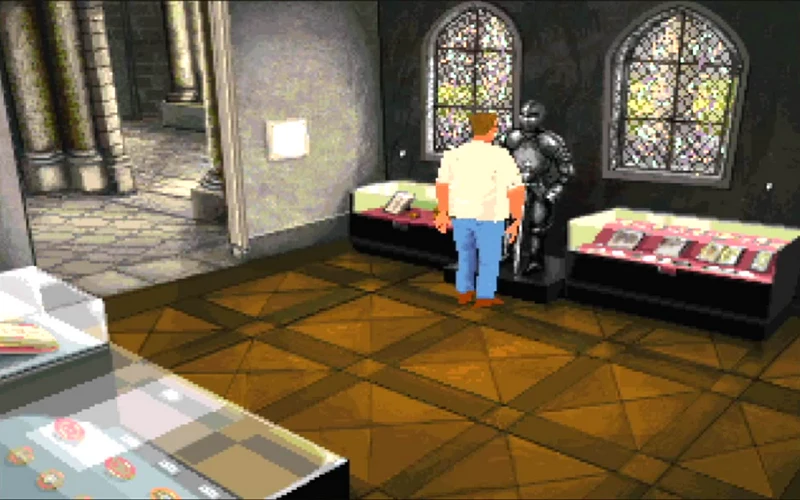
Enter the museum and go to the room where the Japanese film crew are busy working. Pick up the headphones from the top of the chest, then leave. Enter the room at the opposite side of the hall and get the sword and shield. Look at the large picture to hear a tale. Go next door to the ticket office.
Offices
Take both the catapult and compact disc off the desk. Now go to the side of the computer and plug it in. Use the cd with the computer - you'll find that you automatically use the headphones. Go next door to the director's office.
Search the desk drawers to find a key. magnetic card and a magazine. Head back towards the main hail.
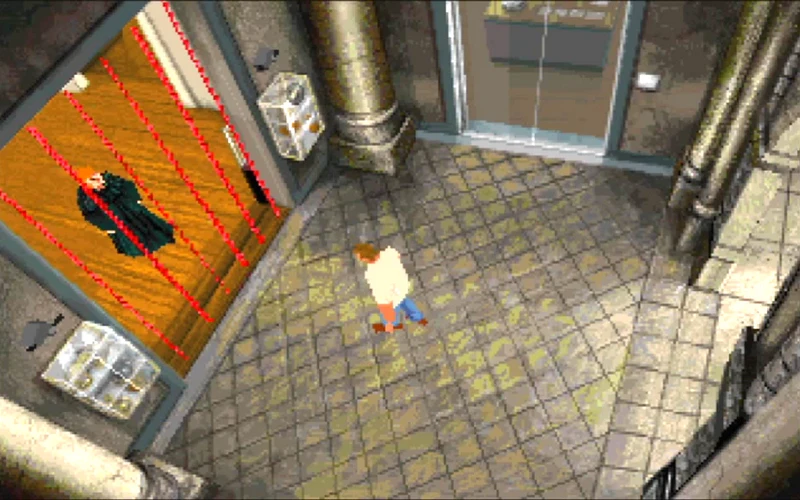
On your way back you'll find the laser alarm has been activated. The path to follow is straight across to the opposite wall, first moving to the centre, then heading back around rhe furniture to the opposite side, then straight across. Follow this far wall to the door.
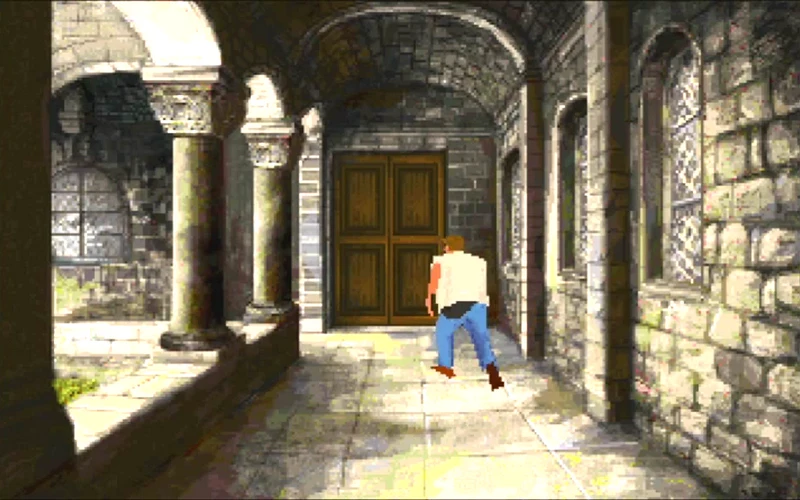
Entrance hall
Grab a screwdriver from the toolbox and use it to open the door to the room where you found the headphones. Get the foam (not the water) extinguisher. Return to the entrance hall and use the key on the large grey control box. Use the foam extinguisher on the opened panel to disable the alarms.
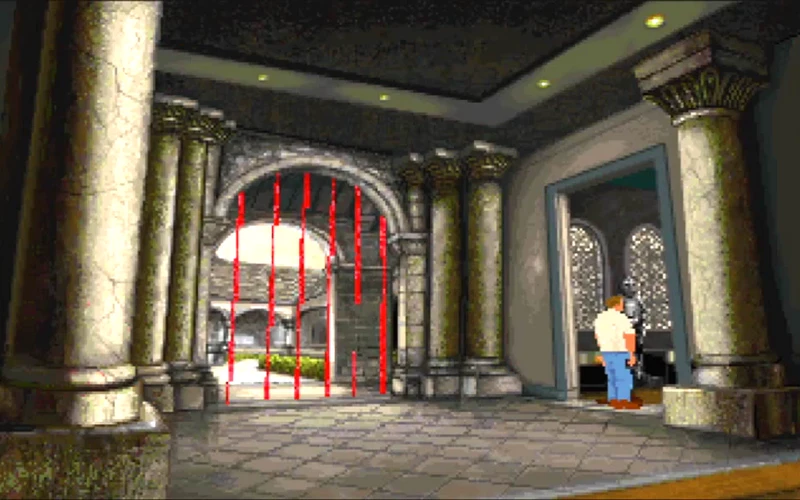
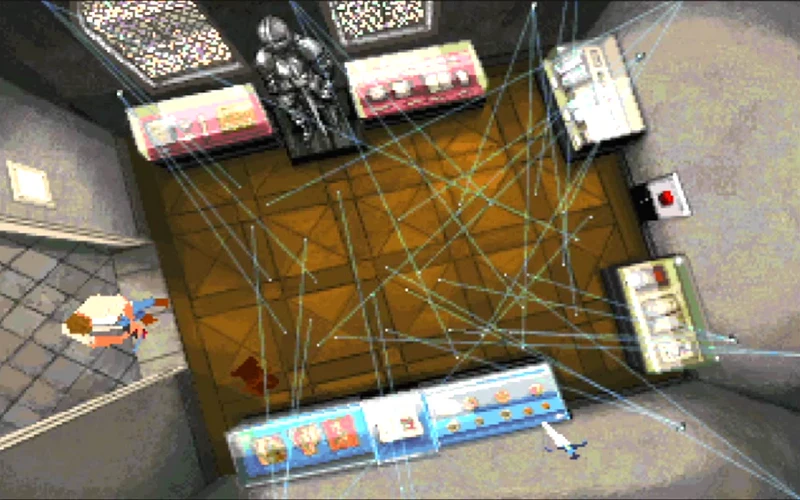
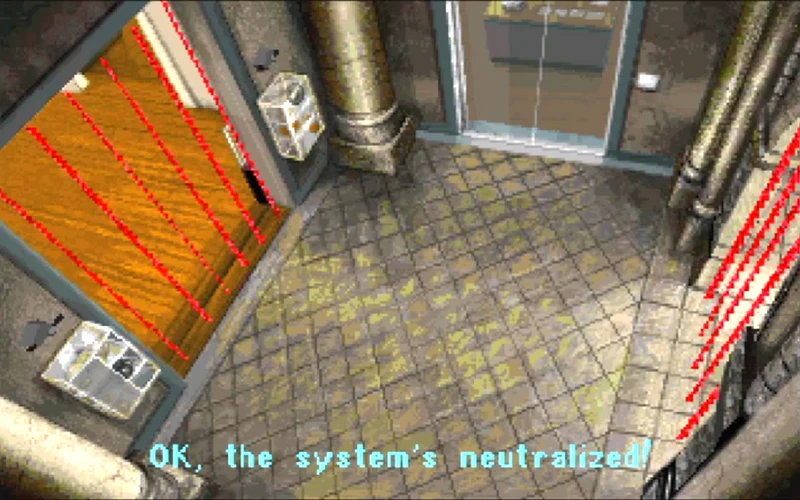
Move into the room to the left of the control box and arm yourself with the sword and shield to fight the knight. Open the showcase with the magnetic card and take the ammunition for the catapult. Head for the doorway of the next room and use the catapult. The trick is now to move the remote-controlled catapult through the laser beams to a point directly in front of the alarm cut-off switch. Begin by going to the bottom of the screen, along the wall to the middle then out into the centre, and forward - you'll know when you've reached the correct spot as you will receive a message telling you that you are correctly positioned. Arm the catapult and fire it.
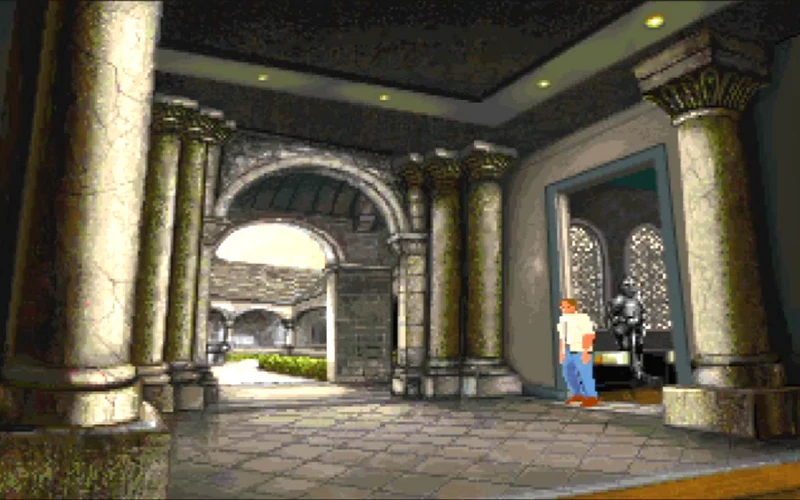
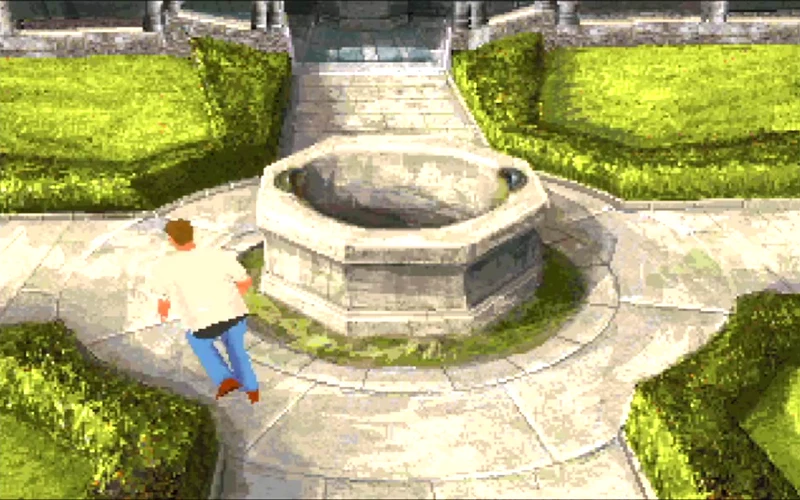
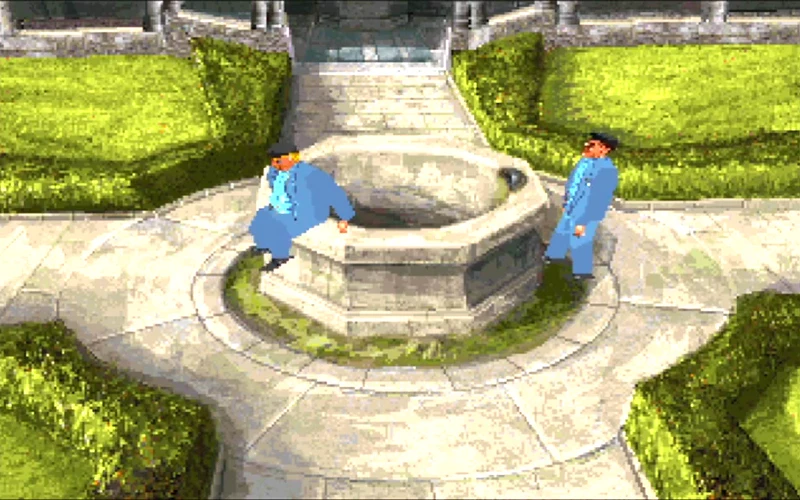
Once inside the room you can pick up another sword. Leave and enter the garden, where you must use the sword to kill another knight. Pick up the hologram which is lying nearby, then walk around until two men appear. Approach the man who is seated in the centre of the garden and you will be overcome and tossed down the well.
Hie past
Pick up the lute, throw it to the other cell. Stand behind the guard when he appears and kick him - he will stumble forward and be disposed of. Pick up the key which the other prisoner throws to you and escape from your cell. Enter the opposite cell and pick up the water jug. Kill the next guard and get his keys. Go near the guard room to activate the next guard and kill him as well.
Enter the guard room, pick up the wine and drink it. leave and use the keys to open the large metal gate to the stairway. At the top of the stairs move out of the path of the blind man. then when he has gone search the fireplace to find another key. Open the locked door and quickly move past the ram to get the shepherd's crook and sheepskin waistcoat. Go next door and get the ham. bottle and bucket. Return to the previous room and fill the bucket by using it on the tank of water.
Return to the room with the fire and use the water to put it out. Now go to the left of the fireplace until the view changes; use the 'investigate' option on the fireplace to make your hero duck inside and climb up the chimney.
Face the rope and use the waistcoat (which makes you use the shepherd's crook!); this will take you over the gap. Go through the left-hand exit, then go immediately left, following a beam into a doorway. Go right; you'll find yourself above a sleeping monk. Use your staff to hook the monk's habit. Go straight through the room and turn right to a dead end. At this point you can safely jump off the beam to the ground.
Cross room
Open and search the box on the wall to find a book and a hologram. Push the cross to open a secret door to the writing room.
The writing room
Search the tableto find an empty pot. a pot of water, a pot of bone black, a pot of spleen and a pot of pitch. Go to the back of the room and search the desk to find a stiletto. Climb the stairs to find the quill on the desk and a writing box from the cupboard. Go to the writing desk (second from the back of the room) and use the book to place it on the desk.
Use the stiletto on the book to find a gem. and the water, spleen and bone black to fill the empty pot with ink. Now move in front of the piece of paper on the desk, and use the ink and quill to create a copy of the book. Now 'use' the monk's habit to wear it. Pick up the book.
Warning - the following sequence is being timed, so move your ass!
Go back to the room with the cross, stand before the open box and drop both the book and the writing box. (This should return both items inside in the box.) Return to the writing room and push the torch on the wall to open the door. When the monk appears, follow him closely - if you move too far away from him you will be killed by the guard. Follow the monk around the courtyard until you come to a closed door, located on your right. (You will get a message at the appropriate time.) Go right and enter the hospital.
The hospital
Turn left and pick up the pot which is lying beside the locked door. Throw the pot to smash it open and reveal the key to the locked door. Enter the room and collect: an empty test tube, badger hair, nux vomical. herbs and toad's spittle. Pick up the book from the table and read it to get the formula. Use all of the ingredients you have collected to fill the test tube. Leave and find the leather cutter in the shoe workshop.
Search the bakery to find two loaves of bread. Use the test tube to turn one of the loaves green. Enter the Templar's cell and throw the green loaf to put the prisoner to sleep. Use the leather cutter on the statue to obtain a ruby. Prepare yourself with a sword then leave the cell to fight the two guards which appear. The second guard will drop keys which you must collect to open the door to the mortuary. Push the corpse to reveal a golden heart. Leave the room and travel around the hospital corridor entering each room to search for statues. Use the leather cutter on all of the statues to gather seven gems; you should find an onyx, amethyst, emerald, plus three diamonds from the room next to the bakery. Drink and eat to top up your health to a maximum. Return to the mortuary and use the gold heart on the statue; at this point another statue will appear at the opposite end of the room. Quickly move to the new statue and examine it to reveal a potion which you will automatically drink and fall asleep.
The torture chamber
Move the right cursor arrow to rotate the wheel and escape. Kick the guard to kill him (it can be done!). Take the ring and red stone from the table. Swap the two flaming torches to open a secret door. Inside the corridor take the first left to meet an old warrior - use the ring to identify yourself as a good guy. Pick up everything, then open the chest. While you are being viewed by Wolfram, dazzle him using the strange red object and the leather bag. Search the chalice to obtain nine gems. Use the ring to open a way out of the cell. But before proceeding, wear the monk's robe.
The library
Use kicks and punches to fight and kill the monk who is waiting for you. Walk around the room to find the two tombs. Use the ruby and the crystal gem on the tombs to receive a knife and a health potion - drink the potion if you need it. Go through the double doors to the banqueting hall and quickly pick up and use the pile of plates to prevent the guard from killing you.
Go to the kitchen and then into the pantry, where again you must kill a monk/demon using kicks and punches. Use the onyx and emerald on the two tombs to receive a weapon and a key.
Use the key to open the door to the garden. Run past the zombies to the two tombs at the far end. Use the amethyst and opal on the sides of the tombs to receive an axe and chain mail. Wear the chain mail and use the axe to kill the zombie. Arm yourself with the crucifix to fight the green monster. Pick up the ghoul's tooth that the green monster leaves behind and use it to open the door to the tower.
The tower
Push the statue which is on the right of the screen to open a secret door in the entrance alcove. Go through the door and make your way back to the torture chamber and then through to the jail. Kill the guard to get a key. and then use it to open Julia's cell. Take care here because Julia will turn 'nasty', so quickly run back to the torture chamber and then follow your old route through the Templar's cell and up the stairs to the library again (at the same time dodging any demons on the way). The main doors to the garden will now be open. Arm yourself and kill the guard who stands before the open door to the castle. Enter the castle and examine the pictures to find number VII. Push the painting to open a door.
Kill the black knight and make sure that you pick up the bracelet he drops. Climb the stairs and pick up the first weight you find. Face the bell rope and use the weight to gain entrance to the roof. Use a diamond on the tomb to get a horn. You will now be captured.
The church
As soon as your cell is unlocked inn to the table and pick up everything on it. Run quickly to the small chapel at the far end of the church which contains a large cross. Use the horn in order to be transformed into a Bird Knight. Fight and kill the executioner. Push the cross to open a door at the other end of the church. Make your way to the stained glass window and go through to a ledge up on the roof. Now you have to kill the knight by beating him off the ledge where there is a break in the small wall. Note that you can't actually kill him in a straight fight - use a move forward, overhead strike, move forward kind of technique to force him backwards.
Once back inside, push the unlit torch beside the double doors to open them.
Climb the stairs inside and use the crucifix on the statue to open a secret compartment in the central pillar. Push the small font inside the compartment to open a secret door downstairs in the church.
Go to the secret door - opposite the chapel - and enter it. Collect all items from the shelves, plus a torch from the fireplace. Read the book on the table for the formula. Make the potion by using the lead beads, tin, lustral water and antimony in that order. Arm yourself with the torch and use it as in fighting mode to destroy the pentacle.
Stand next to the closed book on the statue and use the potion. Pick up the Templar seal from the wall. Now use the bucket and rope, then use it on the well to get water. Once you've got the water, use it on Juliet to wake her. Use kicks and punches to destroy the demon. Go back to the stained glass window and push the large cross to a position halfway along the balcony - in front of the stained glass window - where it will fall and kill Wolfram. And that's it you're very nearly a hero - now all that's left is for you to use the Templar seal and the glove to win the day!
Download Time Gate: Knight's Chase
System requirements:
- PC compatible
- Operating systems: Windows 10/Windows 8/Windows 7/2000/Vista/WinXP
Snapshots and Media
PC Screenshots


 Aliens Versus Predator: Gold Edition
 Amerzone: The Explorer's Legacy
 Art Alive!
 Blast Chamber
 Jack the Ripper
 Liath: WorldSpiral
 Sherlock Holmes: Consulting Detective
 Stubbs The Zombie
 Under A Killing Moon