Shadow of The Comet

| a game by | Infogrames |
| Platform: | PC (1993) |
| Editor Rating: | 7/10, based on 1 review, 4 reviews are shown |
| User Rating: | 9.3/10 - 3 votes |
| Rate this game: | |
| Updated: | Sep 8, 2020 |
| See also: | Old School Games, Mystery Games, Best Detective Games, Cult Classic Games, Lovecraftian Games, Quest Games |


Day Two
Following your ordeal the night before, you recover in the bed in your room. Dr Cobble has been tending to you. He orders you to get some rest, but you reply that this is out of the question. He writes you a prescription and leaves it on the table, telling you that youre running the risk of a heart attack and you must take it to Matthews straight away to get some heart pills. These are to be taken whenever you feel the slightest twinge.
You mention the Indian and Dr Cobble believes you mean Natawanga, an old Indian who lives in the forest, but when you mention Nerackamous he dismisses your story.
After Dr Cobble leaves you get out of bed and get dressed. Take the prescription and read it, then take it to the drugstore. Talk to Matthews and give him the prescription. You will ask permission to use his darkroom and he will grant it and give you a clue about chemicals. When he has left, go through the door on the left. Get the bottles containing Caustic Soda, Hydroquinine, Benzine Chlorate and Chromogenous. Some are on the table at the back of the room and some are on the shelf above the ladder. Go through the red drape into the darkroom. Switch the red safelight on by walking into the panel on the back wall by the door. Put all of the plates into the developing tray. Use Caustic Soda and Hydroquinine to develop the plates, and Benzine Chlorate and Chromogenous to fix them.
Once the photographs have been developed, you will switch the main light back on and examine the photos individually. The first two show normal constellations, but the final one shows a pair of evil eyes. The shock makes you drop the plate which shatters and you collapse. When you come to, Mr Matthews is attending you. He gives you a pill for your heart.
The demise of Jugg
Go outside and you will see Mr Coldstone. Talk to him and you will get clues about his involvement in the strange goings on in the town.
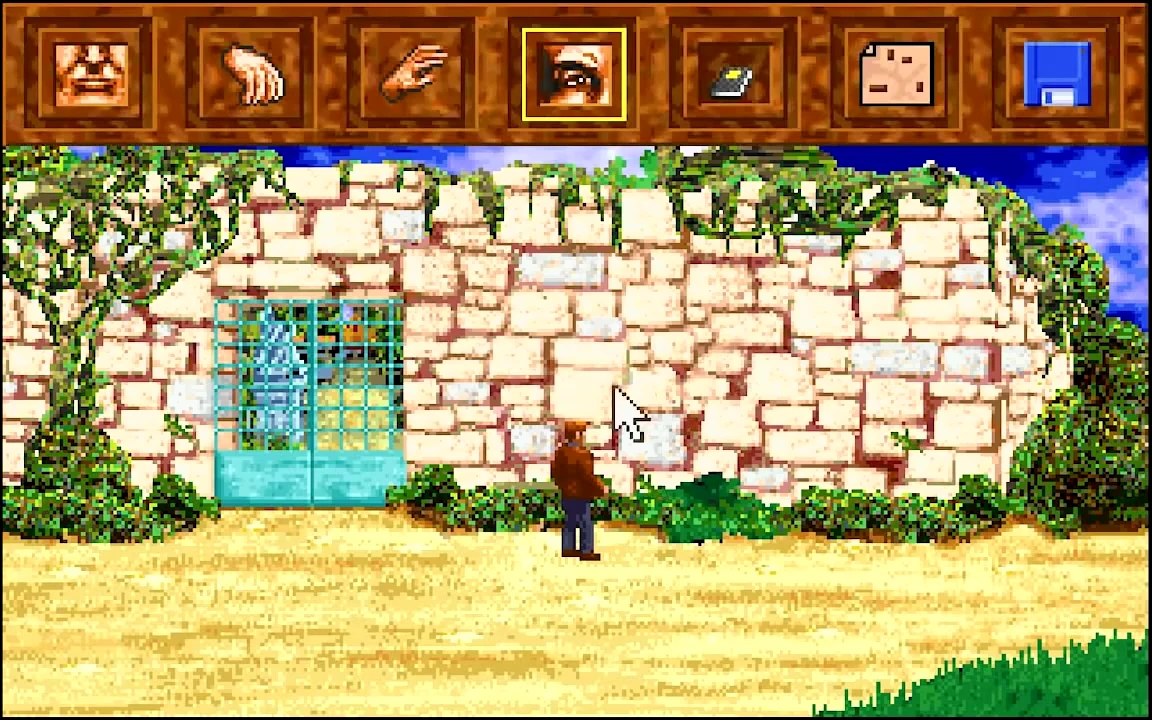
Go to Juggs house. As you arrive, you will see Wilbur Hambleton leaving. Try the door, but you will find it is locked. Follow Hambleton. He ducks into Myers shop. When you follow him inside he will drop something on the counter. It is a key. Take it and return to Juggs house and unlock the door with it. Inside there are blood stains on the carpets, indicating a struggle and injury. Take the statue of a baby from the table. Go into the second room and look inside the low cabinet. Take the statue of a young man. Go into the long hallway and look in the first butterfly case you come to. Take the statue of the old man from within it.
Go into Juggs living room. Look under the portion of the rug with a brown line across it and take the small key beneath it. Now look through the books on both sides of the room. Replace The Old Man of the Sea with the statue of the old man. Youth with the statue of a baby and The Invisible Man with the statue of the young man. The book case will slide to one side revealing a secret room.
Inside the room, Jugg is lying on the floor bleeding badly. Talk to him and he will tell you it is too late for him, but he can still be of some use.
Give him the parchment. He will interpret it for you and tell you about Cthulu and what you must do to stop the return of the old gods to Earth. He refers you to the Necronomicon and a note on his desk and then he dies.
Get the Necronomicon and use the small key to open it, then read it. Get the message and put the Necronomicon back.
Of indians and post offices
Leave the house. There will be people out hunting around for you. so dont use the map to find your way back to your lodgings. Instead, go north, north, west and north to get back safely. Go to your bedroom and read the message to get a clue about what to do next.
Go back outside where youll meet Jed. Decline his offer of a drink until later. Go to the post office (it is safe to use the map again now). Talk to Miss Guildchrist. When she mentions Indians, say: As for savagery...
Go through the door to Mr Underhouses apartment. Talk to Mr Underhouse. He will invite you to consult the map of the region. When you do so he tells you about the curse on the town and the strange practices taking place. He tells you that the background is in a diary kept in the mayors safe and advises you try and read it.
Go to Myers shop. Talk to him and say: Ill take everything to buy a brooch, locket and new set of photographic plates.
Breaking and entering with a bible
Go back to the post office and talk to Ms Picott twice. Say: Please forgive my behaviour... When she refuses to give you her bible, give her the locket and she will change her mind. Read the bible and find the passage that refers to the number of the beast. Note down the page number.
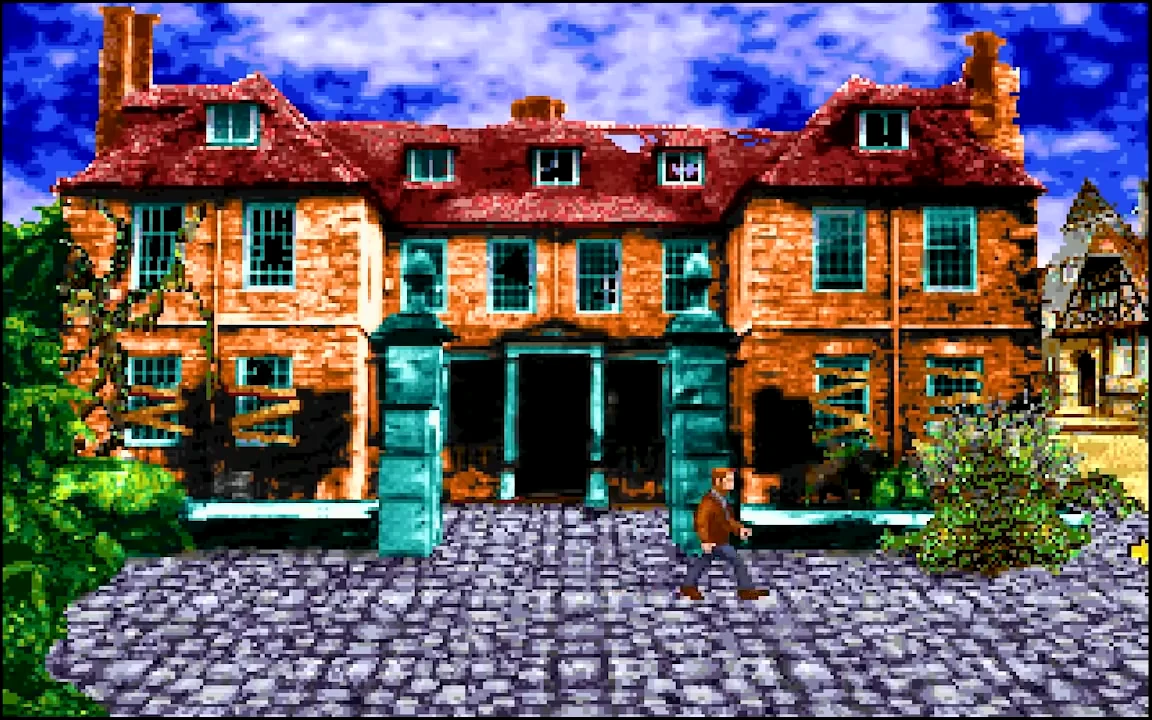
Go to the town hall. Bishop is outside. Talk to him and he will tell you hell meet you later. Go in through the main entrance of the town hall. The clerk will admonish you for interrupting his rest period. In the ensuing conversation, your responses should be: I simply want a few words with the mayor., I dont want to bother you, but... and No, Im the reporter.
This will gain you admission to the mayors office, so climb the stairs and go through the door. Look at the tall cabinet with the painted panel. It opens to reveal a safe. Look at the safe and enter 345 as the combination. Get the diary and the cigar case. Read the diary to get a background to the events in Illsmouth. You will then put the diary back in the safe.
Shedding some light on the problem
Go back to the post office. Unscrew the cigar case to reveal a deposit note. Give this to Miss Guildchrist. She will give you a package intended for Mr. Hambleton with a robe inside. Go up to see Mr Underhouse and talk to him.
Go to the well and stand behind it. Open the parcel and then wear the frock. Walk right to the gate guarded by henchmen. When they address you, say: Grumph... Wait till they leave and go through the gate to the lighthouse. Walk up the steps and on to the platform where you will take your frock off. Throw the rope ladder up to nearest window and climb up it and into the lighthouse. You will climb the stairs to the very top. Soon some men will follow you and try to break through onto the upper balcony to capture you.
Examine the steel door, which will open to reveal a pair of wings. Take these then look at the small door to reveal a candle, which you will also require. Put the candle on the floor and use .the magnifying glass to light it. Use the lit candle to drip wax on the wings to strengthen them. Then use the wings to glide off the lighthouse and escape.
Dead easy bit
You will glide over the town and land in a clearing in the forest. The gypsies are there. When they have finished talking, go and talk to the fortune teller. She will show you a vision in her crystal ball in which Boleskine appears to you and gives you another history lesson and more clues as to what to do next.
Go back to town. It is now night. Go to the drugstore where you will meet Bishop. Talk to him, and when he asks if you have heard the news, say: No, what is it?, then, Its horrible. Talk to him again to get the cemetery key. As soon as you come into Jonas chamber, grab the four statues off the pedestals and run back out again, keep running, avoiding hazards, all the way back to the rope and climb up it. When you reach the top of the rope you will be rescued by Mrs Webster and her son.
In for the kill
The Websters take you back to their house in the cemetery, and Walter gives you your tripod back. Mrs Webster takes you inside and talks about her husband Johns findings and what is happening in the town. You must identify the four families involved. They are Arlington, Hambleton, Coldstone and Tyler. Together you look for a drawing of their sign. Look behind the painting and it will fall out. Look at it to find out what it is. Talk to Mrs Webster again for a final hint.
First go to the mayors house and walk to the barn to the left. Mayor Arlington will confront you. Use the first statue and say the words: Tae Yog Thu Sot. Arlington will scream and a star will appear on the wall at the top of the barn. Climb up the rope and put the first statue on it. Arlington will collapse and tentacles will explode from his body. Jonas begins to wither.
Now go to Tylers house. He will appear as you approach. Use the second statue and say: Rla Gna Has Tep. A star will appear in front of his door. Place the second statue on it. Tyler will become a ghost and then dissolve away. Jonas will be weakened further.
Go to Coldstones house. He will come out to meet you. Use statue three and say: Ngh Hlu Khu Wig. A star appears on the left wall of the house. Place the third statue on it and Coldstone will explode. Jonas will become very weak.
The final conflict
Go to the south side of Myers shop. A black cat will run off. Look in the bin and youll find a rotten fish. Take this to the location on the left and then come back to the outside of the shop. The cat will have reappeared. Approach it until it runs off and then use the rotten fish to entice it back, so you can pick it up. Go east, north, east, east, south and west to reach the house with the sleeping dog. Release the cat to start the dog barking and distract the Hambleton brothers, then run back the way you came, but instead of going back to the shop, go south to the Hambletons house and quickly sneak inside.
Look in the small chest to the left and get the compass card. Get the lantern from the stool to the right. Stand facing the ships wheel at the end of the room and use the compass card to turn it. This will open a secret door to the right.
Go up the stairs. In the room at the top avoid walking across or near the bearskin rug or you will fall through the floor and die. Put the lantern on the mantelpiece to match the one already there and a secret door will open to the right.
Go up the stairs into the observatory. Look twice in the cabinet near the telescope to reveal a handle. Take this and use it on the telescope and three levers will appear from beneath the floor. Pull the lever underneath the chandelier and an orb will drop into your hands. Place this in the bottom right corner of the astronomical chart and a secret door will open to the right. Go through the door into a dilapidated attic. Use the fourth statue and say: Tho Nya Cht Tur.
The Hambletons will materialise from the walls and the toy boys will grab you and drag you over to the sacrificial pedestal. Use the fourth statue on the pedestal while Wilbur Hambleton draws a knife to kill you. The Hambletons will combine and turn into one horrible ethereal creature before dissolving away.
Run quickly back through the house and outside before you are caught in the fire. Jonas will dissolve away in his chamber. You collapse outside the house. This is the end of the second day.
Download Shadow of The Comet
System requirements:
- PC compatible
- Operating systems: Windows 10/Windows 8/Windows 7/2000/Vista/WinXP
Game Reviews
Day Three
You begin the final day in your lodgings at Dr Cobble's house, having once again been saved by him. The conversation you have shows him to be suspicious of your activities in the night, but if you answer: 'What about if I told you I was acting in the interest of the whole community... ' he will accept this. Before he departs. Dr Cobble will give you a warning about Sergeant Baggs and a note from Miss Guildchrist.
- Understanding Underhouse
The note is to summon you to Underhouse's rooms, so you should go there at once. Walk to the post office counter and talk to Miss Guildchrist. After she has finished speaking, Sergeant Baggs will arrive. When he asks you for an explanation, just say 'I'm yours...'. You will both go to Underhouse's apartment where Baggs will ask you where you were the night before. Say: 'Well...' and Underhouse will provide you with an alibi which will temporarily satisfy Baggs. After Baggs has gone. Underhouse will instruct you what to do next and give you a feather.
- The fate of Curtis
Your next task is to visit Curtis Hambleton's hut to find the sacred bow and arrow. When you arrive, Thomas Bishop is already there. Talk to him and he will tell you that the door is locked and that he is going to look for Curtis at Greenwood's house.
When he has gone, pick up the stick that is lying on the ground. Use this to dislodge the bar on the other side of the door. Break the pin off the brooch you bought earlier and use this to pick the padlock on the door.
Inside you will discover that Curtis has been murdered. Search the floorboards on the left side of the room and you will find the arrow. Now look in the fireplace where you will find the bow.
- An old Indian of the friendlier kind
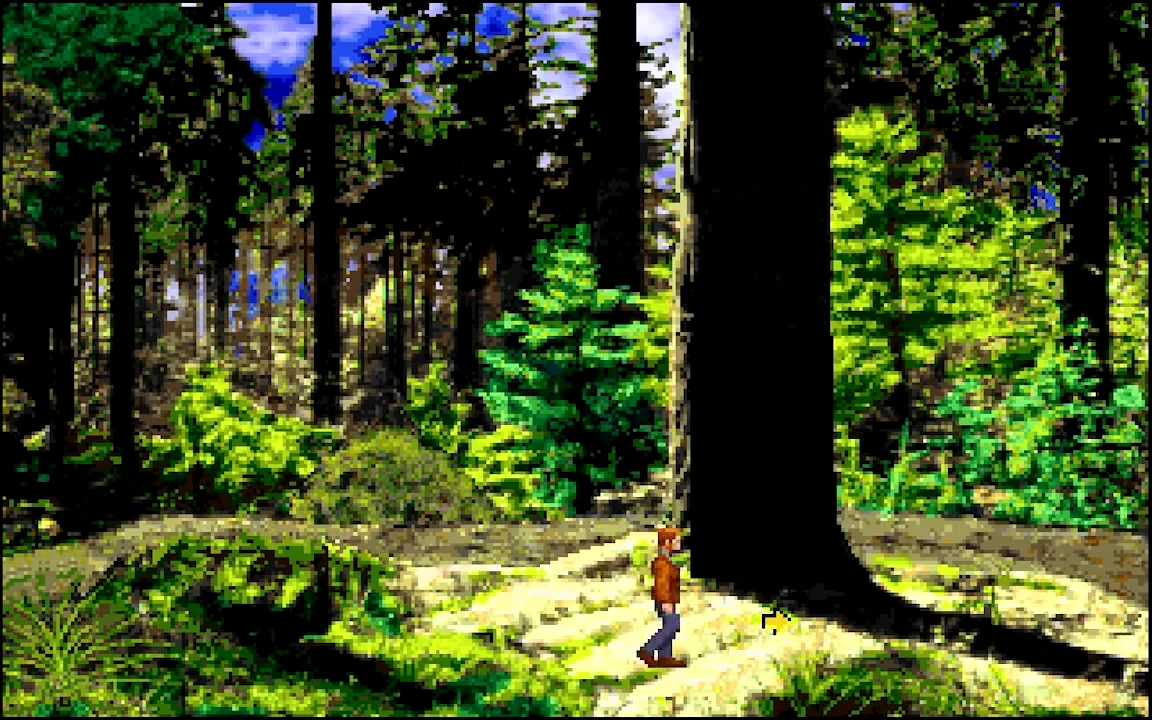
Your next task is to find the Indian Natawanga. Go to the forest and find the area with a large tree stump (the area in which you found the creeper earlier). Place the feather on the tree stump and a black bird will arrive. You will magically transform into a white bird and the black bird will lead you to Natawanga's cabin.
To test you, Natawanga will ask you a series of questions. The answers are: The Mic Macs, Yog Sogoth, 1834, A Star, and Dagon. Natawanga will now tell you what you must do and give you a can of magic paint and a ring. Then you will be turned back into a bird and flown back to the forest where you will resume your normal form.
- Neutralising Nerackamous
The next task is to find the hideout of Nerackamous. Leave the forest and go to the well. Look down the well and you will climb down it.
Walk to the left and stop just before the path gets lower. Here, throw the magic paint into the water to calm it. Continue walking to the left and collect the empty can of acid and also the can of tar that are in the next cavern, but leave the can of nitro-glycerine well alone.
Go left into the next chamber and pick up the flints that are lying on the ground. Now carefully go to the south side of the naphtha pit in the centre of the cavern, making sure you don't fall in, and fill the empty can with naptha.
Go south into the final cavern, where you will eventually encounter Nerackamous. Pour the naphtha in front of him and light it with the flints. Then shoot Nerackamous with the sacred bow and arrow.
After Nerackamous has been killed, a vision of Boleskine will appear and tell you what to do next. Wait till he vanishes then pick up the turquoise, the aquamarine and the butterfly by the throne.
Go back to the chamber to the north and fill the empty can with naphtha once again, then leave the well by the way you came. It is now night.
- Defeating Dagon
Once you have solved the puzzle, a door will open in the rock. Go through it into a chamber with a bizarre rock formation. Climb up the rock and place the ruby in the left eye (right as you are looking at it). This will cause a beam to appear and bounce off two gems set in the cavern walls.
Now stand on the star in the floor that is directly south of the centre of the rock and use the turquoise to complete the beam, making it into a star. Dagon will appear from the rock, but he will be driven back by the beam and you will run from the chamber just before it explodes, trapping Dagon. On the beach, the vision of Boleskine will appear to you once again. He will tell you what to do next and give you his ring.
- See no evil
Now you must climb back into the boat and let the currents take you to a cavern. Before you enter it, you must be holding the lantern because it is pitch black inside.
There are creatures inside the cavern but they are blind, so as long as you stay out of their way, you will be safe. Shortly after you enter the cavern, the lantern will run out of fuel, so fill it with naphtha from the can.
Walk to the left until you come into a chamber full of white ape-like creatures. Search the north wall here until you find an exit and go through it. The chamber beyond is lit. It contains a shrine to Cthulu. Walter Webster and his mother are tied up here and their energy is being slowly drained.
Before you do anything else, put the emerald in Boleskine's ring and the turquoise in Natawanga's ring. Go to the middle of the room where there is a slab of ice covering something. Use the can of acid to melt the ice. Underneath is a diamond you need. Take it and Cthulu will appear and begin killing the Websters. Put the rings on and visions of Boleskine and Natawanga will appear and temporarily transform you into a golem with the strength to free the Websters and prevent Cthulu from fully materialising. The Websters will thank you and leave. Boleskine's vision will appear to you and give you further instructions. Make your way out of the cavern. There are no creatures to hinder your progress now, but the original entrance is blocked. Look near the wall just north of the original entrance and you will find a small passageway. This will lead you directly to the stone circle.
- The final conflict
Set up the tripod on the south side of the HlPP circle and place the camera and lens upon it. Attach the magnifying glass to make a telescopic lens. Take a look at the butterfly and place it in the camera. Now attach the lantern to the rear of the camera to throw four coloured beams of light onto the rocks.
Take the wrapping from the unexposed plates and take a picture as the comet passes overhead. As you take the picture a fragment of comet falls from overhead. Take it and Yog Soggoth will appear.
Use the flints on the upper-left rock (red). Use the aquamarine on the lower-left rock (blue). Use the fragment of comet on the lower-right rock (white). Use the diamond on the upper-right rock (green). Yog Soggoth will disappear.
Finally the vision of Boleskine will appear to congratulate you on preventing the ancient ones from returning to Earth. The scene cuts to the following morning and all that remains is to pack and make your way back to the harbour where the villagers are waiting to say their good-byes...
Another decent all-talkie adventure game, set in the spooky New England of HP Lovecraft and based on his Cult Of The Cthulu books. It's a case of an involving storyline winning out over less than top-notch presentation: characters scale badly as they make their way around the screen, and 'atmospheric' close-ups look bloody silly because there's no attempt at lip-synching. But anyway, at least the CD version has a (clunky) mouse-driven interface and the speech is clear and well-acted. Despite its minor faults, the plot means that Lovecraft fans will enjoy it To round it all off, the CD also includes a simulation of the Lovecraft Museum to wander through, which is hardly a multimedia sensation, but it's a nice touch all the same.
Following Its success with the Lovecraft-inspired 30 graphic adventure, Alone in the Dark, French publisher Infogrames is currently creating it's first official game based upon Lovecraft's Cthulu Mythos. Shadow of the Comet is set in the New England town of Isthmus, in which strange goings on are discovered by the astronomer John T. Carter, who has set out to prove the theory of eccentric British Scientists: that the night sky over Isthmus doesn't appear as it should do. While in Isthmus, Carter uncovers a dark cult trying to open a pathway for the Ancient Ones mentioned in the Necronomicon to return to Earth. Carter must prevent the ancient gods from succeeding in their plans, or the Earth will face a new dart age. This stunning graphic adventure uses the advanced techniques employed in Etemam. This not only allows the designers to incorporate 100 impressive locations, but also large dose-up animations of important actions, or the faces of the games' forty characters.
Snapshots and Media
PC Screenshots


 Action Man: Robot Atak
 Aliens Versus Predator: Gold Edition
 Blair Witch Volume I: Rustin Parr
 Dracula 2: The Last Sanctuary
 Ringworld: Revenge of the Patriarch
 The Orion Conspiracy
 The Pandora Directive
 Time Gate: Knight's Chase
 Total Eclipse
 Under A Killing Moon
 Wild Wild West: The Steel Assassin