Commandos: Behind Enemy Lines
| a game by | Pyro Studios S.L. |
| Platform: | PC (1998) |
| Editor Rating: | 7.3/10, based on 5 reviews, 7 reviews are shown |
| User Rating: | 8.2/10 - 35 votes |
| Rate this game: | |
| Updated: | Jun 15, 2022 |
| See also: | Military Games, WW2 Games, Best RTS Games, Commando Games |
Playing this sleeper hit from 1998 now, you realise how true the statement that Hidden & Dangerous is a 3D version of Commandos really is. The control system and interface could have been a lot more user friendly and less fiddly, saving thousands of lives (or the same ones over and over) in the process. The fact that each of your men has specific skills (sniper, driver, diver...) adds a lot to the tactical element, if not to the realism. You would think that to belong to such a select group of experts you should be able to drive and use a machine gun and know how to swim. The difficulty level is by now almost legendary, and you'll experience a fair share of frustration as you play each mission 87 times, saving every time you take a step and stay alive. However, every small success is made infinitely more satisfying because of it and, while you may question your sanity after a couple of hours play, you won't question the desire to play it further. Now, if only you could issue commands in pause mode...

Download Commandos: Behind Enemy Lines
System requirements:
- PC compatible
- Operating systems: Windows 10/Windows 8/Windows 7/2000/Vista/WinXP
Game Reviews
Strategy Guide. Part 1
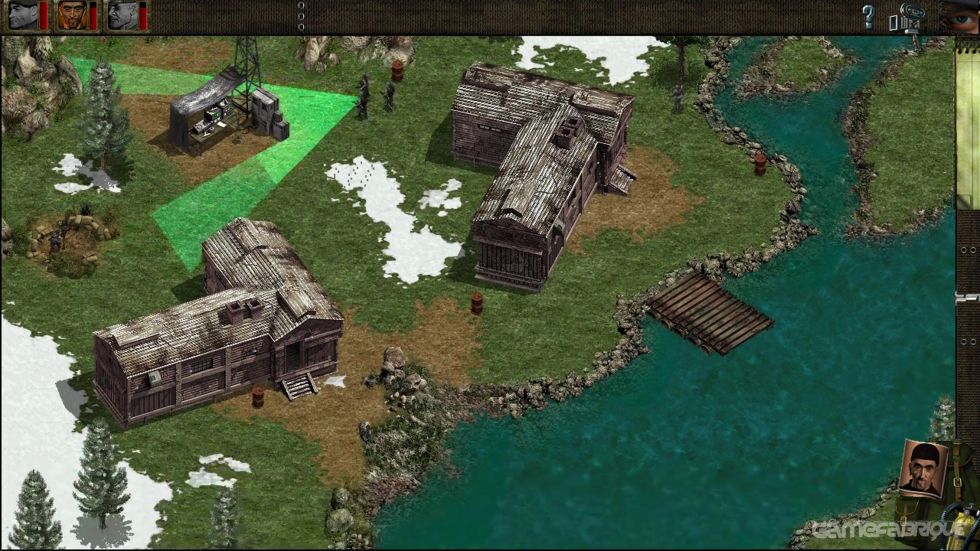
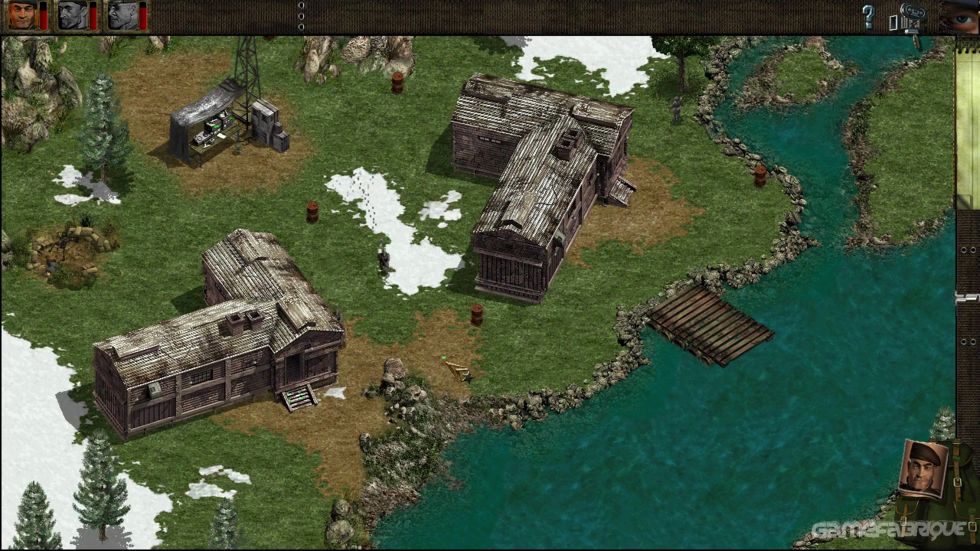
Mission 1: Baptism Of Fire
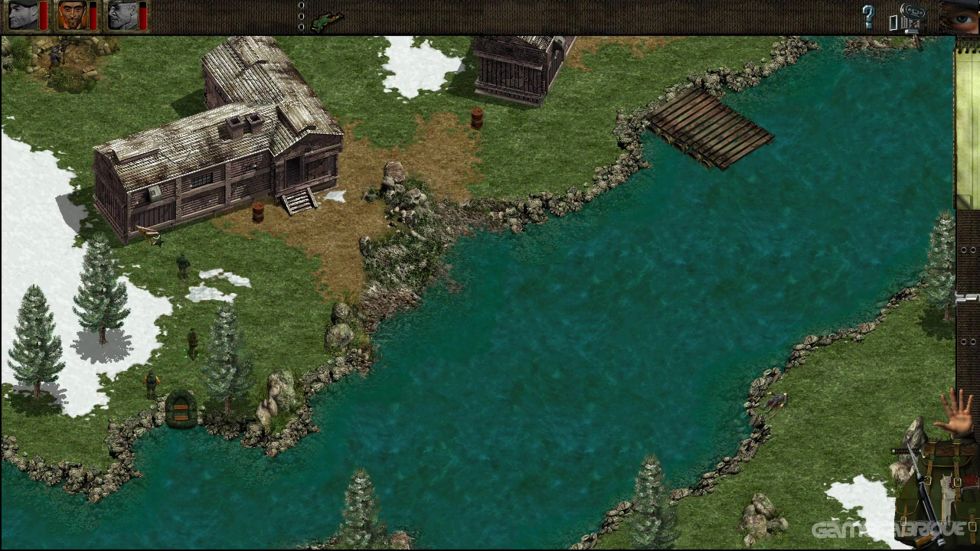
Your introduction to the value of stealth over firepower. Firstly get your driver to hit the deck, then head the Green Beret around the back of those broken walls, being careful to avoid the guard patrolling the road. Wait for the guard to reach the southern end of his sweep and head back towards the road. Now get the Green Beret to stand up and select the knife, and double-click on the guard to run after him and kill him. Hide the body in the trees to the north of the road. Wait for the two guards to the east to head south down the road, climb over the wall, kill the sentry and dump the body at the back of the building. Wait for the two guards to head north up the road then, when the driver is out of sight, make him stand and gun them down with his sub-machine gun.
Move the Green Beret and the driver north to the small landing. Swap to the marine, send him into the water and use the scuba gear. Follow the coast west and kill the guard furthest north. Work your way south, taking out the guards until you can safely grab the dinghy. Either row or swim to the south where the driver and Green Beret are waiting, deploy the dinghy and row to the northernmost island. It's a good idea to hide your men at the west corner of the westernmost building, send one guy to kill the machine-gunner then run him back around the corner. Now group all of your men, select the pistol and wait for the three-man patrol to investigate. Gun them down then carefully kill the remaining guards. Get the Green Beret to carry an explosive barrel to the transmitter, drop it, back him away and shoot the barrel to destroy the transmitter and complete the mission.
Mission 2: A Quiet Blow-Up
Be wary of the patrol boat on the river: time its sweeps up and down so that you don't get caught in the open. Kill the patrols near the beginning and hide the corpses behind one of the walls. Use your sniper to kill the guard on the wall, then get the marine to deploy his dinghy and row the sniper and the Green Beret across and to the north so that you are mainly hidden by the compound wall. Disembark the men, send the marine back and collect the others. Send the Green Beret up the wall and get him to drop the raised ladder down. Get the sniper to climb up and take out the machine-gunners in the turrets. Kill the guard in the compound with the Green Beret and move his body out of sight of the guards outside the compound. Once the guard in the camp is dead, get all your men to climb down into it. Look out for the patrols outside. Send the Green Beret to the gate, kill the guard and raise the barrier. If necessary, kill the single guard by the road and drag his body back inside the camp. Now load everyone but the sapper into the truck, drive it to the gates, set the explosives next to the tanks, pile the sapper Into the truck and drive, drive, drive... There you go, that's mission number two done.
Mission 3: Reverse Engineering
This one isn't so bad, and is a good chance tor the sapper to use his bear trap. Kill the first three guards with the trap - just run out, set it and wait for them to walk over it; you have to run out and reset it, unfortunately. The spy's uniform is located on the washing line in the southern camp, and the boat is located just outside the walls of the southern camp. The solitary sentries near the water aren't a major problem for the marine. Once they are dead, swim south along the coast and collect the dinghy. The marine is very good at leaping out of the water and killing guards on the shore, so use him to do just that. Try to kill all the sentries without raising the alarm. Again this will take more time, but it's worth it. Now send the marine back up to collect the spy, and use him to collect the uniform on the rope. Once dressed for the occasion, send the spy over the dam and into the large camp.
Now comes the hard bit. Kill all the sentries with lethal injections, without raising the alarm or getting spotted. Believe me, it is hard. Study the patrol routes and every single guard's line of sight. Flick the switch on the small tower to deactivate the electric fence, and then get the marine to ferry the sapper across the water. Now the sapper can cut through the fence and collect the explosive charges. Get him to place the first one next to the pillbox just below the dam, and then send him south along the waterside. After the detonation, wait for the five-man patrol to resume its route, then get both the spy and sapper into the boat. Row to the foot of the dam, then send the sapper out and get him to place the last charge below the dam. Get him back in the boat and row back to the far side of the river. Send everyone north to the end of the dam and just pile into the evacuation truck for a swift extraction.
Mission 4: Restore Pride
Carefully take out all of the guards to the west of the barbed wire barrier. Get the driver into the tank as soon as possible and then gun down the remaining guards west of the bridge. Now drive the tank back up to the north and park in the small gap in the rocks nearest the patrol boat. From this point the tank can strafe the entire platoon south of the bridge with machine-gun fire. Kill all the soldiers, then snipe the guard at the other side of the bridge. Carry his body back over the bridge (if you stay at the sides you can cross while the train is moving) and send the remaining guys over the bridge. Try to eliminate the patrols with the decoy, and use all your men firing together to kill as many on the enemy as possible.
Now head for the supplies in the north-east corner of the map. Return to the bridge, get the marine to climb down the ladder in the centre and deploy the dinghy. Now send the other men, including the driver, towards the compound. You really need to worry about stealth now. Infiltrate the inner base by killing the sentries and creeping past the patrols. Take out the guards that you can with the Green Beret, and snipe the rest before the alarm goes off. Send the sapper out and plant the explosives next to the headquarters. Detonate the explosives, return the sapper and the others to the patrol boat, then swim the marine to the boat and head out to the west to finish the level.
Mission 5: Blind Justice
To clear the patrolling guards in the top area, use the spy to lure them behind the rocks in the top comer. You can do this by letting them see your footprints in the snow - be sure, however, that you are not seen. The next section requires you to position your spy just north of the uniform. Get as close as you can without being seen, then move your Green Beret down the west side towards the phone. Once there you can use the nearby house to hide while you wait for the patrols to pass. Once they've gone, use the phone to create a diversion so that your spy can get the uniform. You then need to use the cable car, kill the guard on the upper platform and leave the spy there. Now get the Green Beret through the minefields and up the cliff face, avoiding the patrols - you will need to time this just right or you will be seen. Get your spy to distract the guard just above the barracks - this will enable your Green Beret to get up without being seen. From then on you can kill or distract the guards while the Beret sets the explosive barrels in place and detonates them. The only thing that stands between you and victory now is a short dash to the glider.
Mission 6: Menace Of The Leopold
The first section of this mission is fairly easy, as the Beret can climb the wall to the east of the ruin and kill all the guards without being seen. To destroy the tank just to the south you will need to set a bomb at the tanks' westernmost patrol point. Some guards in the main camp will hear the explosion and come over to investigate; the alarm, however, should not go off. If you hide behind the rock and the tents just above the explosion point as cover, you can kill the guards with your pistols as they approach. This leaves the camp fairly unguarded - but still exercise caution. Try to save as many sniper bullets as possible, especially one for the guard standing on top of the barracks. You don't need to worry about killing the guards south of this building, because they won't affect your mission.
You should now be able to finish off any guards in the camp above and set the bomb on the train - use the Green Beret and the decoy here. If you place the decoy by a wall, approaching guards will face it and you can stab them easily - in the face and neck. The dunderheads! You will need to kill the machine-gunner and the guards around the extraction point just above the train, and the guards in the eastern ruin - these are easily disposed of with the sniper.
Mission 7: Chase Of The Wolves
Your first priority is to get the uniform from inside the eastern camp and the bombs just north from there. You can then blow up the two barracks in that area, cutting off any reinforcements. This will make it easier for the driver to get the tank and destroy the cannons protecting the U-boats. Next, get the marine and the Green Beret to the rowboat south of their start position. You can use their pistols in the top area, but as you get closer to the western barracks you'ill need a more stealthy approach.You may find it helpful to destroy the barracks with the nearby barrels, and remember to kill the patrol by the lighthouse. With the boat, collect the rest of your men from the eastern camp and land the sapper on the southeastern dock. The sapper can use his last two bombs to destroy the U-boats.
Mission 8: Pyrotechnics
This is a very tricky mission, because you don't want to set off the alarm and you need to kill almost - if not every - guard on the map. The key to the top section is to use the Green Beret's decoy to sneak up and knife the guards from behind. You will need to save your sniper bullets for the men on the rooftops in the lower sections, but you can use one to take out the guard on the large cannon. A good trick for the lower section is to move your sniper down to the left-hand side, just above the armoured barracks and to the left of the two tents. From here, let him be spotted by the guards but don't move him. Guards from all over the camp will move to his position, line up and aim their guns at him, although they will not fire. This leaves your Green Beret free to sneak up behind them and quietly kill them with the knife. This is a little daring though, so alternatively take out the guards one by one. You can use the houses to hide in. You will need to kill any guards on and near the bridge to clear your escape route, and once you've blown the fuel tanks be ready to run for your lives to reach the escape jeep.
Mission 9: A Courtesy Call
This mission isn't very hard, providing that you don't set off the alarm. The first thing to do is use the spy to kill as many guards as possible without being seen -remembering to hide the bodies, of course. You can use your spy to eliminate as many single guards as you can. You can also use the spy to distract the three-man patrol in the southern end of the camp while your sapper places the first bomb halfway between the radar station and the radar dish, and the second bomb next to the north-west bunker. As soon as you can, use the driver to block off the three tanks in the northern part of the camp with the fuel truck - it is best placed between the left and the middle tank. Get the Green Beret to put the barrels next to the two centre buildings, and then move all your men into the eastern courtyard. From here use the sniper to shoot the barrels, which will destroy the two center buildings. This will set off the alarm, so quickly detonate the sapper's bombs and wait for the escape truck. As you can see, the tanks will have crashed into the fuel truck and blown up.
Mission 10: Operation Icarus
You can make a noise in the first area of this mission, so clear it quickly. Carefully dispose of the guard on the western entrance, and use the Green Beret to climb the top-left corner of the wall to gain quiet access to the camp. Once inside the base (climb the wall and hide behind the crates) you will need to work down to the southernmost tank. The Green Beret is the best choice for this, but you can use the sniper to kill a few of the guards. As soon as you have cleared the inside of the compound, release the hostage, get all your men well out of the way, and use the driver to wreak havoc with the tank. Be sure to kill all the guards with the tank, especially the gunners along the central path. The rest of the mission shouldn't pose too much of a problem. Unless you're totally crap, that is.
Strategy Guide. Part 2
Mission 11: In the Soup
The Green Beret's decoy skill and the spy's distracting skill are very helpful at the tricky start of this mission. Once you have cleared the first area, use the spy to kill the two guards on the eastern mound; this enables your Green Beret to climb up there without being seen. From this point, work your way northwards to secure the escape truck. You then need to use a combination of spy, Green Beret and sniper to clear a path so that the driver can reach the truck. It's then just a matter of gunning down any guards and reinforcements that are left so the sapper can set the bombs. If you've run out of bombs, you can use the oil truck to shoot the fuel tanker just as it passes between the two north-eastern oil rigs - this will destroy them both. Once you're done, escape to the west.
Mission 12: Up on the Roof
This mission requires the spy to kill the guards around the Green Beret's and sniper's hideouts so that they can escape. Once they're free, it's just a case of carefully killing all the guards and freeing the hostage. There is no real strategy, except to be quiet and reach the escape truck.
Mission 13: David and Goliath
Use the Green Beret to climb up the dock wall and kill the four guards, then swim your marine up to the main entrance and wait for the supply boat to open the gate. Once you're through, kill the guard by the cannon and open the gate. Get all your men into the boat and move them to the main entrance, then use the marine's scuba gear. The marine gets out of the boat but everyone else stays in. Use the marine to kill the two guards on the small pier just north of the entrance, and at the same time use the sniper (he can shoot from the boat) to kill the guard on the south-western point of the main dock. The rest of the guards are quite tricky, but you can use any remaining sniper bullets and the beartrap to kill them. As soon as you can, get your marine into the sub and blow up the large boat with the sub's torpedo. The alarm then goes off, so use your sapper to blow up the fuel tanks quickly. You can use the large cannon on the southern dock to destroy any patrol boats. This should secure your escape.
Mission 14: D-Day Kick Off
Once again, there is no real easy strategy to this mission - just be as quiet as you can. The decoy combined with the beartrap makes an effective weapon, and the marine is also useful for sneaking out of the water and killing the guards on the beach. The Green Beret can climb on to the central mound and sneak up behind some of the guards, and the sniper can shoot from the boat, although you need to save some bullets for the guards on top of the cannons. The mission becomes easier as soon as you have control of the tank. All you need to do then is use the barrels and your bombs to destroy the guns.
Mission 15: End of the Butcher
Avoiding the five-man patrol, you need to work your way up to the tall building in the north-west where the spy's uniform is. Once you have the uniform, get your sniper onto the flat area on the roof. From here you can kill the General in the garden below. The alarm then goes off and you need to get into a few gunfights to reach the enemy HQ on the east side. As soon as you have reached the HQ, move a car in front of the HQ and shoot the engine from a distance. You may find it helpful to kill the patrol that is guarding your escape truck before you blow up the HQ. The key to completing the first part of this mission is to study the timing of the five-man patrol - you have to be patient, as their patrol is quite long.
Mission 16: Stop Wildfire
Try not to set off the alarm at the start of this mission, and save one sniper bullet for the end of the mission. Work your way down to the spy's uniform on the other side of the railway. Once you have it, use your spy to kill as many guards as possible without setting off the alarm. As soon as you can, move your sniper down the east side of the river bank until you have a clear shot at the detonator on the east side of the bridge. Next, move your spy behind the enemy sapper on the west side of the bridge, and swim your diver next to the small island in the middle of the river under the bridge. You need to kill the enemy sappers simultaneously, so start by killing the two on the centre island with the diver, then use the spy to kill the west-side sapper, and as the east-side sapper approaches his detonator, shoot him with the sniper before he reaches it. You can then escape in the truck.
Mission 17: Before Dawn
Use the spy to go through the enemy camp and open the bridge. Then use the spy and the Green Beret to clear the area just above the bridge. Use gunshots to lure guards over to your position and use the rocks as cover - try not to get too close to the camp as you will set off the alarm. Move your men next to the crane outside the camp and then close the bridge to block off any guards. Next, use the spy to open the taps on the oil tanks. When no one is looking, shoot the oil - it will ignite and block off any reinforcements. Before you release the prisoners you may want to clear the top area. To do this, use your diver to swim to the top-right area and work his way left; you could also use the spy to distract some guards to make the diver's job easier. You can then release the prisoners and escape.
Mission 18: The Force of Circumstance
Start the mission by shooting off a couple of rounds to lure the guards over. The alarm goes off, but only a few guards come over. Clear out the area above - you can use your pistols to a certain extent, but don't fire near the enemy barracks by the train tracks. You can, however, fire near the smaller barracks close to your original position as there are only a few men in it. Use the diver to transport the driver to the other side of the river. You need to kill some guards on the top island to get the boat. Next, move both diver and driver down to the tank in the corner. Once you have possession of the tank you can take out as many guards as necessary in order for your diver to ferry the sapper over to the bottom island and collect the explosives. Once you have them you can blow up the bridge and escape in the truck.
Mission 19: Frustrate Retaliation
You need to work your way down to the small bay in the bottom-left of the top area. This is best achieved by moving in an anticlockwise direction from where you started the mission. Place a decoy over an open beartrap to lure in and kill guards in areas where they will not be spotted. You may find it helpful to blow up the enemy barracks in the top-left corner - this will, however, make your mission more difficult. Save at least two bullets for the dogs in the lower sections, and another two bullets for the gunners on the river banks. You need to clear the lower-left area of the map before moving upstream to the bay next to the rail tracks. Once you have crossed the tracks, use your last sniper bullet to kill the dog in the kennel, then climb the wall with the Green Beret so he can flick the conveyor belt switch. The conveyor belt will now have changed direction, so the rest of your team can use it to get into the base. Use the barrels and your bombs to blow up the missiles and, if you wish, to blow up the enemy barracks to stop enemy reinforcements.
Mission 20: Operation Valhalla
Use the Green Beret to scale the wall to his north and kill as many guards as necessary so that you can crawl along the outer wall without being seen. Make sure you kill the guard on top of the enemy HQ. Crawl along the outer wall killing the guards on the way. Once you reach the east side of the wall, kill the guard above the underwater gate and the patrolling guard just north of there. You can then use the sniper to kill some of the guards on the topmost wall, but save one bullet for the man on the large cannon. Climb the Green Beret down the ladder into the shooting range and open the underwater gate. Move your diver into the shooting range and lure as many guards as possible. Once you've cleared that area, take out the guards on the southern exit and clear the area to the left. You can then kill the guards on the western exit and gain access to the spy's uniform. Use the spy and the Green Beret to clear the eastern area to gain access to the tank. Remember to use the sniper to take out the man on the cannon. Use the tank to destroy the missiles, enemy barracks and as many guards as you can. This should make it easier for the sapper to reach the enemy HQ and blow it up. You can then escape in the tank.
Commandos Behind Enemy Lines is one of those games that is ignored by many, but loved by a few. This is a truly amazing game and when it was released in the late 90s, it was a game I spent a great deal of time with. For some reason, it has been kind of lost to time and it is a title that not many people talk about, well I am here today to try and showcase just why you need to play this game.
Taking Down The Nazis
The game is set during World War II and you play as a dude in charge of an elite team of commandos during World War II. Commandos Behind Enemy Lines tells the story in a very interesting way. First of all, you get a bit of backstory about the events of World War II and then you get a briefing on the particular mission, what you have to do, an idea of how to do it and so on.
It is done in a really cool way and makes great use of black and white to really get that World War II presentation over. The game looks great, each mission has its own look and I like the way the game has a more 2D sprite look than forcing crappy 3D polygons like many games of this era would do.
No Commando Is Left Behind
Talking about the gameplay is kind of hard. If you look up this game online, most of the time it will be referred to as a real time strategy game, but I would not pigeonhole this game just into that category. It has action and it also has a lot of puzzle-solving. This may sound strange, but I would kind of compare it to a game like The Lost Vikings as each of the commandos you are in charge of has their own set of abilities.
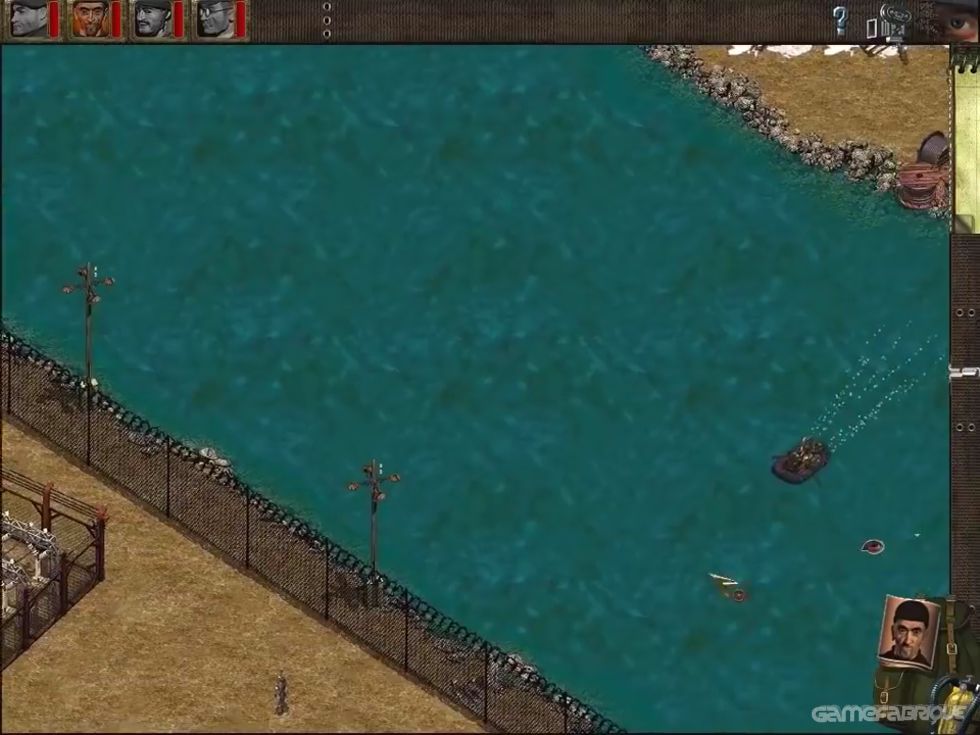
The marine can use boats, swim, and has a harpoon gun. The green beret can climb up things, hide bodies, and lure enemies. The driver can operate vehicles such as tanks and also use turrets. This is just an example of the commandos in Commandos Behind Enemy Lines you have at your disposal and moving them in the right position and making them make the most of their abilities is how you get through the game. You have six commandos and depending on the mission at hand, you will have access to a certain group of them at any one time.
One And Done
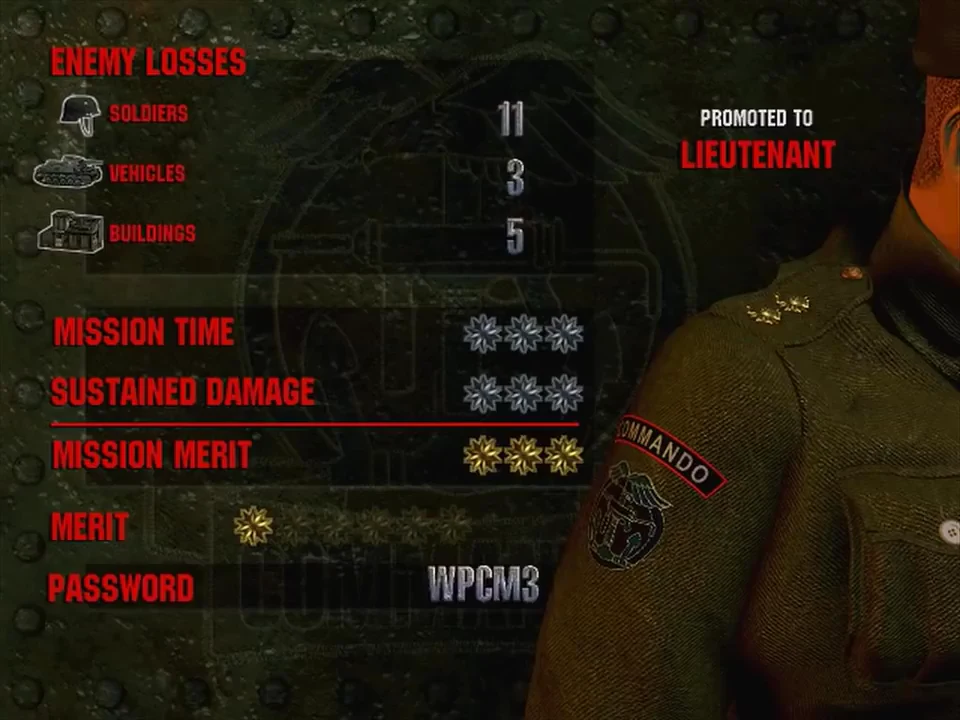
There are 20 missions in the game and each one gives you an objective and a way to get out once you are done. Most of the time the missions are about either saving a hostage or blowing something up. There are different types of enemies and even though this game is over 20 years old, the AI is pretty smart. If they see a dead body they will react, if you fire off your gun, they will react. So, there is a real emphasis on thinking before you act.
I loved my time with this game and I have played through it a few times over the years. The thing is for most people this will be a one and done kind of game. You play through it once and then that is enough.
I freaking love Commandos Behind Enemy Lines! It is a great game and a game that has its own style and the way it mixes strategy with action and puzzle-solving is very clever. It is a game that is just a great deal of fun to play from start to end. I get that some people may see this as a game with not much replay value. However, even in that case, I feel that this is a game that is worth playing through at least once!
Final Score
Pros:
- Each commando has their own set of abilities
- I love the way the game looks
- The old school mission intros are really cool
- The game makes you think about what you are doing
- It mixes many different gameplay styles together
Cons:
- It does not have a ton of replay value
- It is a damn crime that not enough people know about this game
War Is Stupid. And People Are Stupid. As androgynous crooner Boy George reminded us in the mid-80s. Can't really argue with that, but bloody military conflict does make for some great games. This particular effort is set during that glorious period of British history, the Second World War, apparently a time of great community spirit. Despite the fact that your home had been obliterated and your old man killed in North Africa, you could quite literally pack up your troubles in your old kit bag and smile, sonny, smile.
It is late 1940, to be precise, and the Axis armies have overwhelmed the whole of Western Europe. Momentarily stopped by the English Channel, the German army concentrates its forces for an imminent invasion of Britain. However, there is a man in the English command who has not resigned himself to play merely a defensive role. His name is Lieutenant Colonel Dudley Clark. His plan is to create a special unit with a fistful of exceptional men: men skillful enough to deal with all kinds of equipment and weaponry; men able to strike at the enemy on the most dangerous missions; men able to k change the course of the war. These men were destined to make history. Except it's a game, and therefore not real.
Developed by Spanish newcomers Pyro Studios, Commandos: Behind Enemy Lines is essentially a game that combines strategy and action in what is being touted as a new concept called real-time tactics. In a break from the all-out attack approach of many real-time strategy titles, the emphasis is on smaller units rather than full-scale war. And whereas it is certainly of that ilk, it also doffs a cap to the likes of Cannon Fodder. Syndicate and even the X:COM series.
The Dirty Seven
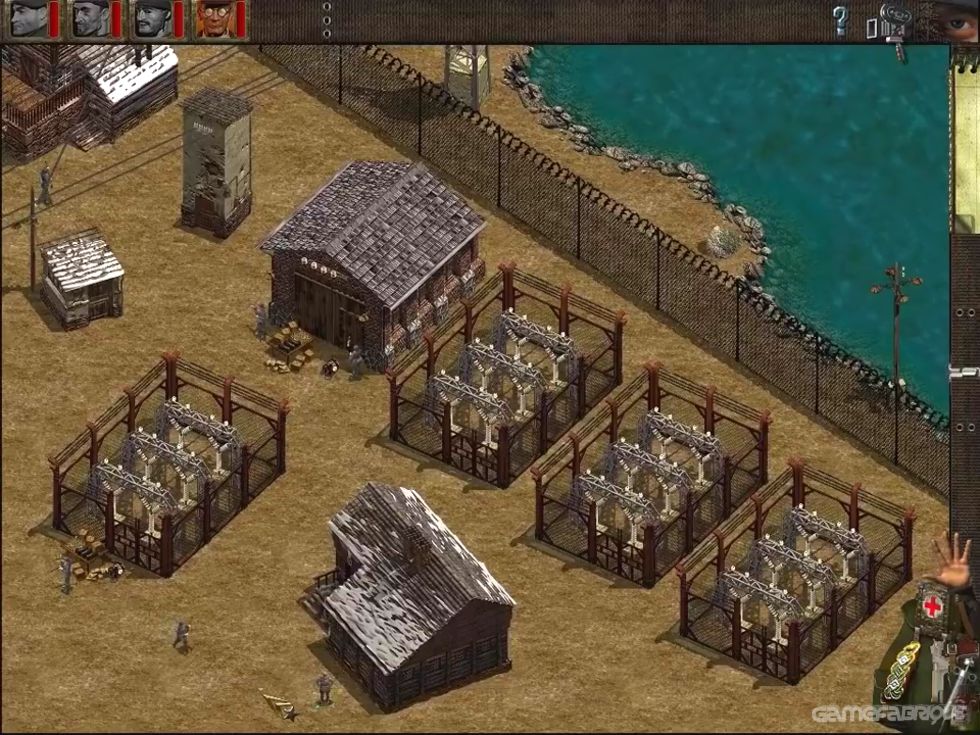
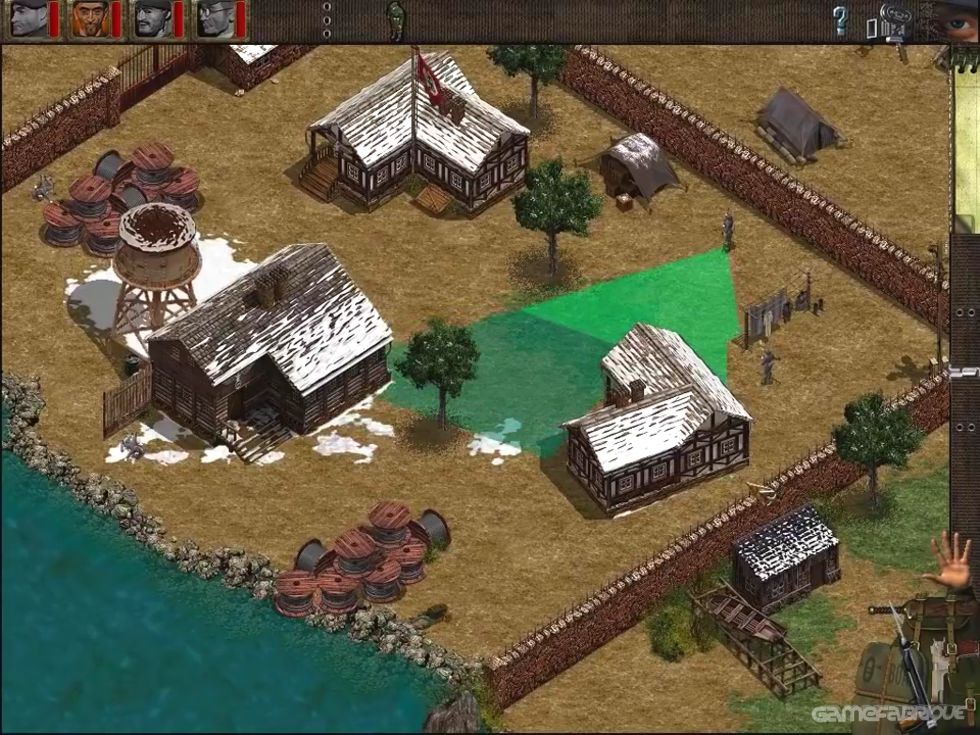
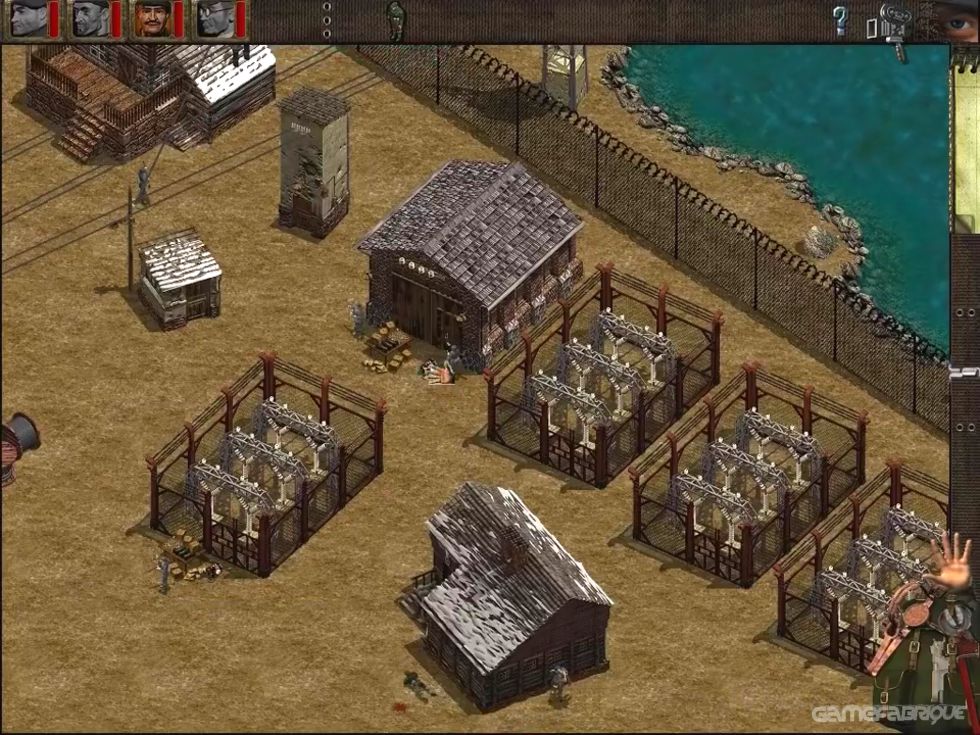
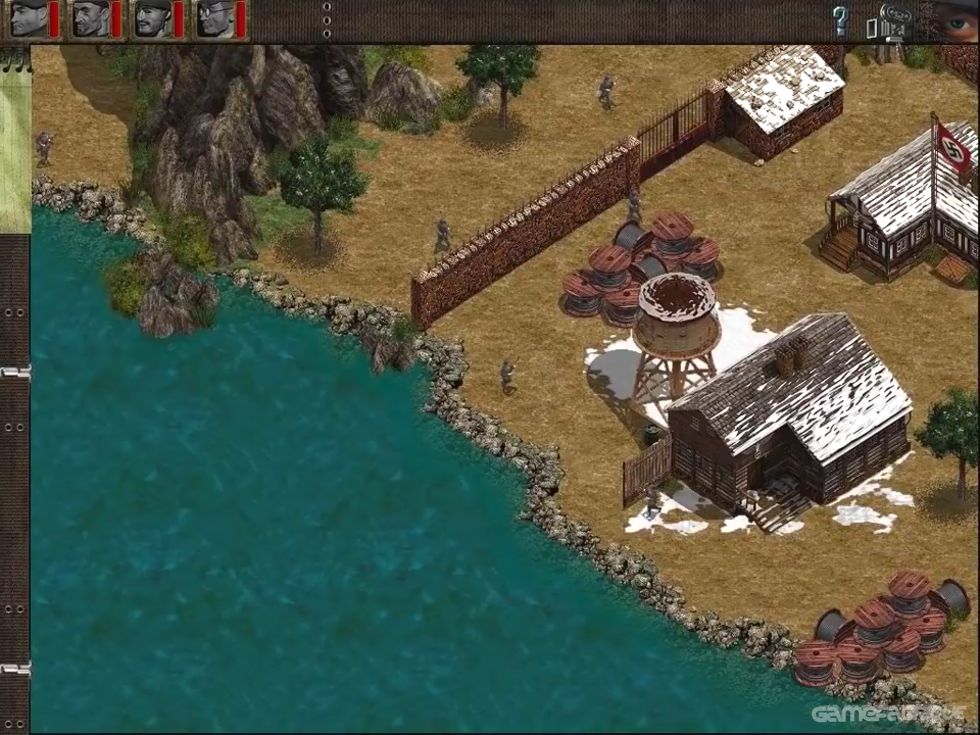
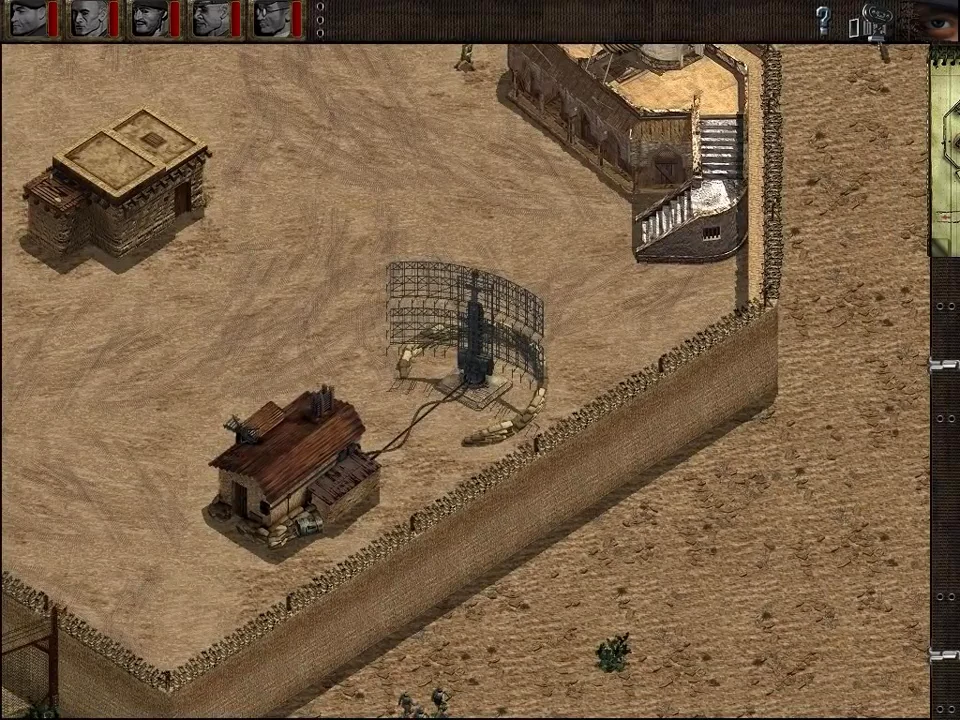
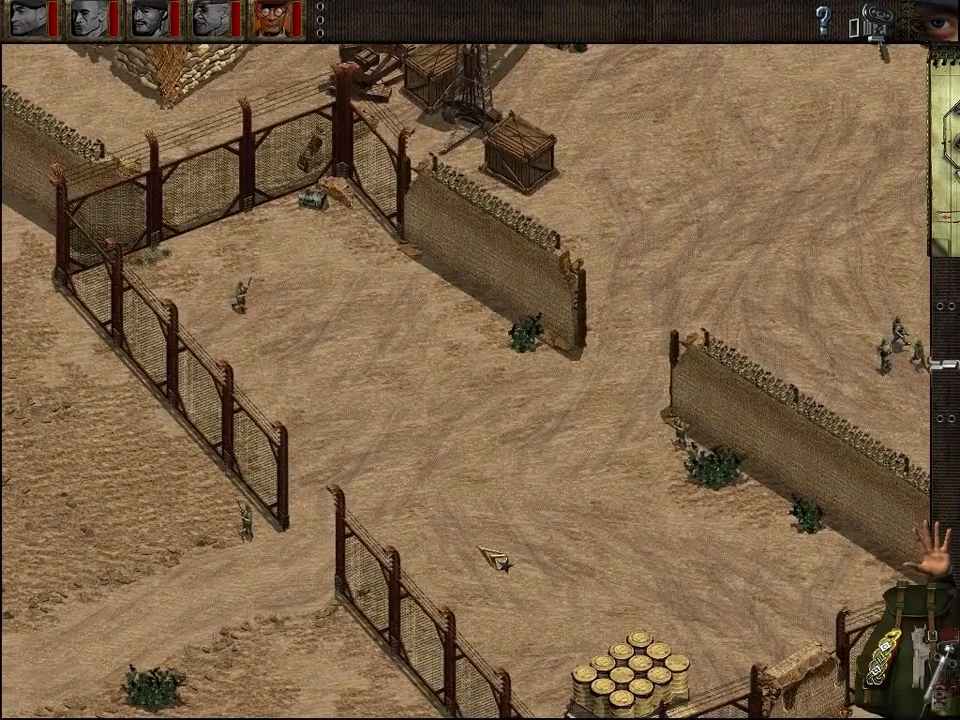
There are 24 missions, spread over such geographically disparate areas as the Norwegian Fjords, North Africa, Normandy and the Rhine Crossing. You take control of a commando unit made up of seven men, each of whom specialises in certain actions or areas. For instance there's a bombs and explosives expert, and a marine who specialises in sea operations, able to swim, dive and handle all kinds of boats. Only those with relevant qualifications take part in each mission. Vehicles on offer include trucks, cars, light and heavy tanks, motorbikes, trains, mini-submarines, diggers and even aircraft. Each commando has his own story and military background which determine his capabilities; each has a distinct personality and even their own regional accent, and the idea is that you develop an affinity for them as individuals. If one dies, the mission is deemed a failure, which could prove frustrating, necessitating a lot of save-games.
After finding out the mission objectives, you will have to carefully study the environment and the enemy's movements, as the emphasis is firmly on stealth. A definite plan is required which will have to be worked out in your mind in advance. Avoiding detection is paramount - simply embarking on a gung-ho attack with all guns blazing will not work.
It's war
In war there are always casualties. Commandos doesn't shirk from the harsh realities of conflict, and accurately depicts the horrors of war. Of course, violence in games is nothing new, but in this context it takes on a different aspect in that it is historically accurate. There are no holds barred, though - throats are slit to the sound of a blood-curdling shriek, bullets penetrate flesh and obliterate vital organs, and the mutilated corpses are left stricken in the snow, as their warm blood oozes out into the cold earth. To avoid detection, bodies can even be piled into a mass grave, providing an horrific spectacle of twisted limbs and blank eyes. It's a laugh though, innit?
Here in England, we have very little truck with the Germans, or the Jeemians, as scouse unfunny man Stan Boardman would have it. As well as the apocryphal bombing of the aforementioned buck-toothed Merseyside comic's chippy (and a number of vastly more significant locations), they habitually humiliate us at football - 1966 withstanding, and that was largely due to an extremely dubious goal. However, with the advent of Commandos: Behind Enemy Lines, bitter, resentful xenophobes are offered a unique opportunity for revenge, provided they can forget that it's only a game, or indeed a 'sick virtual reality computer game', as the less informed tabloids would probably have it. And there is plenty for the moral majority to be 'up in arms' about, with death meted out in the form of shooting, stabbing, exploding, trapping and even poisoning, to name but a few macabre methods.
In war there are always casualties, and a sobering reminder of this is provided by genuine black-and-white footage of young men marching off to die in a foreign field. The occasional newsreel clips sit somewhat uneasily with the game though, which while not quite as flippant as Cannon Fodder, is nevertheless vaguely cartoony, featuring larger-than-life characters and exaggerated shrieks of pain.
The historical authenticity also raises a further issue for the ethical guardians of Fleet Street, which could well cause some confusion. Whereas running someone over in Carmageddon or Grand Theft Auto is clearly sick and wrong, crushing a couple of Germans beneath the wheels of a military vehicle in the name of King and country must surely be deemed an honourable activity.
Time To Kill
Whatever, the moral issues aren't qyr primary concern here. You're all big enough and ugly enough to make up your own minds; more important is whether the game is worth spunking 44.99 on. And yes it is, although with some reservations. Firstly, a degree of patience is needed (or even a degree of impatience). Secondly, a lot of spare time is essential, making it an ideal game for insomniacs, the unemployable, and angry loners.
Make no mistake, Commandos is a commitment, and if you're seeking more instant visceral thrills you'd be well advised to look elsewhere. Even hard-core fans of real-time strategy may baulk at the intricacies of some of the later missions, which require inch-perfect movements and immaculate timing. This game is bloody difficult. Not as in a bit tricky, but as in genuinely brain-achingly hard, at times seeming more like work than play. Frustration is inevitable, and you can mess up not particularly because of a slack strategy, but through becoming a cack-handed buffoon at a crucial moment, with even the easier missions requiring countless uses of the Quicksave facility.
Tin Soldier
For slower readers, Commandos is essentially toy soldiers taken to the nth degree; although to kids playing with plastic figurines in the sand 20 years ago, it is the stuff of a madman's dream. Controlling a small troop of highly trained experts, the missions span most of the war and take in Norway, North Africa, the Rhine crossing and even the D-Day invasion. The action takes place over land and sea, and even occasionally in the air, with all the buildings and vehicles based on genuine wartime structures. With a generic interface, the idea is to achieve the various objectives without losing a single commando, which can be a bit of a pisser if one of your guys is shot in the face within the first few seconds. Also, a mission can become untenable if, for instance, a getaway vehicle is destroyed or you run out of explosives. There are numerous ways of solving missions, although there is usually one particularly elegant method that only the most advanced military strategist will work out. Inevitably there is a lot of gnashing of teeth involved, although when a plan comes together it can be a beautiful thing.
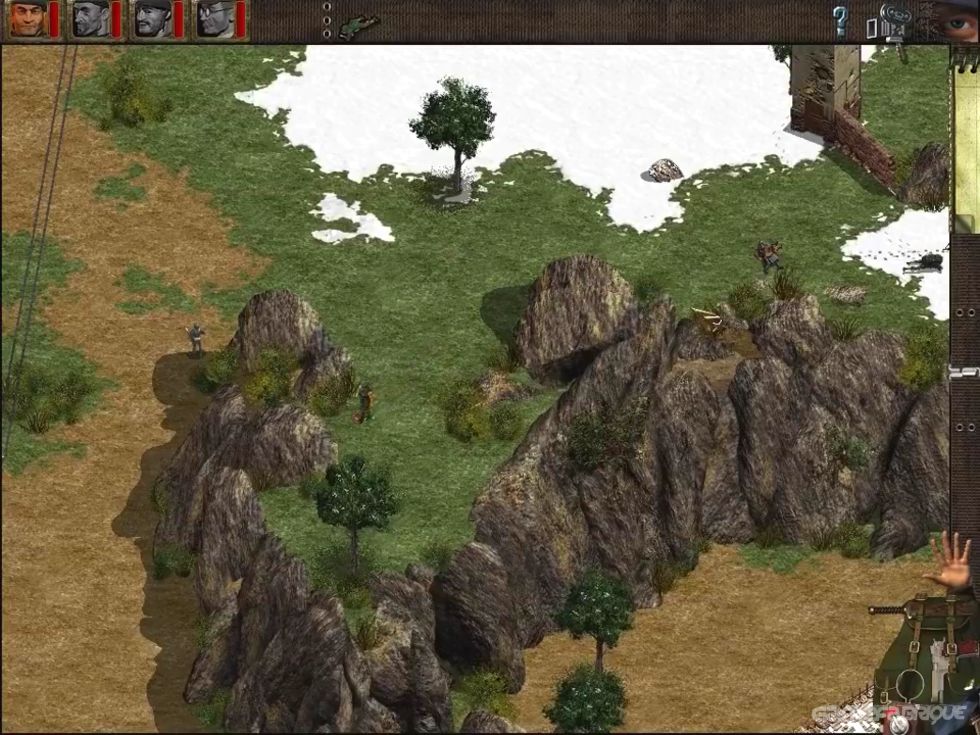
The graphics never fail to impress, and it is possible to zoom in and out. Being able to rotate the scenery would be nice, as the action is sometimes obscured. Ultimately though, it's an excellent game and more than capable of stealing large chunks of your life. For filling that awkward gap between Jerry Springer anti Countdown, there are few better activities; except, of course, those involving a buttered hoover.
As previously reported, this is an action strategy affair set during the World War II. Simulating the assault operations of a group of Allied commandos, the idea is to kill members of the German army - which begs the question of how the game will be received in, say, Germany, for instance.
Still, it looks smart and features accurate 3D models of more than 200 wartime buildings, vehicles and weapons. The killing will take place in four geographically disparate areas, namely the Norwegian fjords, North Africa, Normandy and the Rhine Crossing. May 1998 will see gamers finally take revenge on the 'Jeermans' for bombing Stan Boardman's chippy.
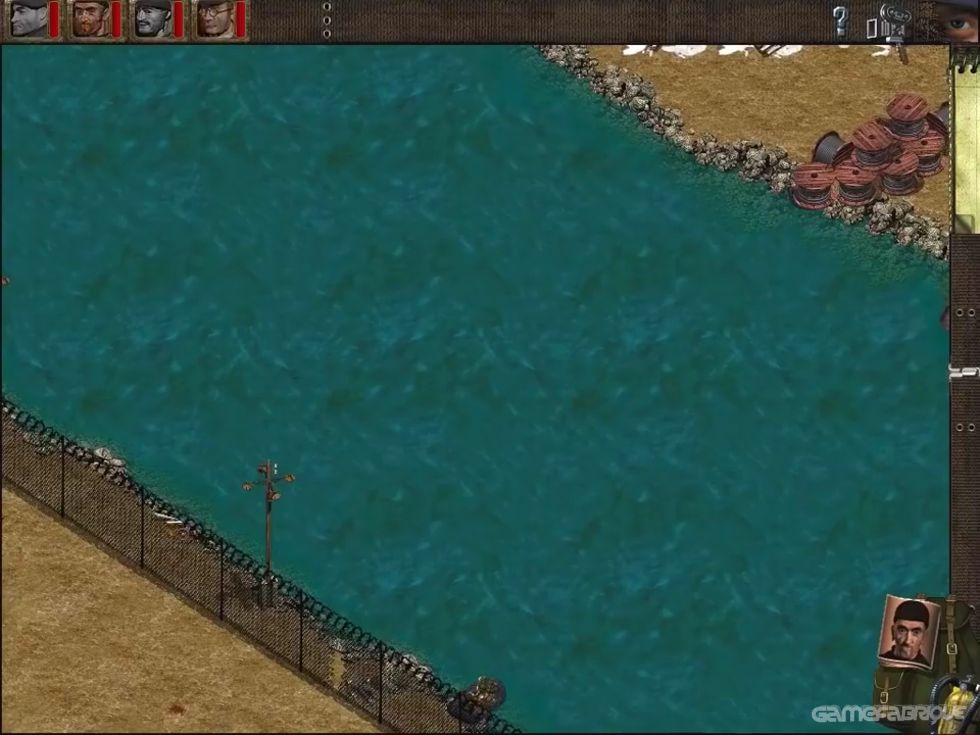
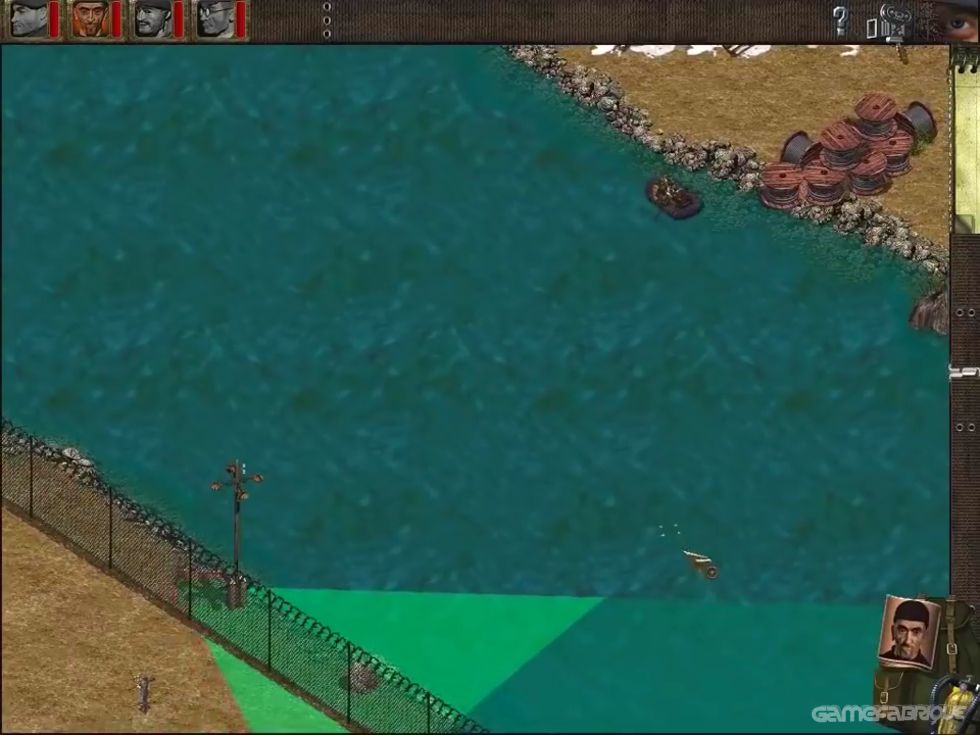
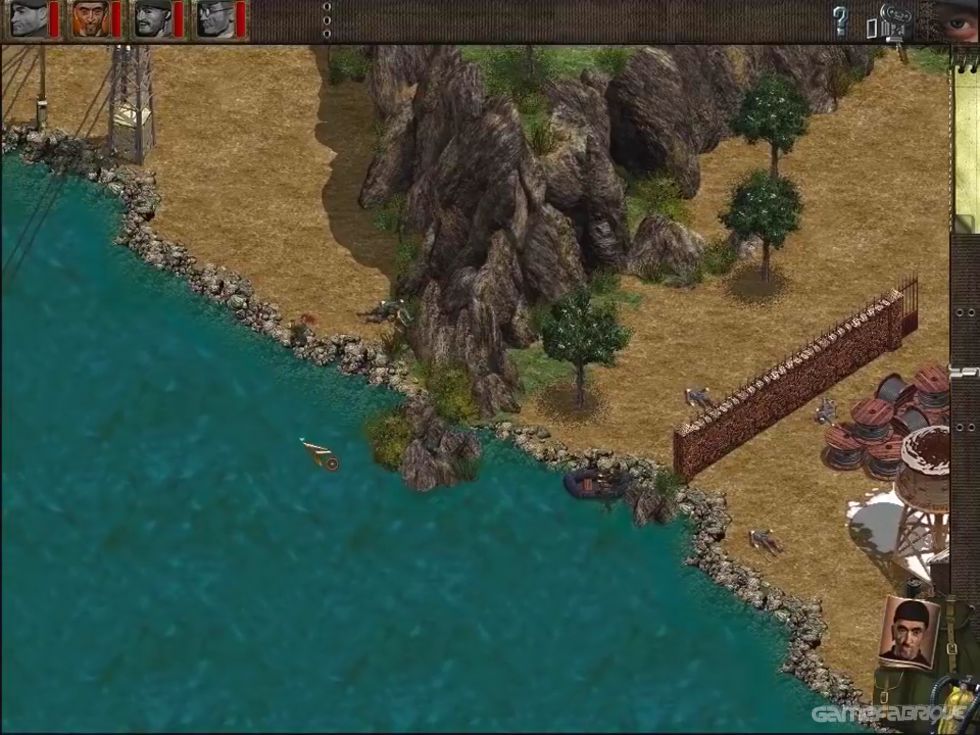
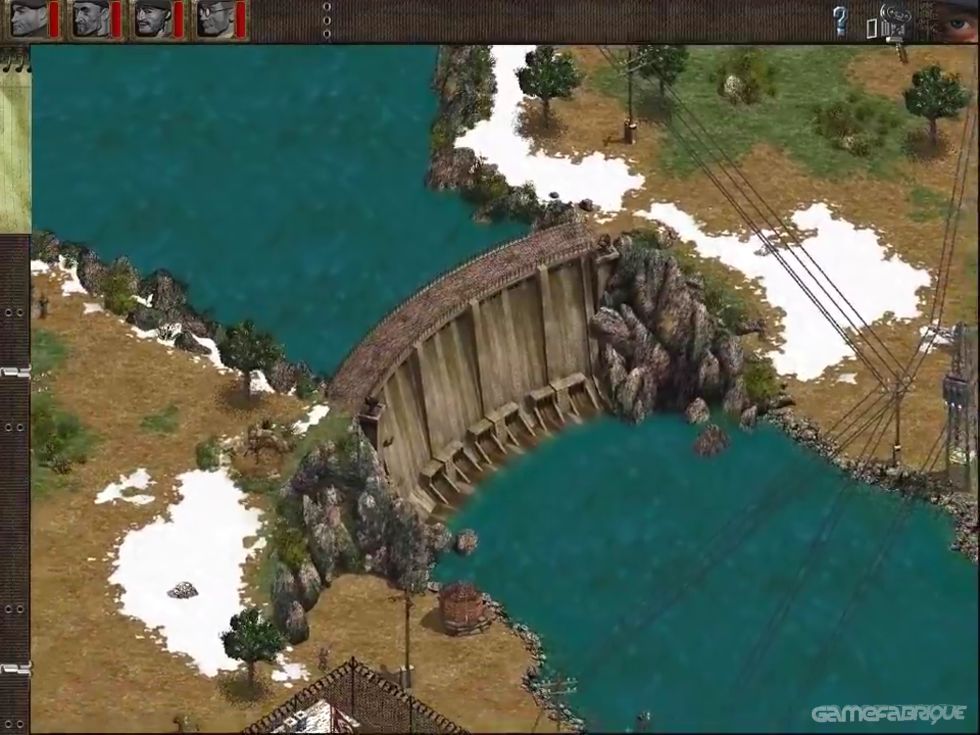
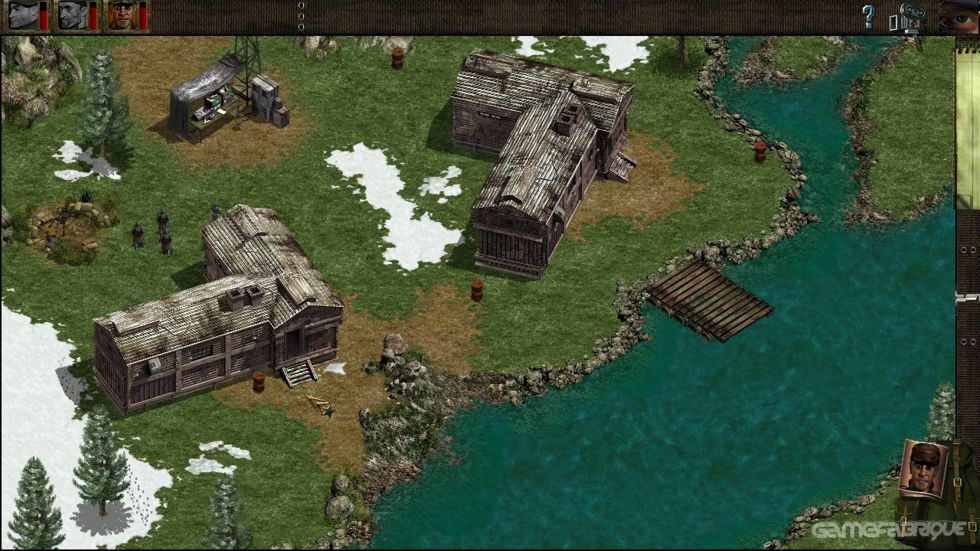
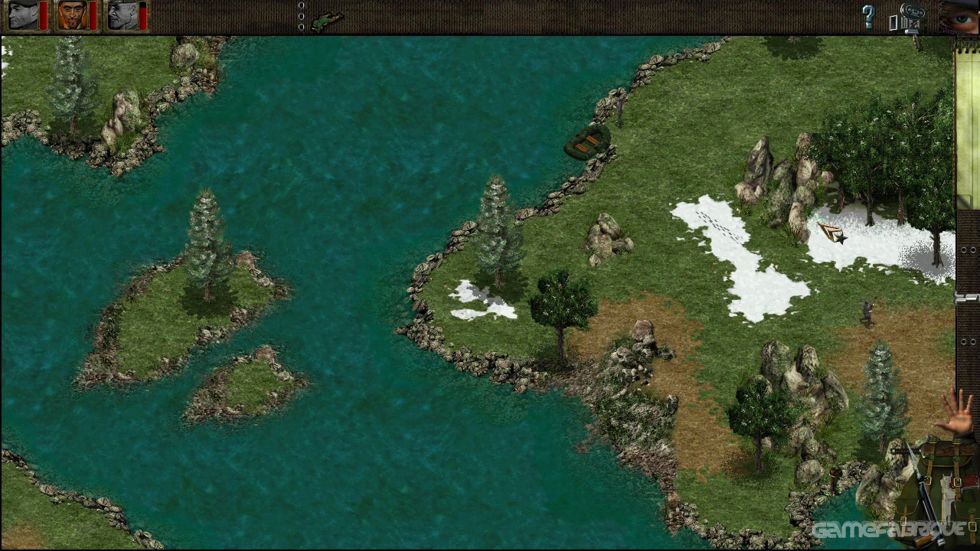
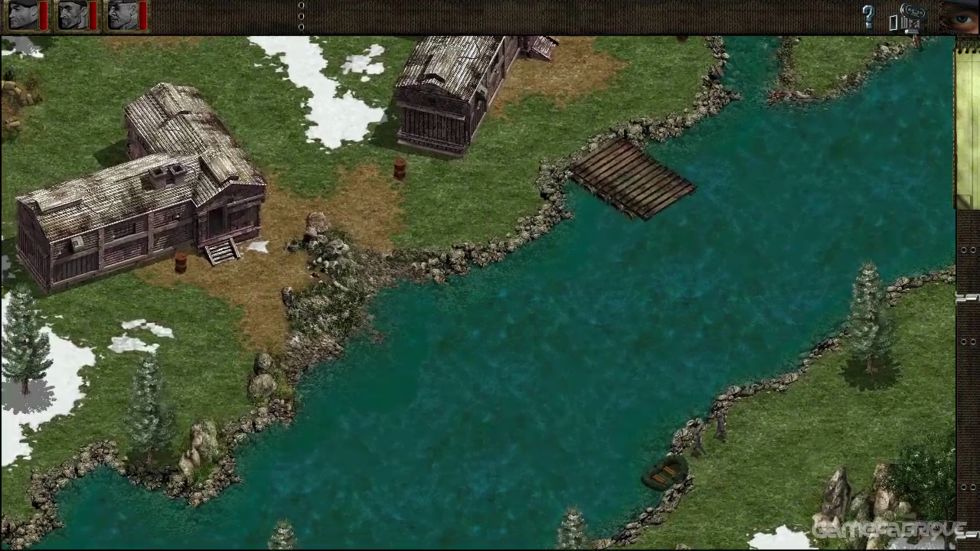
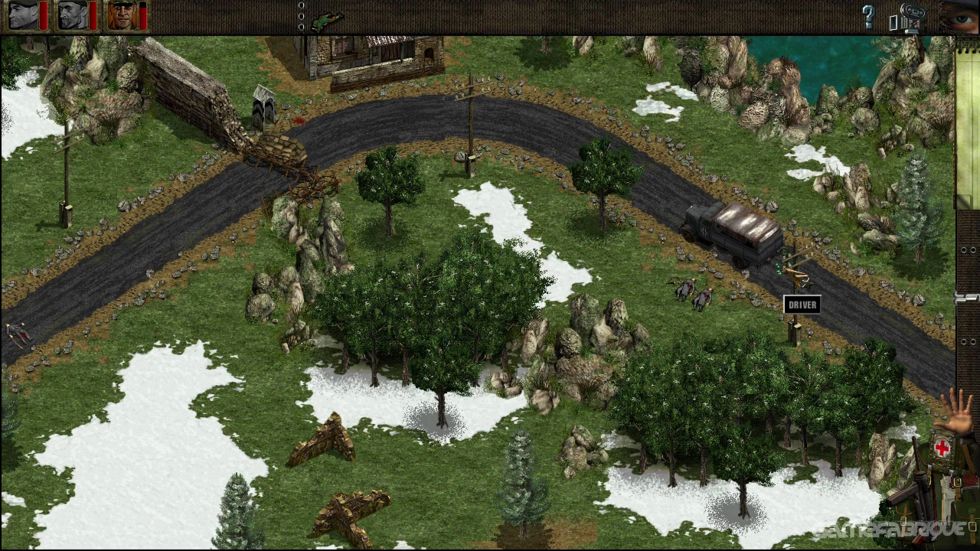
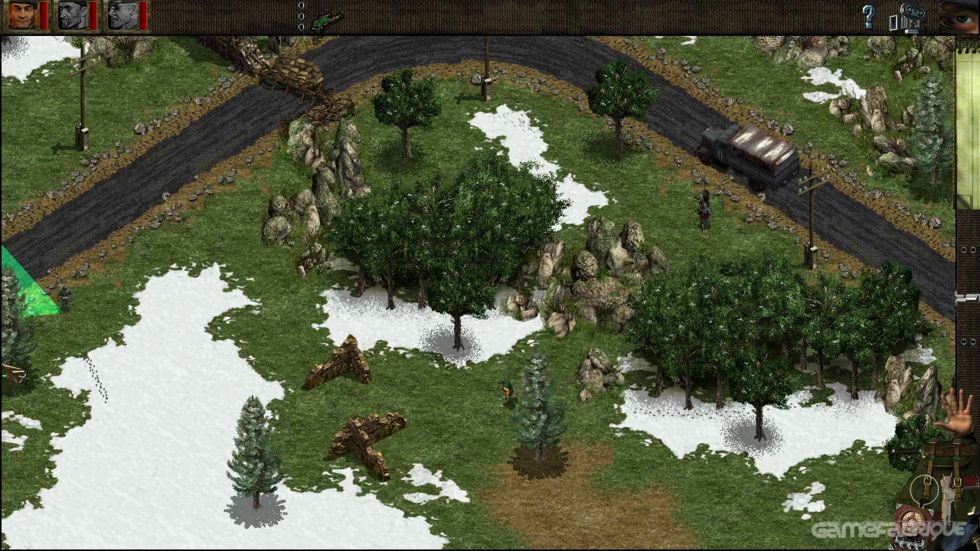
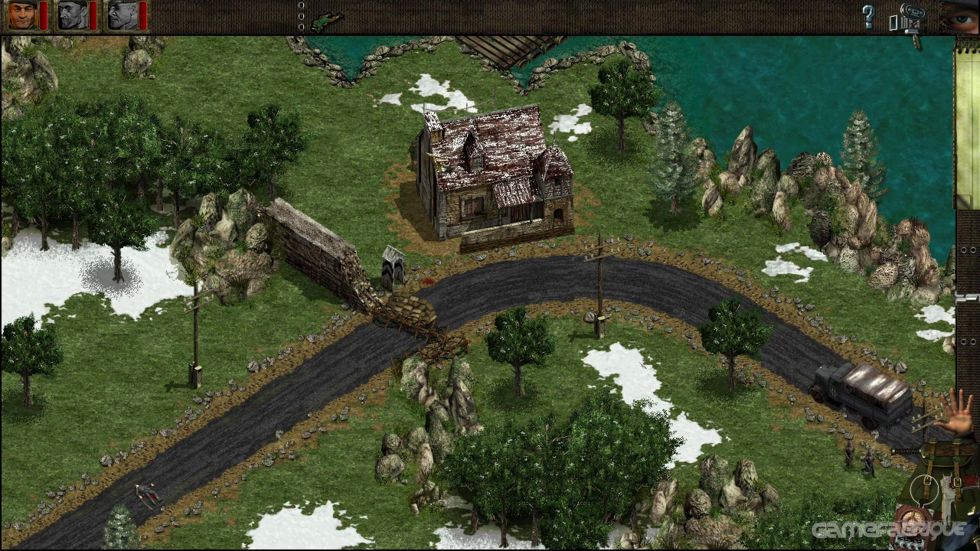
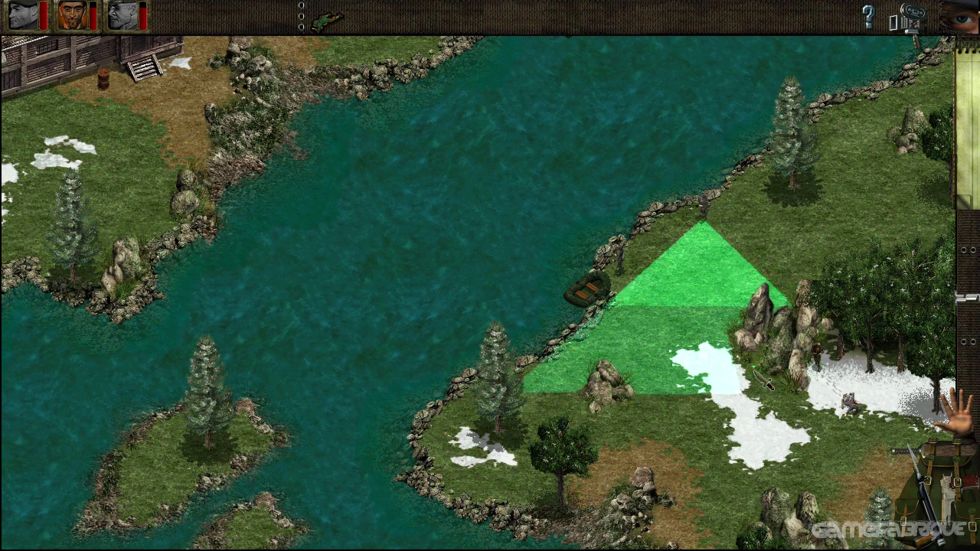
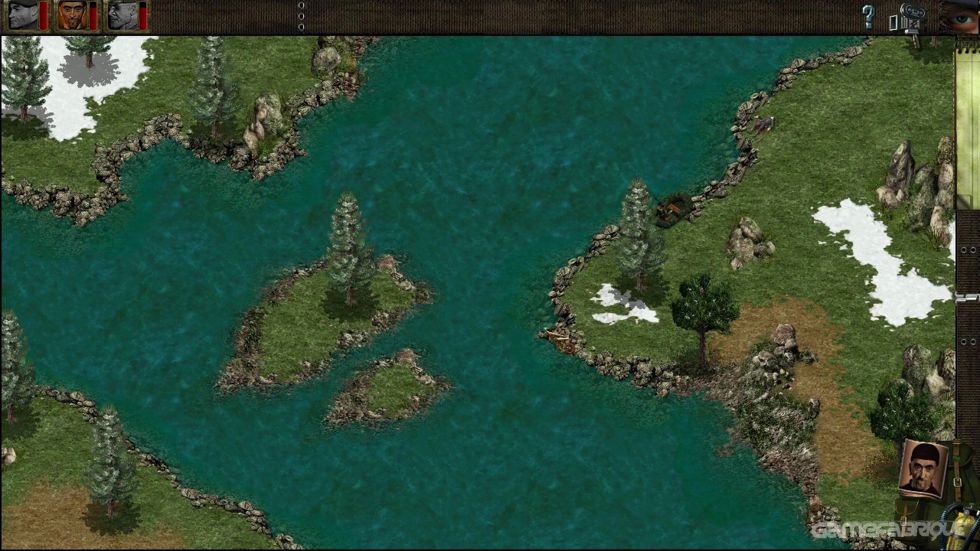
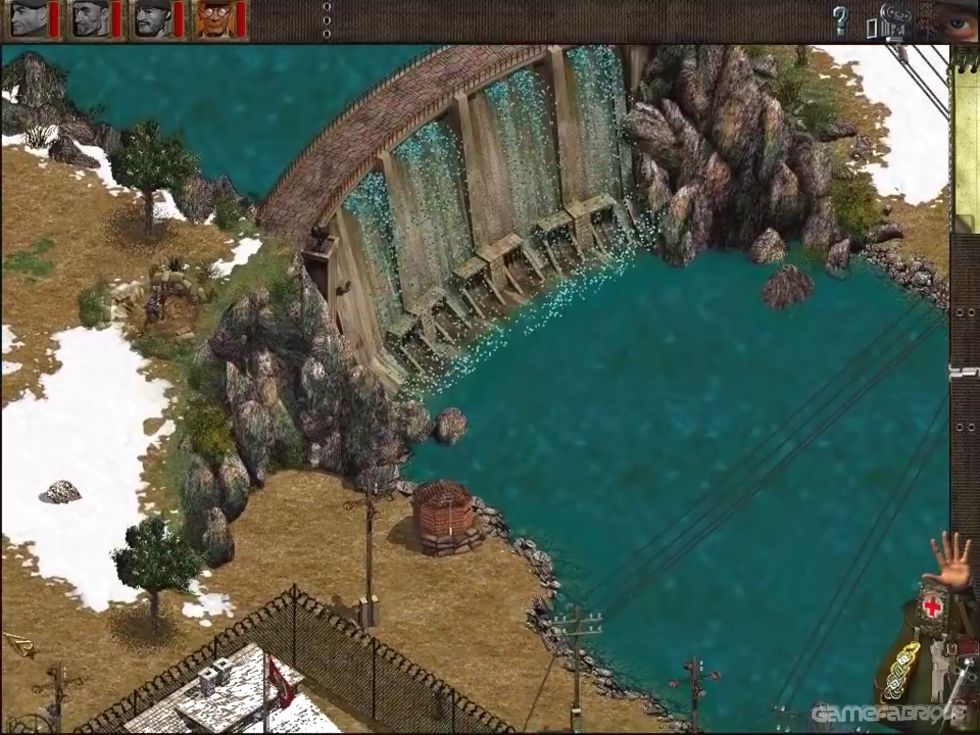
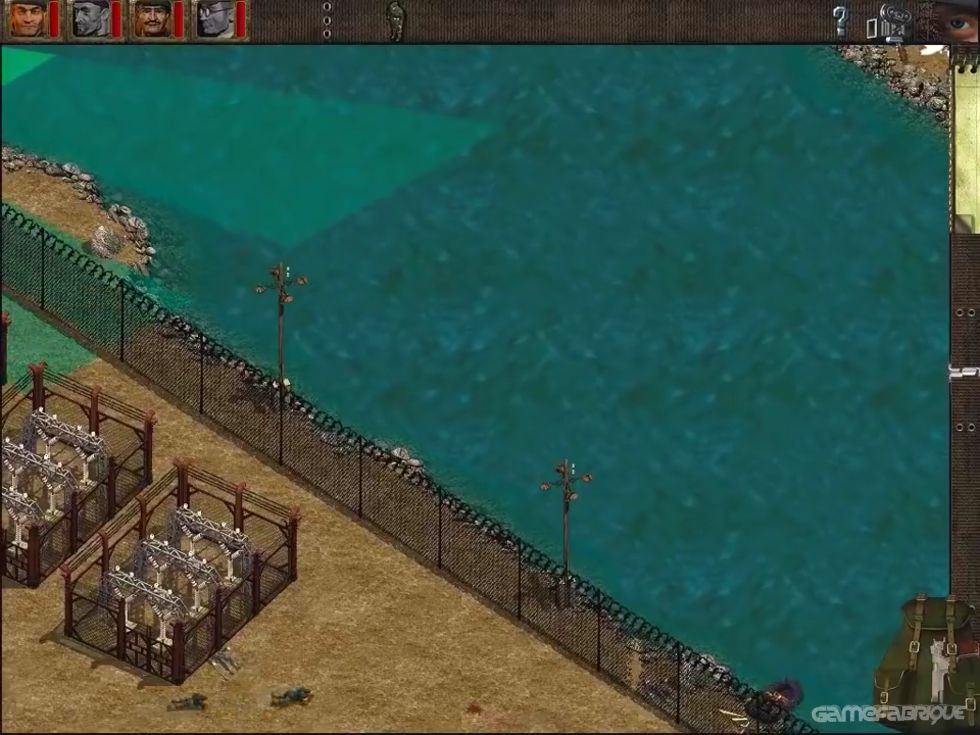
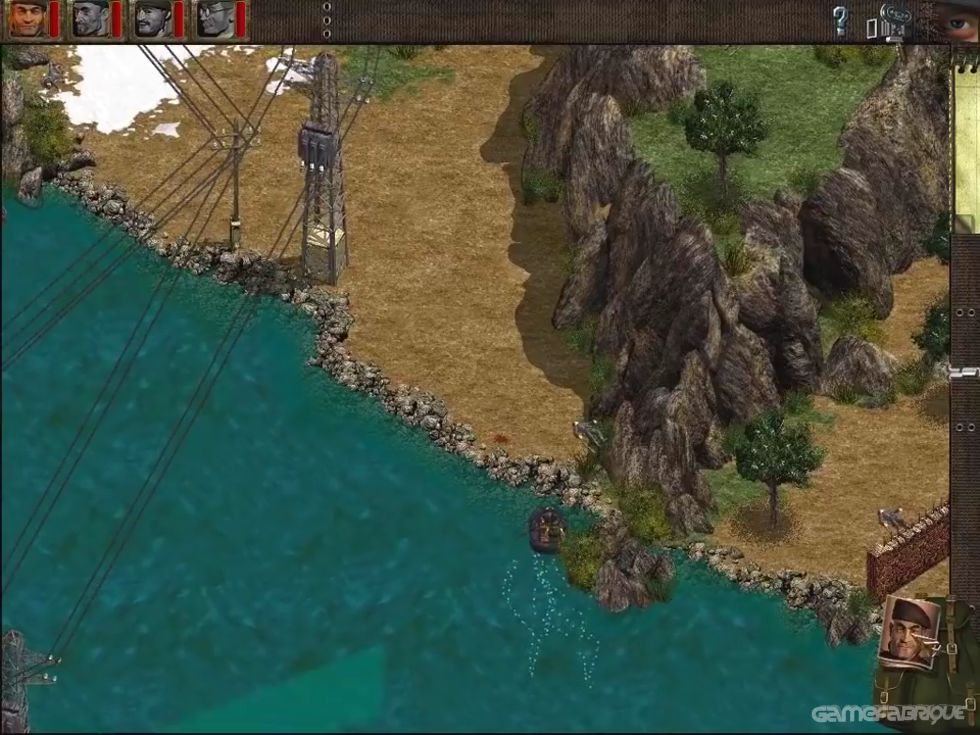
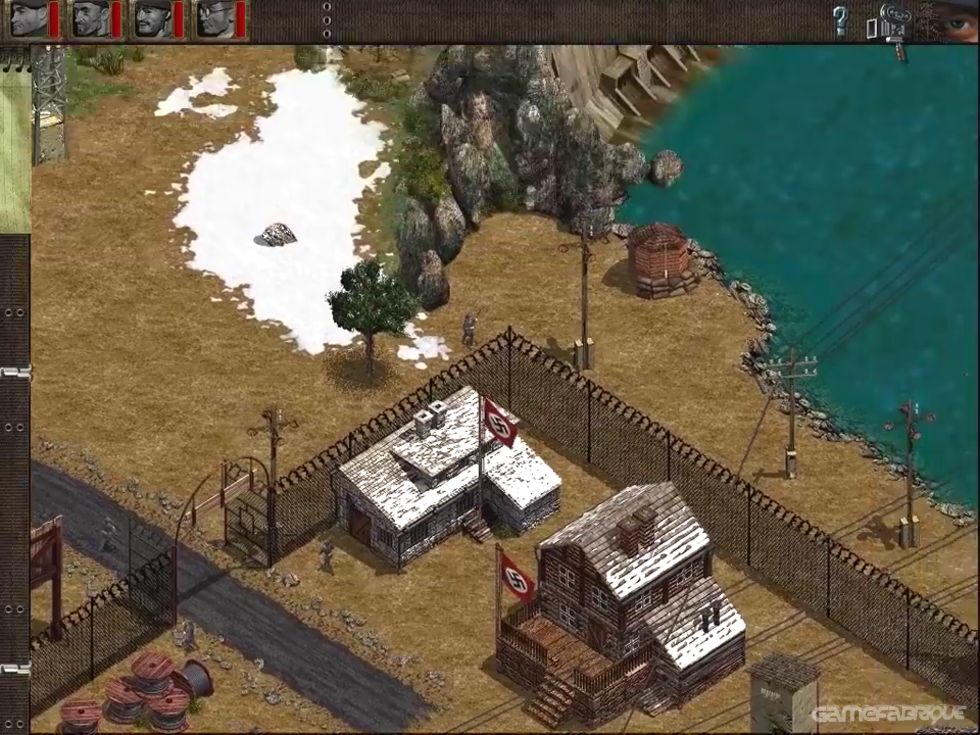
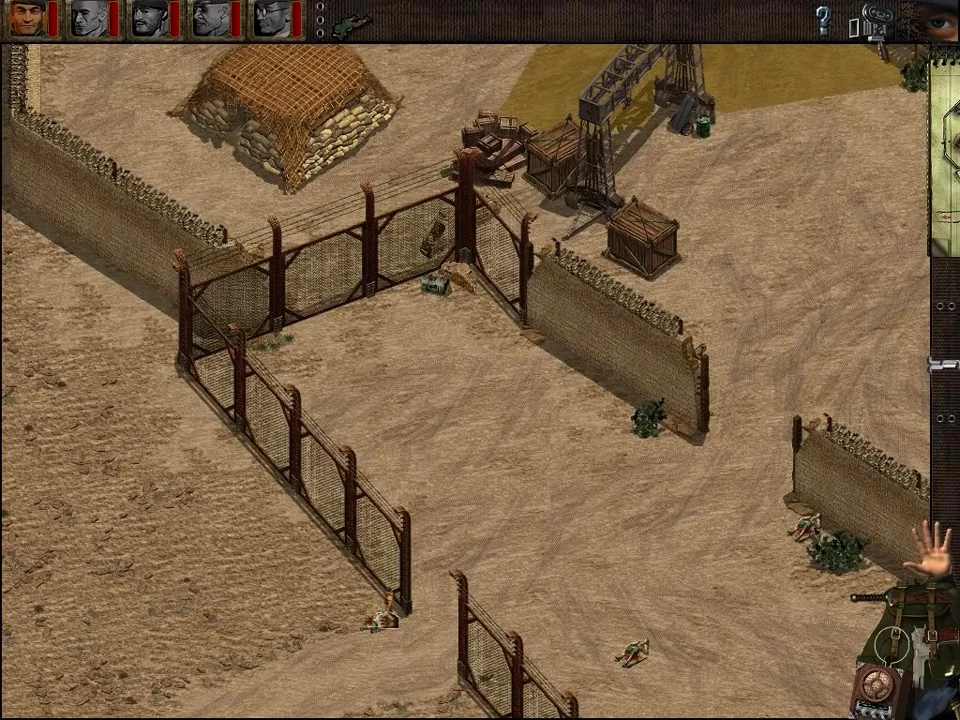
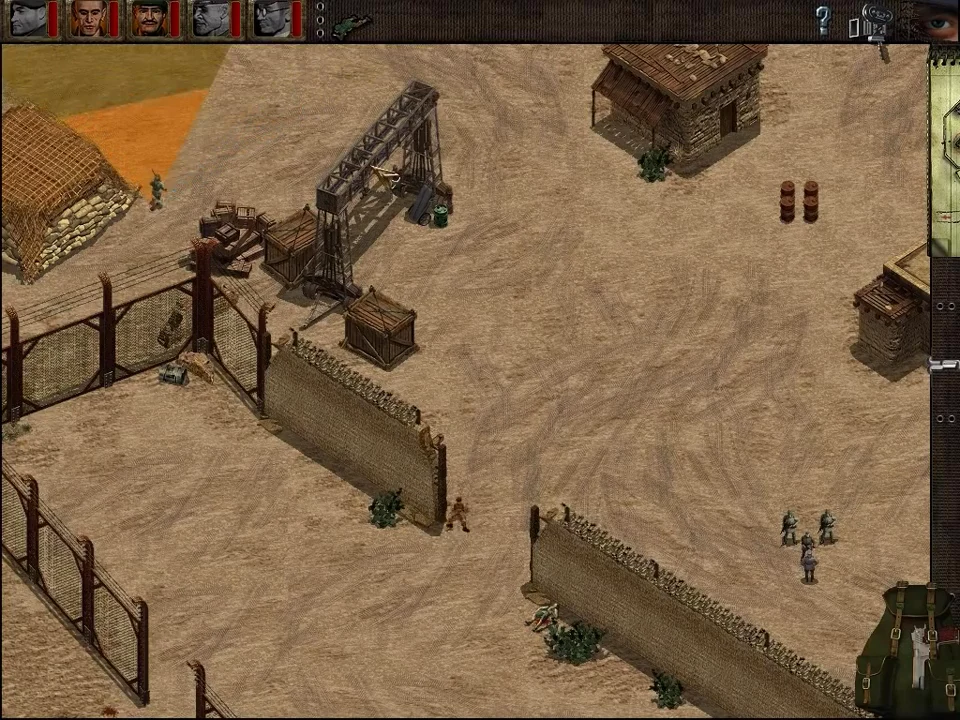
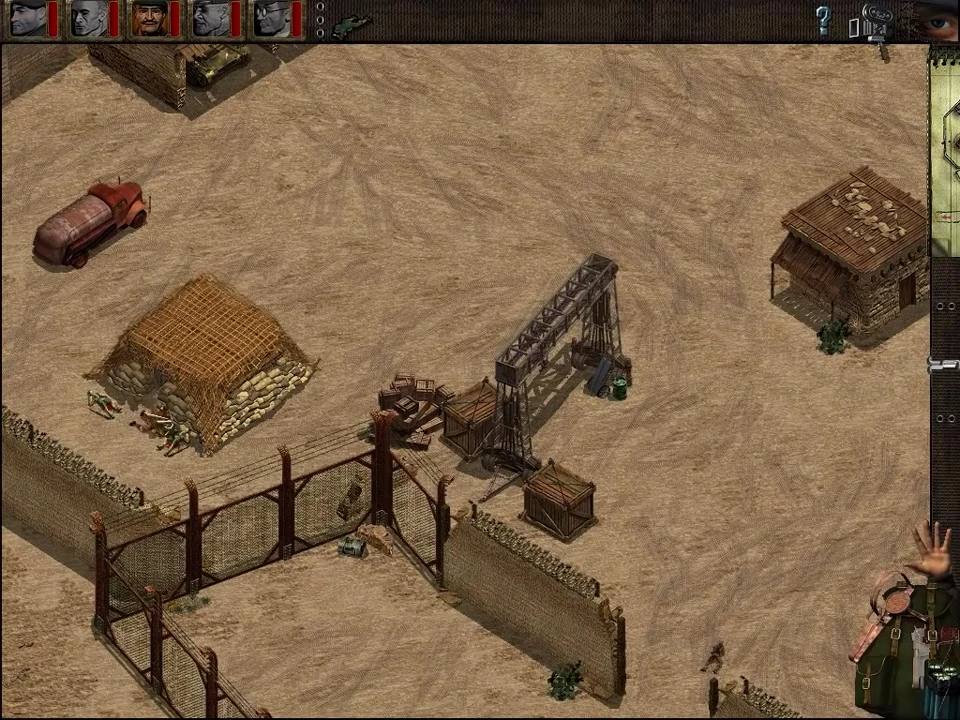
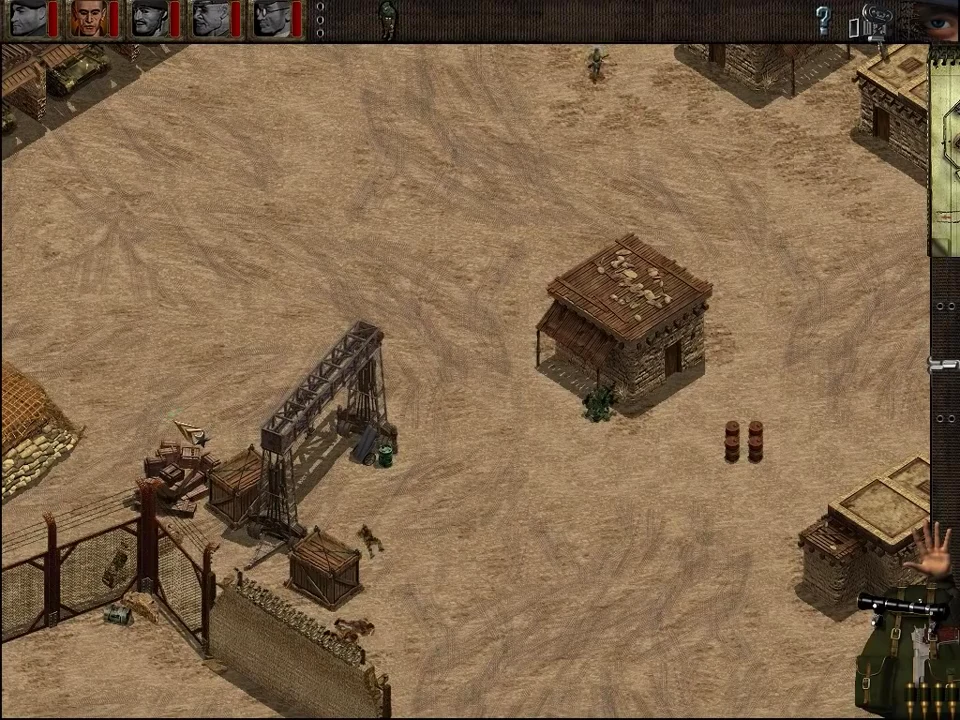
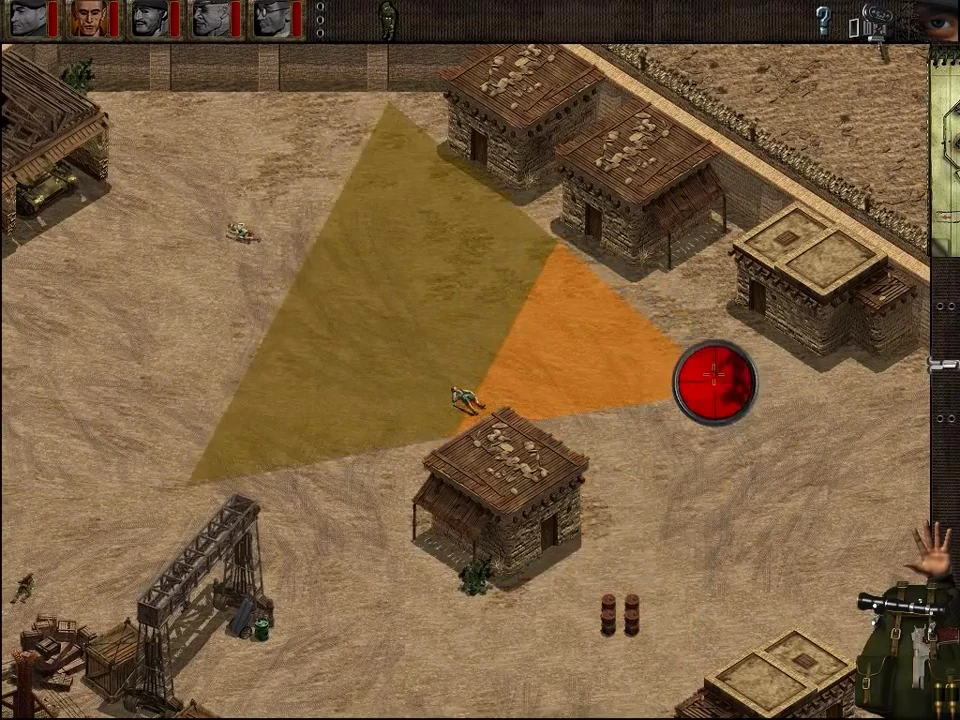
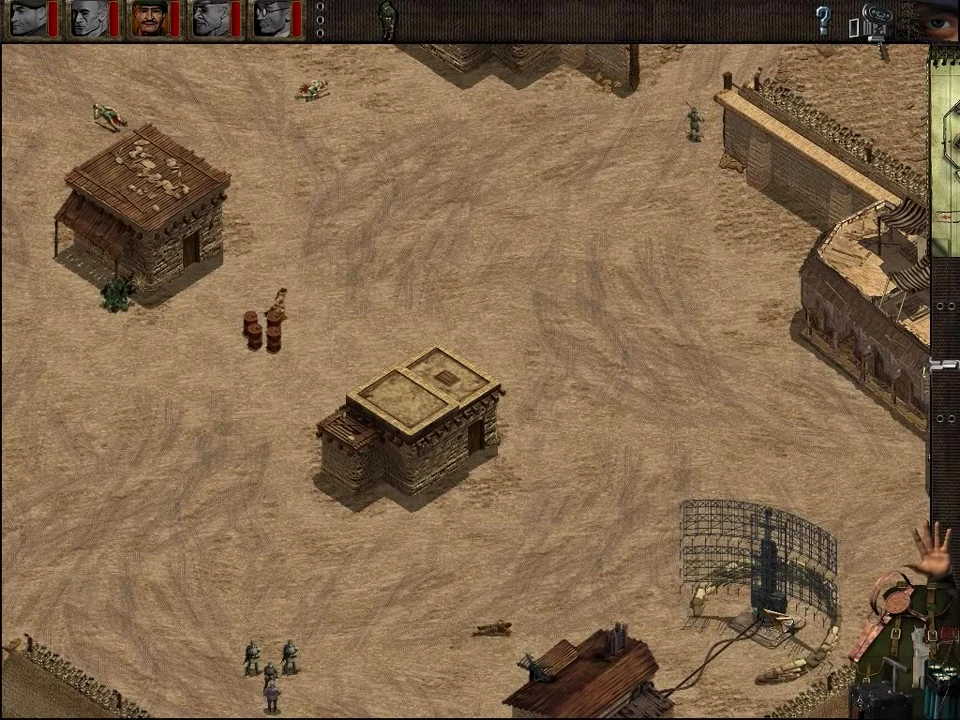
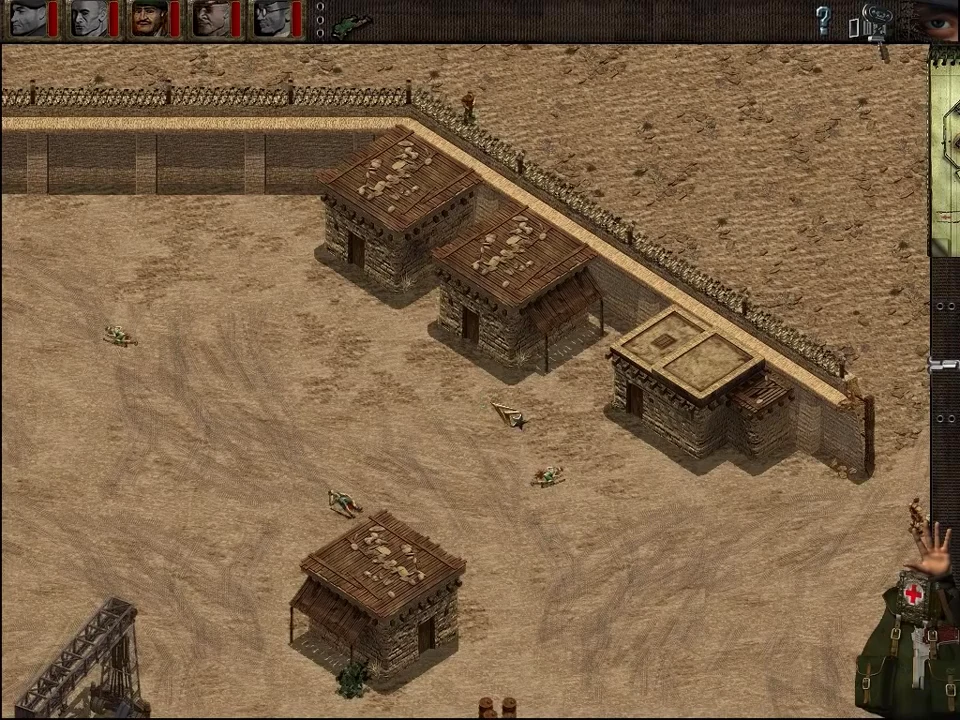
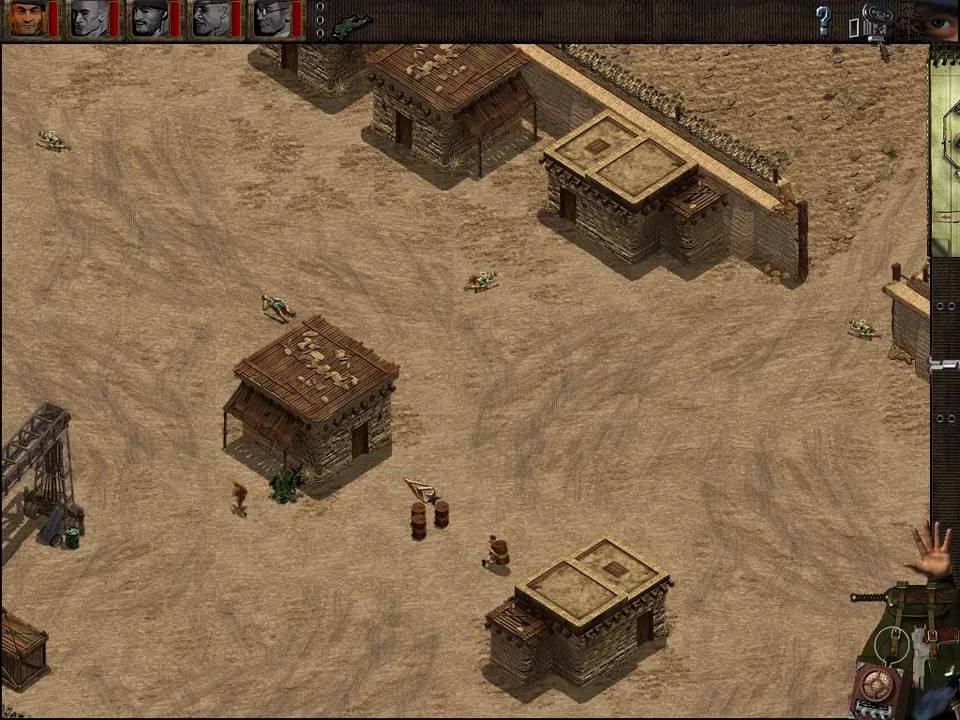
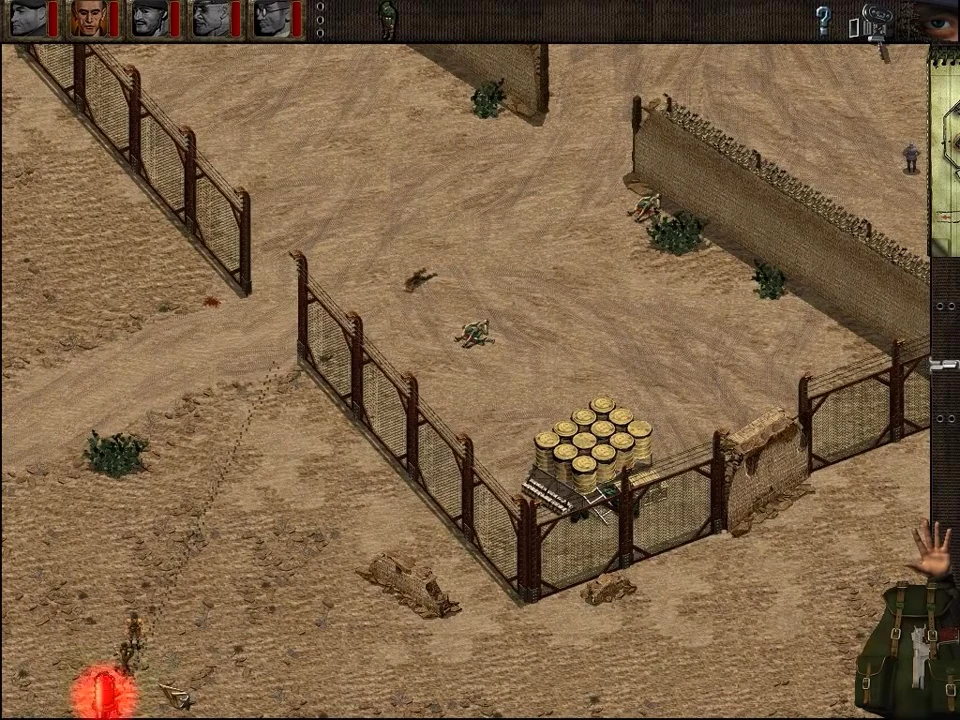
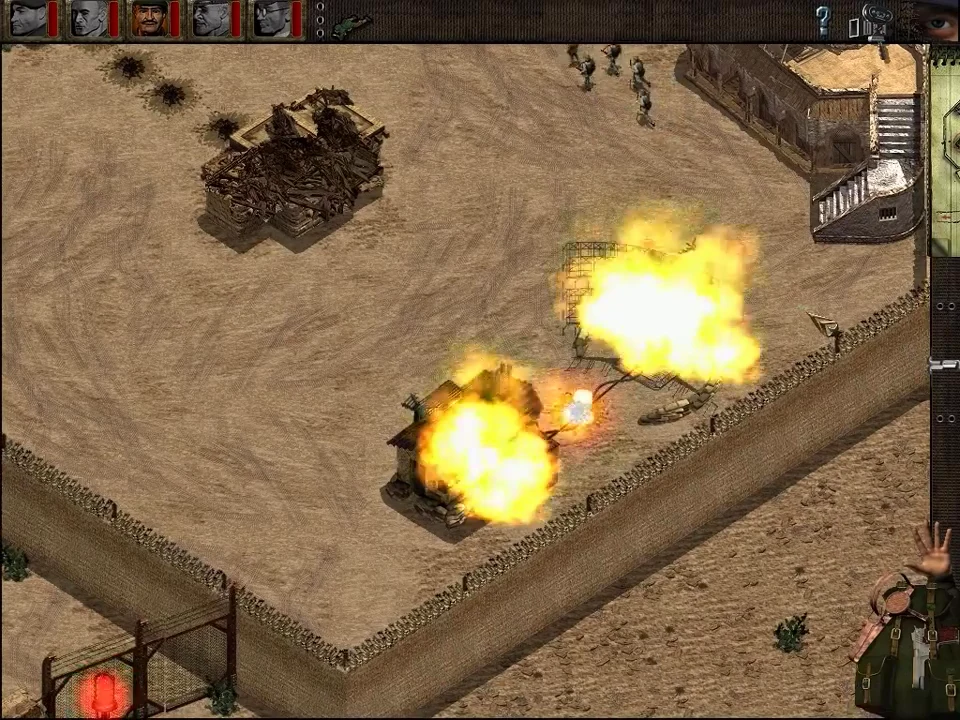
Snapshots and Media
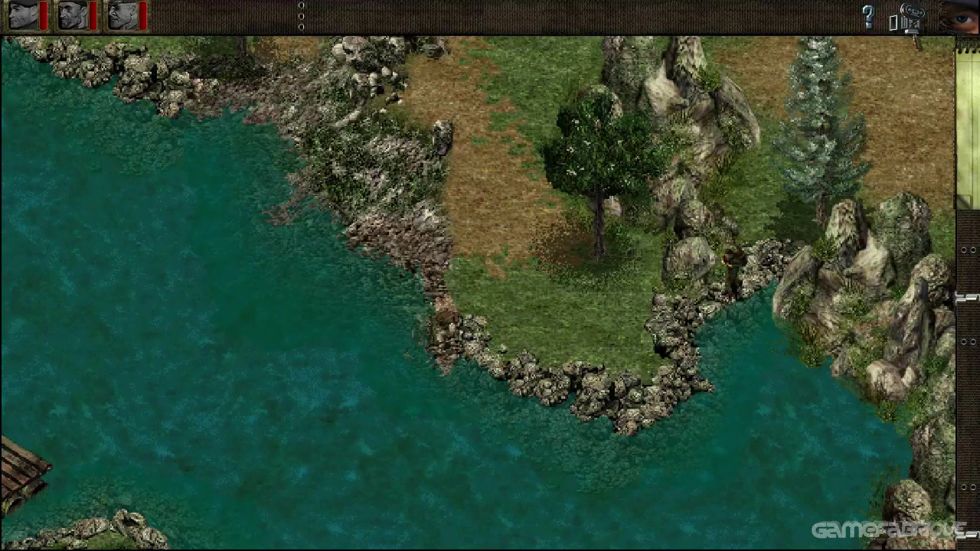
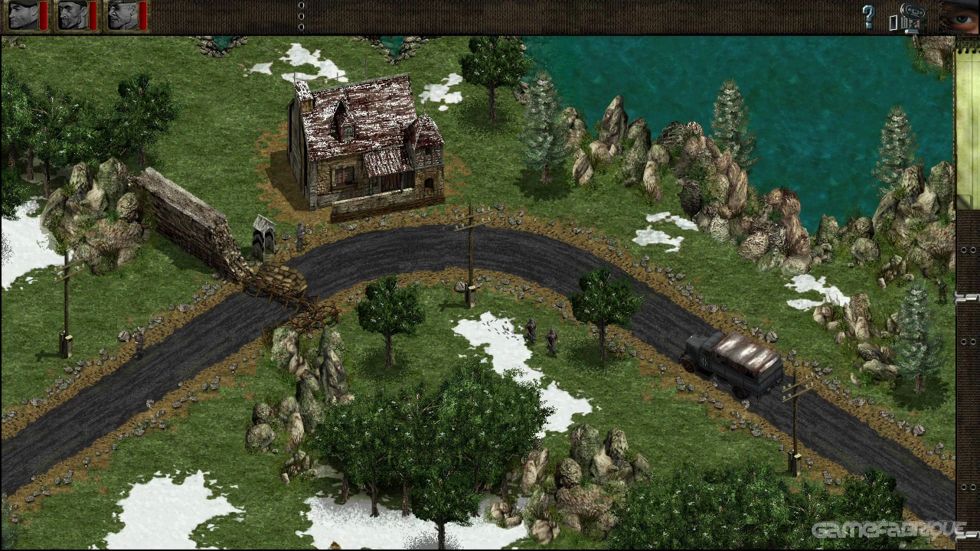
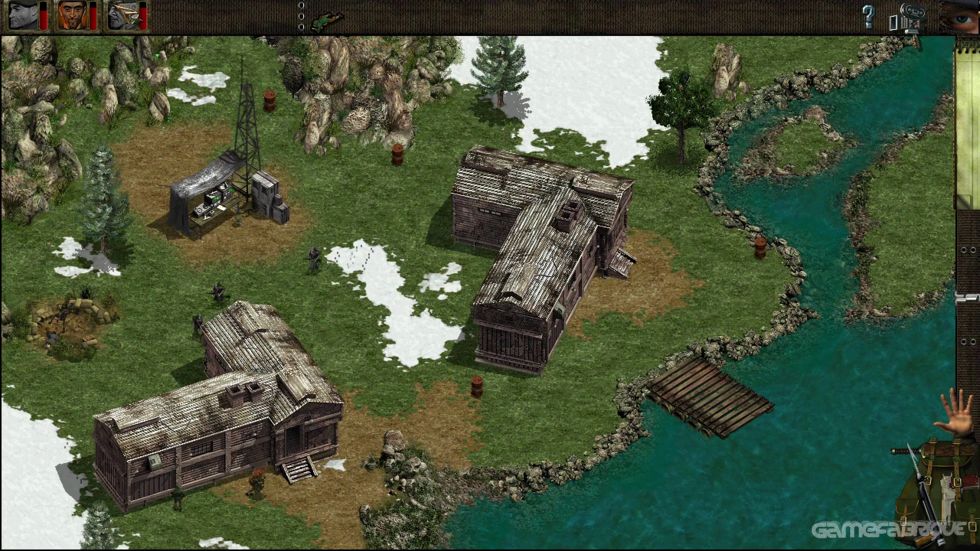
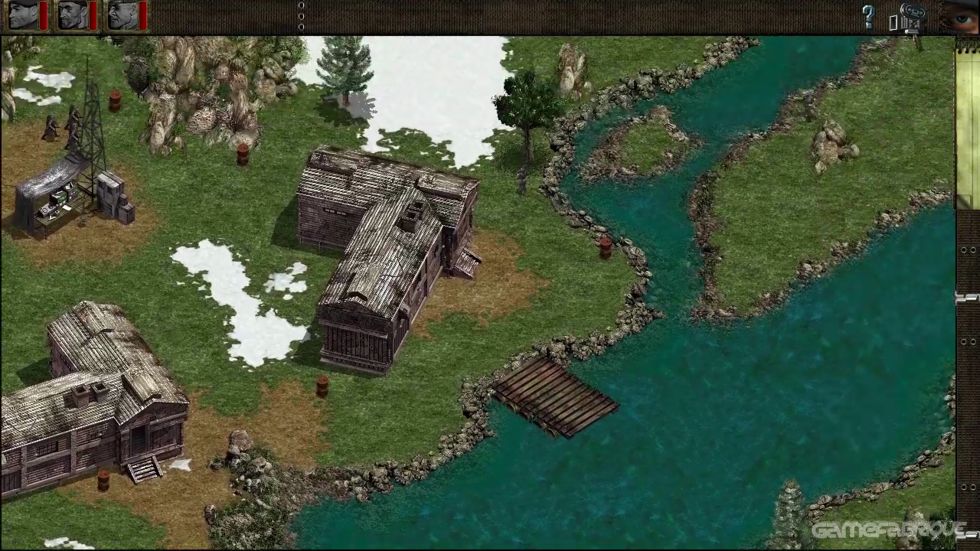
PC Screenshots

Similar Games
 Blood Bowl
 Constructors: Street Wars
 Earth 2150
 Galcon Fusion
 Majesty: The Fantasy Kingdom Sim
 Sniper Elite 5
 Supreme Commander 2
More RTS Games
 Age of Empires II Expansion: The Conquerors
 Stronghold Crusader
 Age of Empires II: The Conquerors
 Battle Realms
 Starcraft 2: Nova Covert Ops
 Emperor: Rise of the Middle Kingdom
 Dragon Throne: Battle of Red Cliffs
 Rome: Total War Gold Edition
 SimCity 2013
 Age of Mythology: The Titans
 Command & Conquer: Red Alert 3 - Uprising
 Pikmin 3